Sew Simple Pillow with Zipper and Pom Pom Trim Tutorial
Hello and welcome if you’re new here! Today I have a fun new tutorial for you to make a simple, modern pillow using Cloud9 Imprint Canvas fabric —a unique, geometric, and oh-so-soft organic cotton canvas. I’ll show you how to add a pop of color to your pillow with a pom-pom trim and a convenient zippered back, making your pillow both fun and functional. So grab your fabric and let’s sew a pillow!
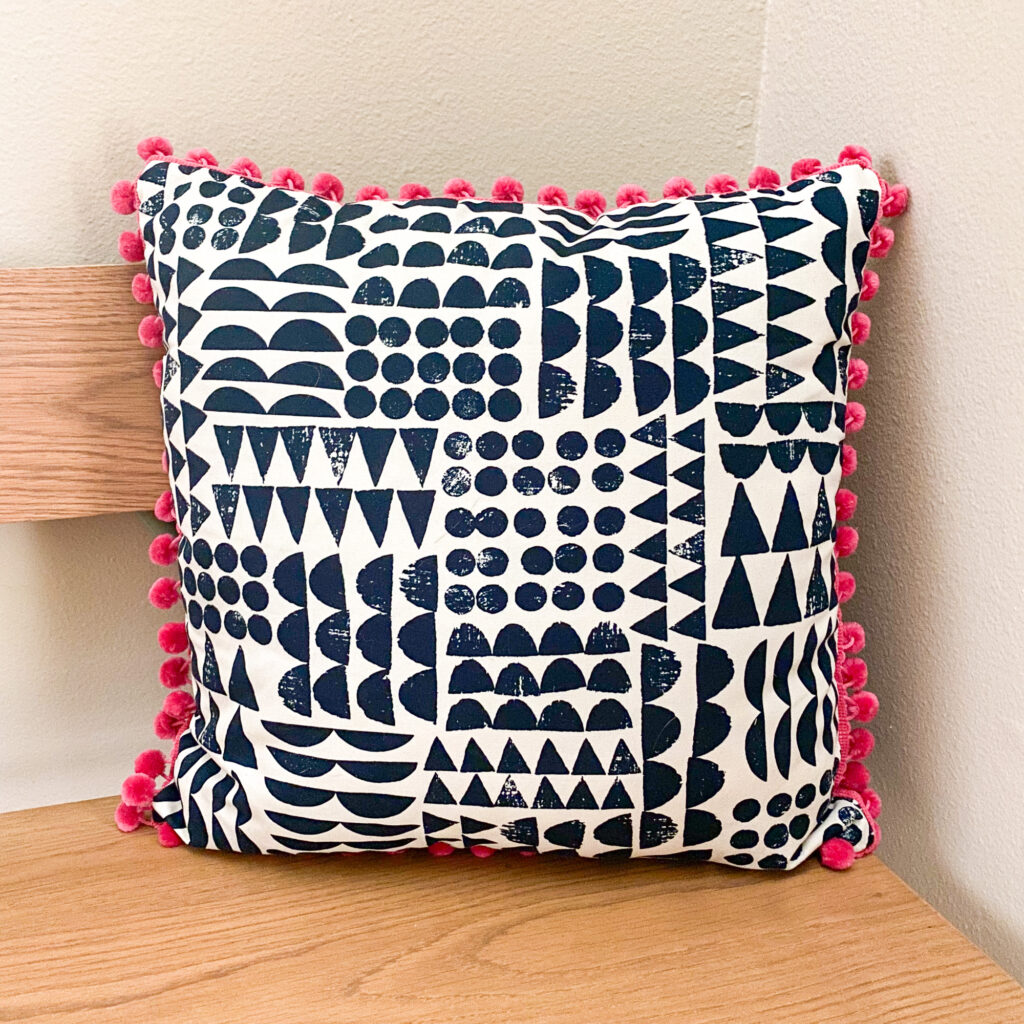
Easy Sew Canvas Pillow Tutorial
Pillow measures 18″ square and features a lapped zipper on the back, and pom pom trim.
Pattern Notes
Seam allowances are 1/4 inch unless specified.
Materials
Makes one 18″pillow. Width of fabric (WOF) is assumed to be 42″.
- 18 1/2″ x 37″ canvas fabric for the front and back of pillow – Imprint Print Patch Canvas in blue
- 2 1/2″x 18 1/2″strip of accent fabric for the zipper cover – Cirrus Solids in Bubblegum
- 2 1/2″ x 18 1/2″ lightweight fusible interfacing – (I use Pellon SF101)
- 18″pillow form (I have this set of 4 pillows)*
- 2 1/4 yards of 1.13″ Ball Fringe Trim (I have this Simplicity brand fringe in Strawberry from Joann’s)
- 20″ nylon zipper (I use this zipper tape in Antique Brass Beige 10 yards, with 25 zipper pulls)*
- Zipper foot for your sewing machine
*As an Amazon Associate, I earn from qualifying purchases.
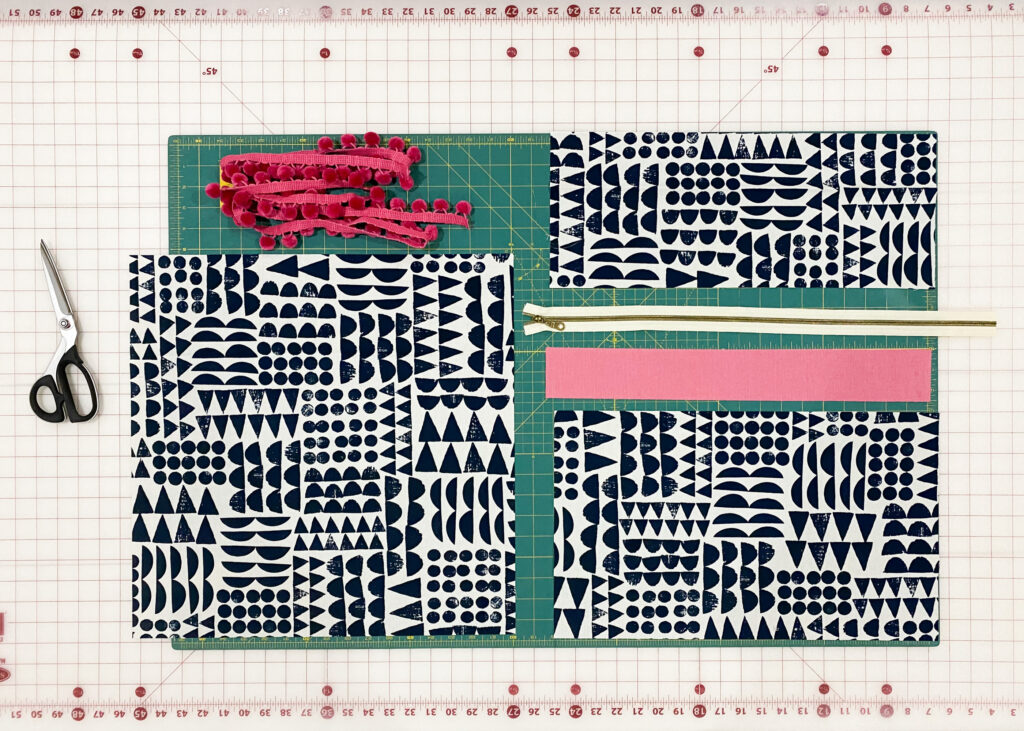
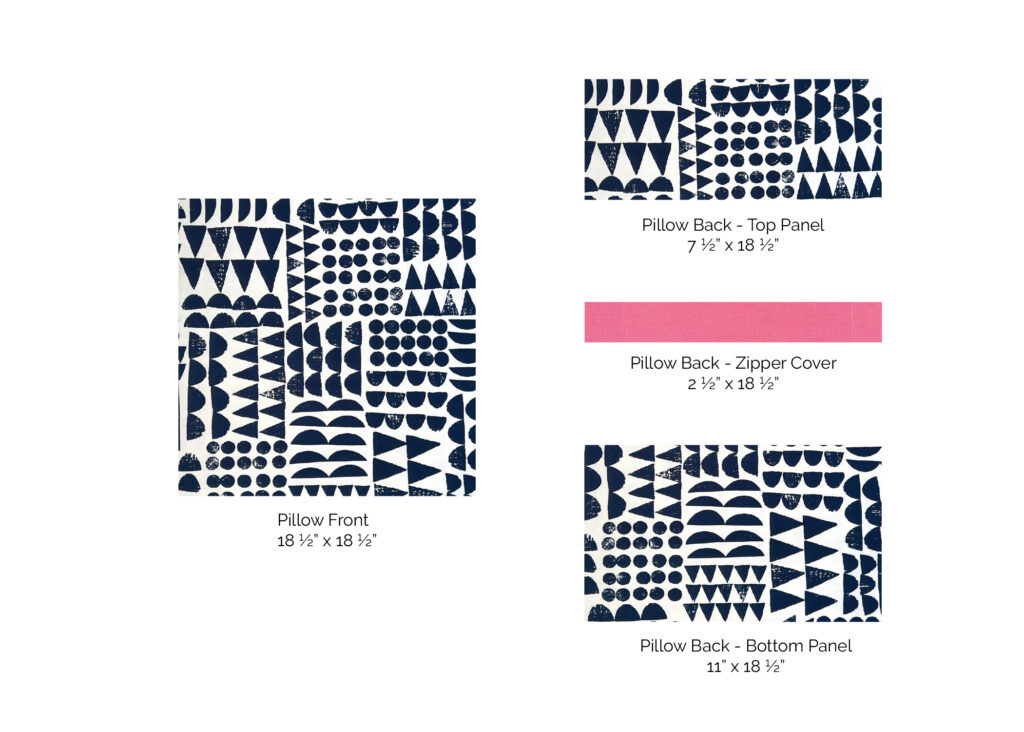
Step 1 – Cut the fabric for the pillow front & back
- 1 – 18 1/2″ x 18 1/2″ Pillow front
- 1 –11″x 18 1/2″ Pillow back bottom panel
- 1 –7 1/2″x 18 1/2″ Pillow back top panel
- 1 – 2 1/2″x 18 1/2″ accent fabric for zipper cover
- 1 – 2 1/2″ x 18 1/2″ lightweight fusible interfacing
Step 2 – Prepare fabric with fusible interfacing
If you are using quilting cotton, fusible interfacing adds body and permanent stability to your pillow. I did not use interfacing on the pillow front and back canvas fabric, only for the zipper cover which is a quilting cotton fabric for this project.
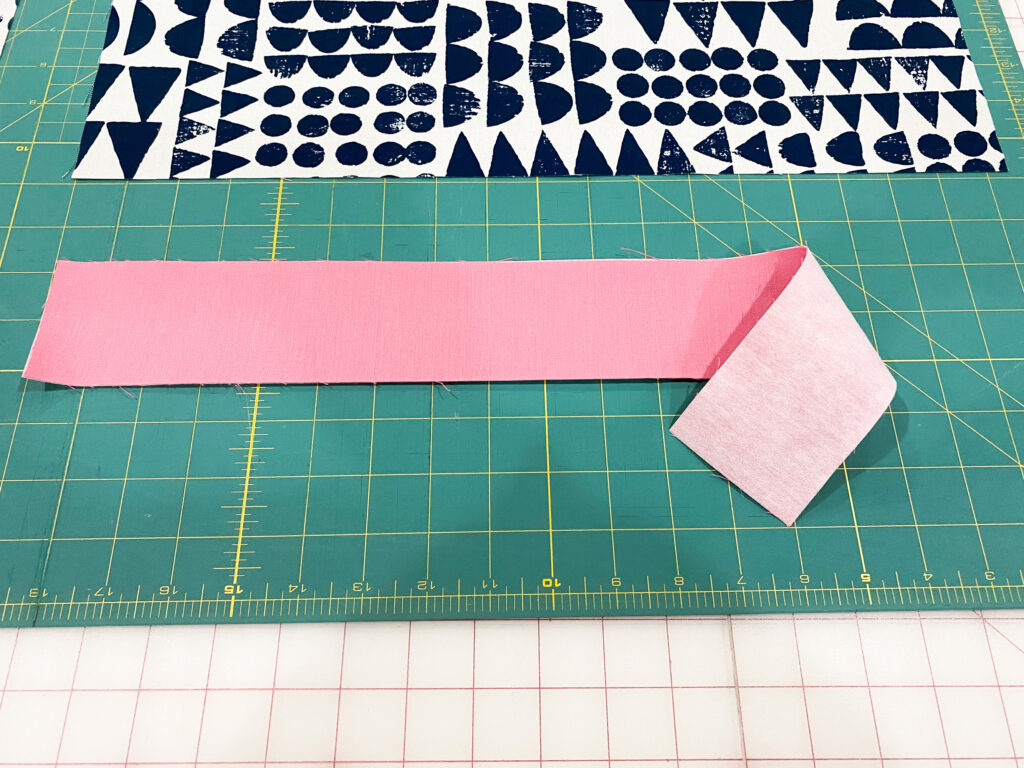
- Cut and fuse Pellon Shape-Flex Iron-On woven cotton interfacing to the wrong side of the zipper accent piece following manufacturers instructions.
- Place the interfacing with the rough shiny side on the wrong side of the fabric. Cover with a thin, damp press cloth. With iron at Wool/Steam setting, press firmly for 10-15 seconds. Repeat, lifting and slightly overlapping iron until all interfacing is fused. Steam press on right side. Let fabric cool, then check the bond.
Step 3 – Prepare Pillow Back with zipper
- Fold the 2 1/2″x 18 1/2″accent fabric in half lengthwise, and press. Set aside
- Place the zipper with zipper pull facing down, on top of the pillow 18 1/2″x 11″ back bottom panel, pin in place. Sew with a narrow 1/4″seam using the zipper foot on your sewing machine.
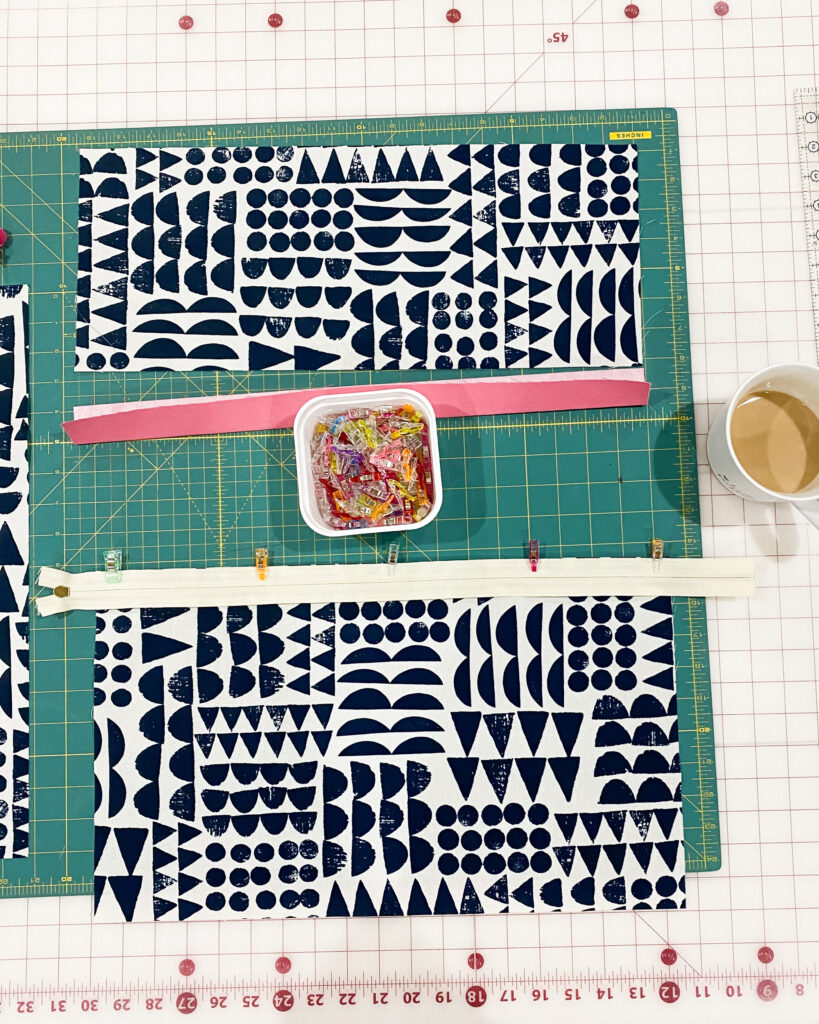
- Press the bottom panel away from the zipper, and top stitch with 1/8″ seam along the pressed canvas fabric edge, this holds the zipper in place and prevents it from getting caught in the zipper.
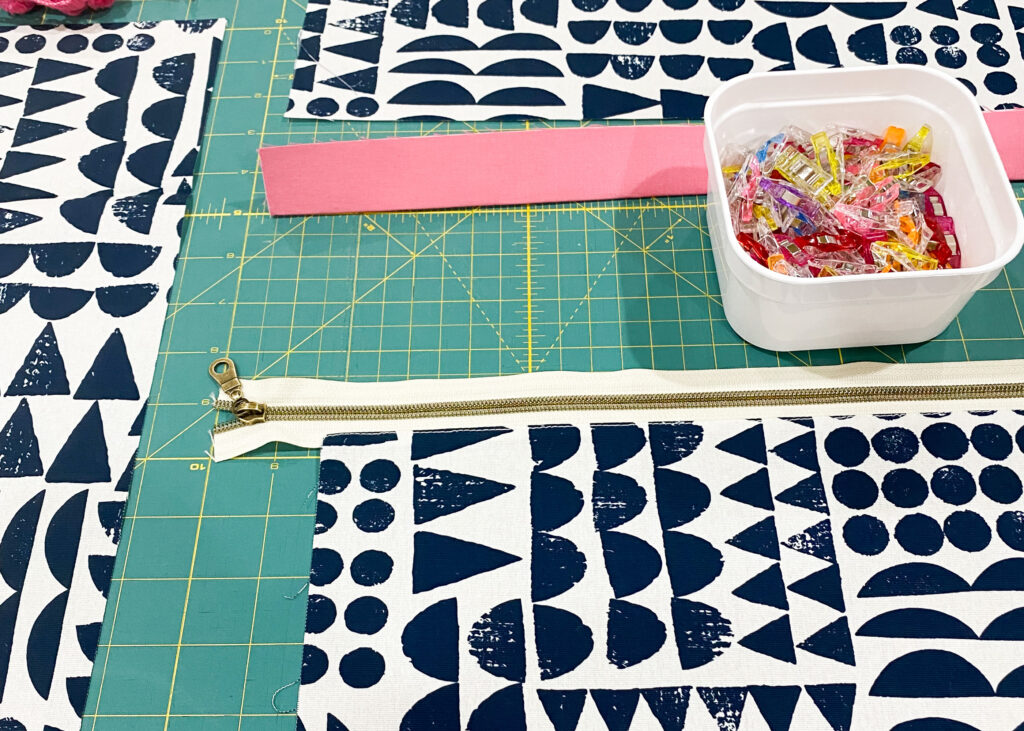
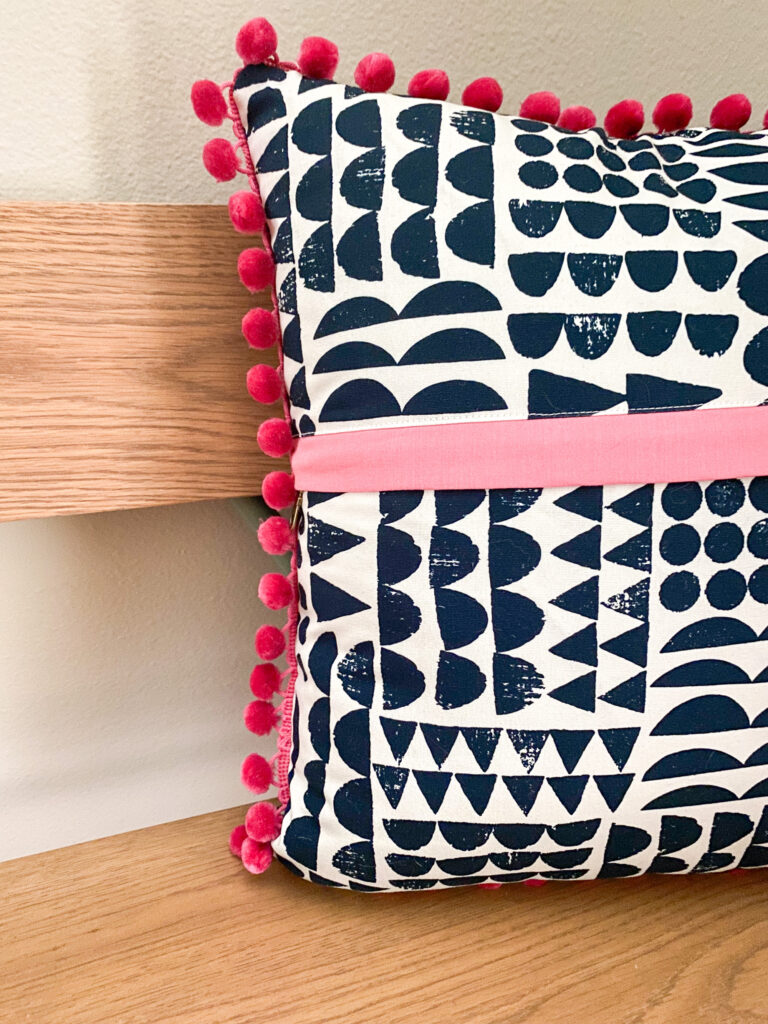
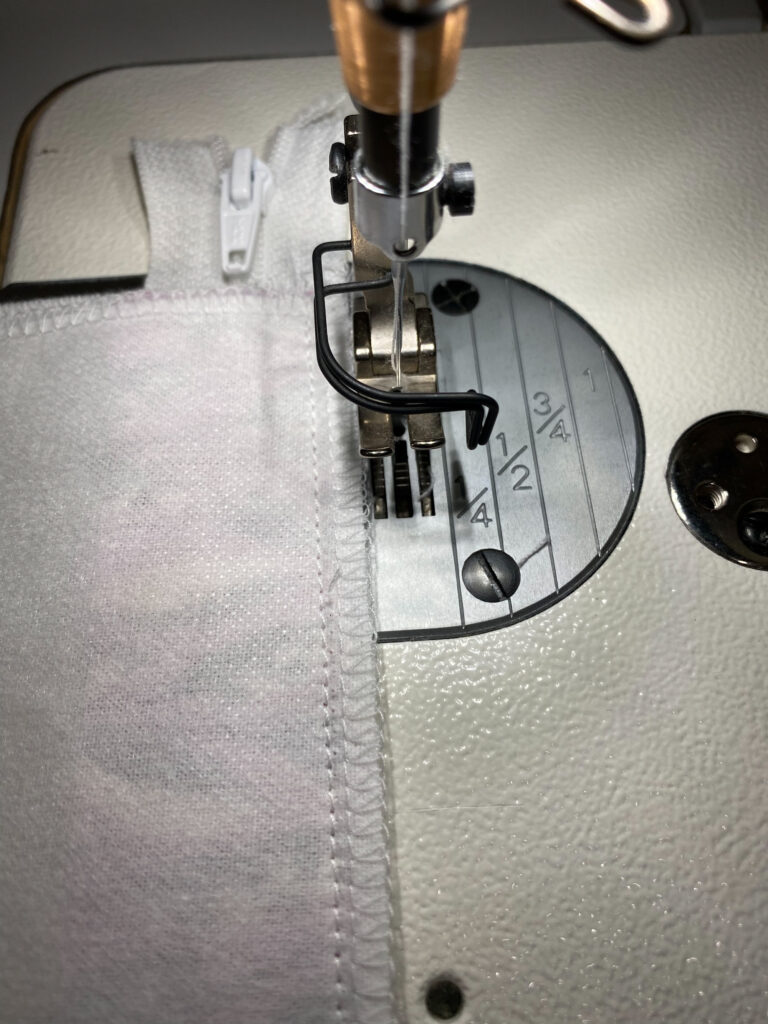
- Place the zipper accent fabric on top of the bottom panel, aligning the edge of the zipper with the raw folded edge of the accent fabric. (Figure 1)
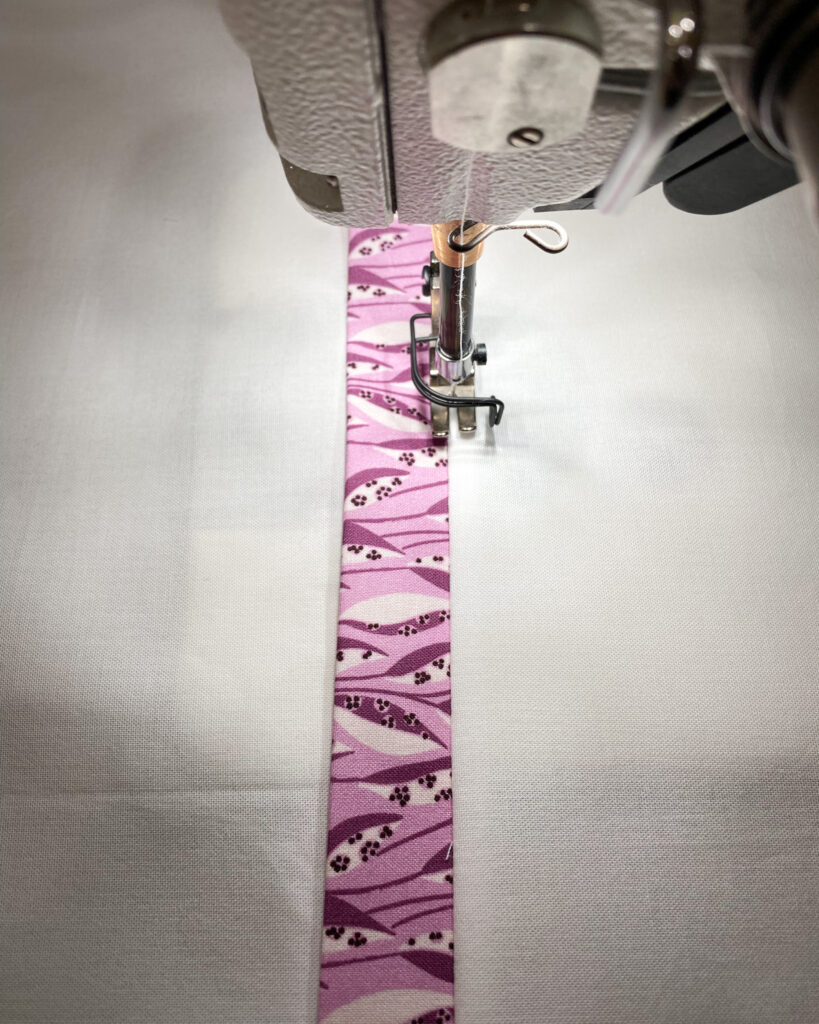
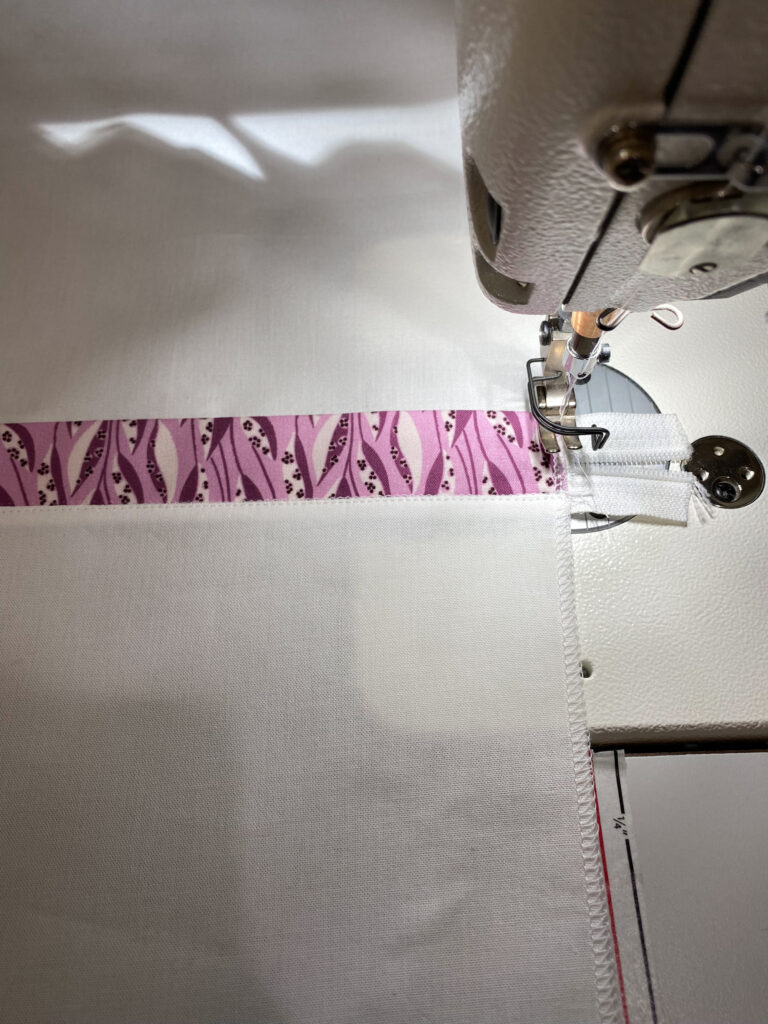
- Then place the pillow back top panel right side facing down on top of the two layers. Pin in place. Sew with a narrow 1/4″seam using the zipper foot on your sewing machine. (Figure 2 & 3)
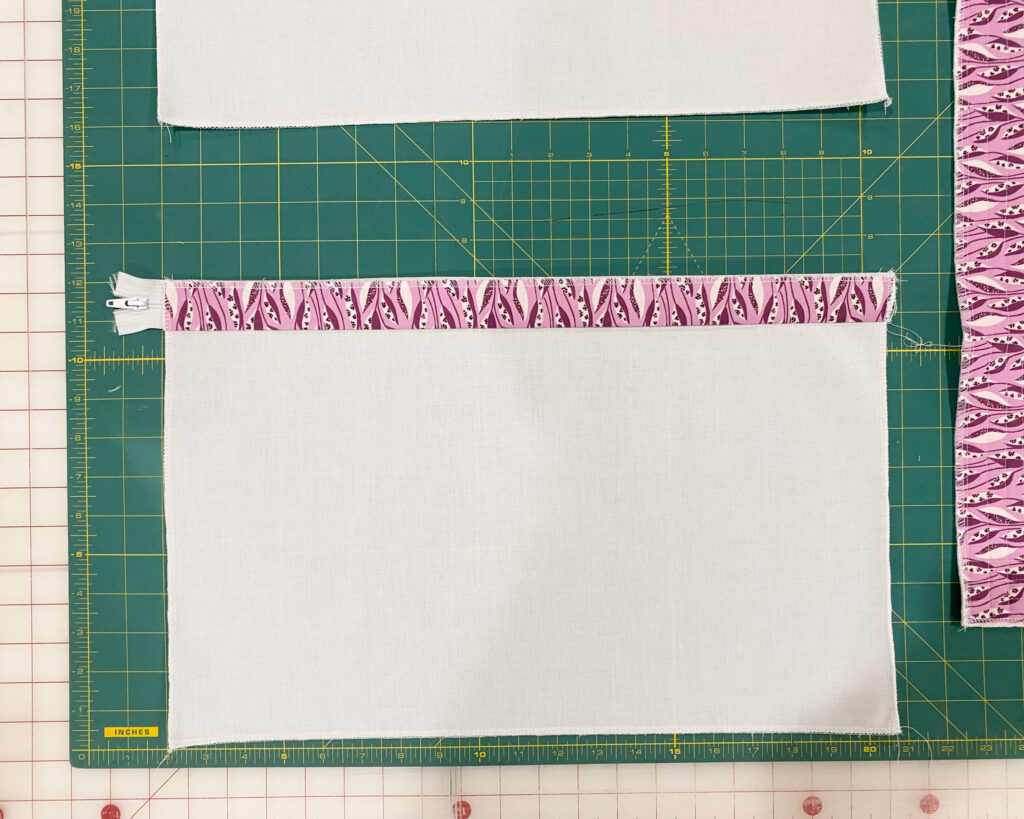

- Press the top panel away from the zipper, and top stitch with 1/8″ seam. (Figure 4)
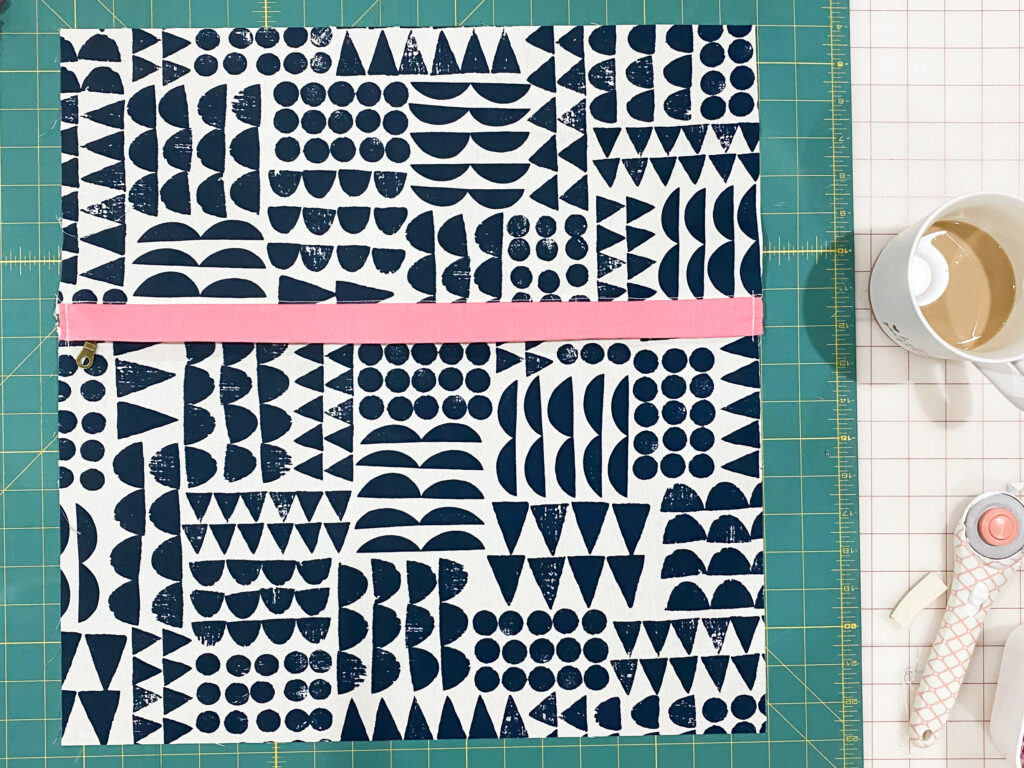
- Sew over the zipper ends 2 to 3 times going back and forth over the zipper, 1/4″away from the pillow edge. This secures the zipper in place. Cut off any excess overhanging zipper. (Figure 5)
Step 4 – Sew Pom Pom Trim onto Pillow Front
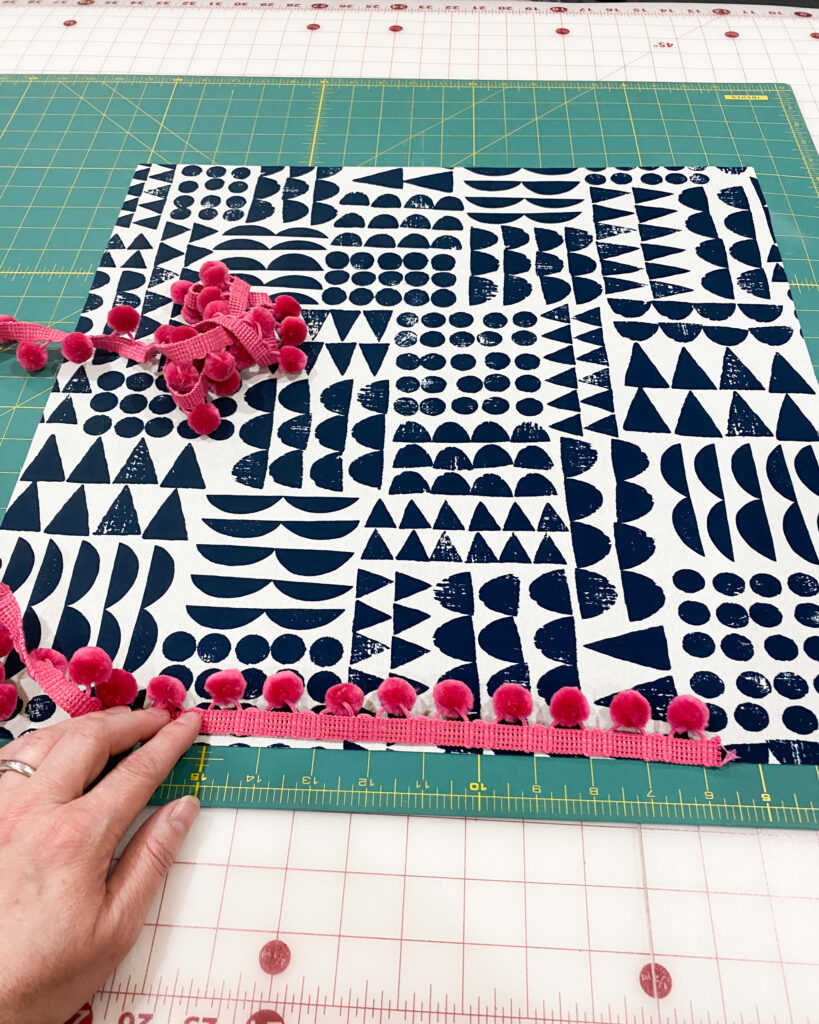
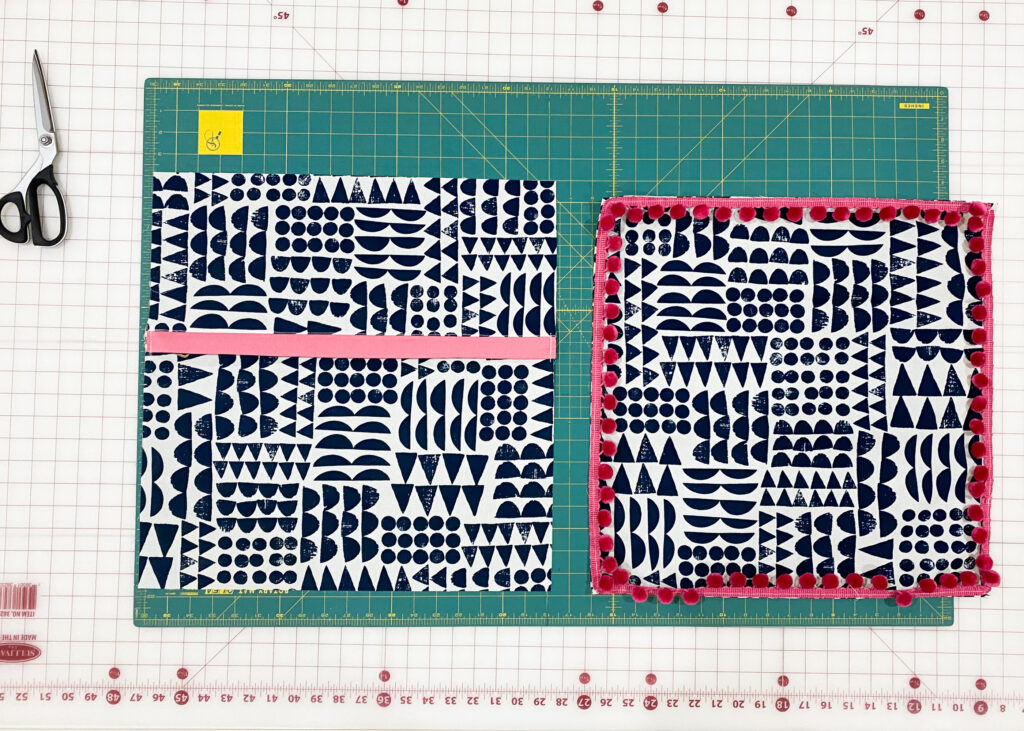
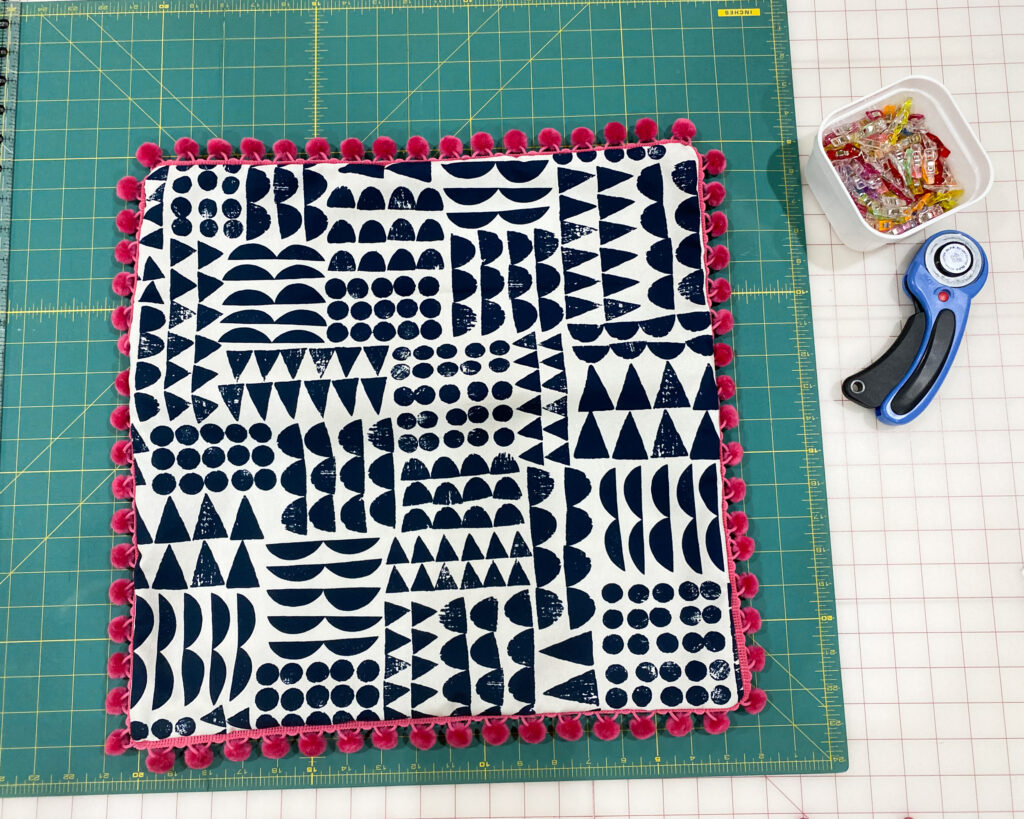
- With the pillow front facing up, align the pom pom trim 1/8″ in from the edge of the pillow with pom poms facing in towards the pillow center. Sew with 1/4″ seam. To pivot around the corner, I make a few small cuts in the trim at the corners so it turns easily. When you finish sewing the pom pom trim on the pillow front, overlap the ends 1/2″ to 1″.
Step 5 – Finish the Pillow
- Check that the pillow front and back are the same size before sewing them together. My pillow front ended up being 1/2″ smaller than the back, so I trimmed 1/2″ off the pillow back bottom panel. As I sewed the trim onto the pillow front it shrunk in about 1/4″ because the tension was off on my sewing machine, this didn’t effect the fit of the pillow insert – it fit nice and snug, just perfect (pillows are very forgiving). I’ll try using a long basting stitch to sew the trim on next time to see if that fixes my shrinking pillow issue.

- Place the pillow top and back right sides together.
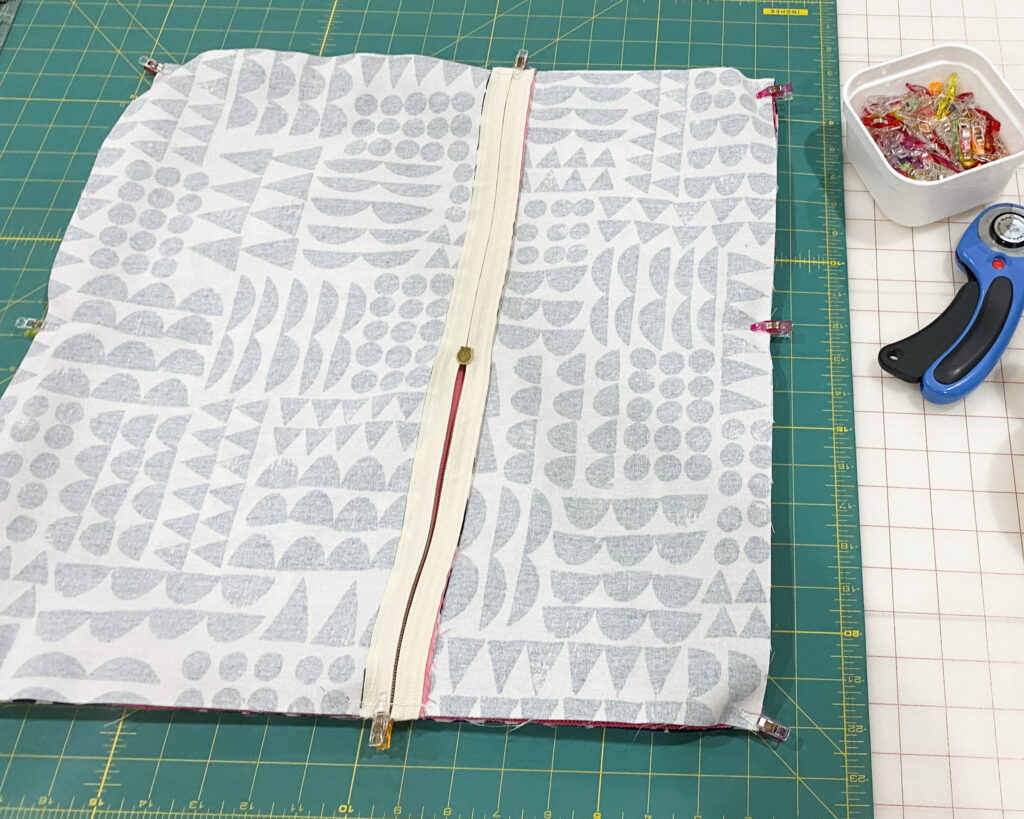
- Open the zipper halfway (this is important), pin and sew around the pillow with 1/2″ seam. Clip off the corners, turn your pillow right side out, and push out the corners.
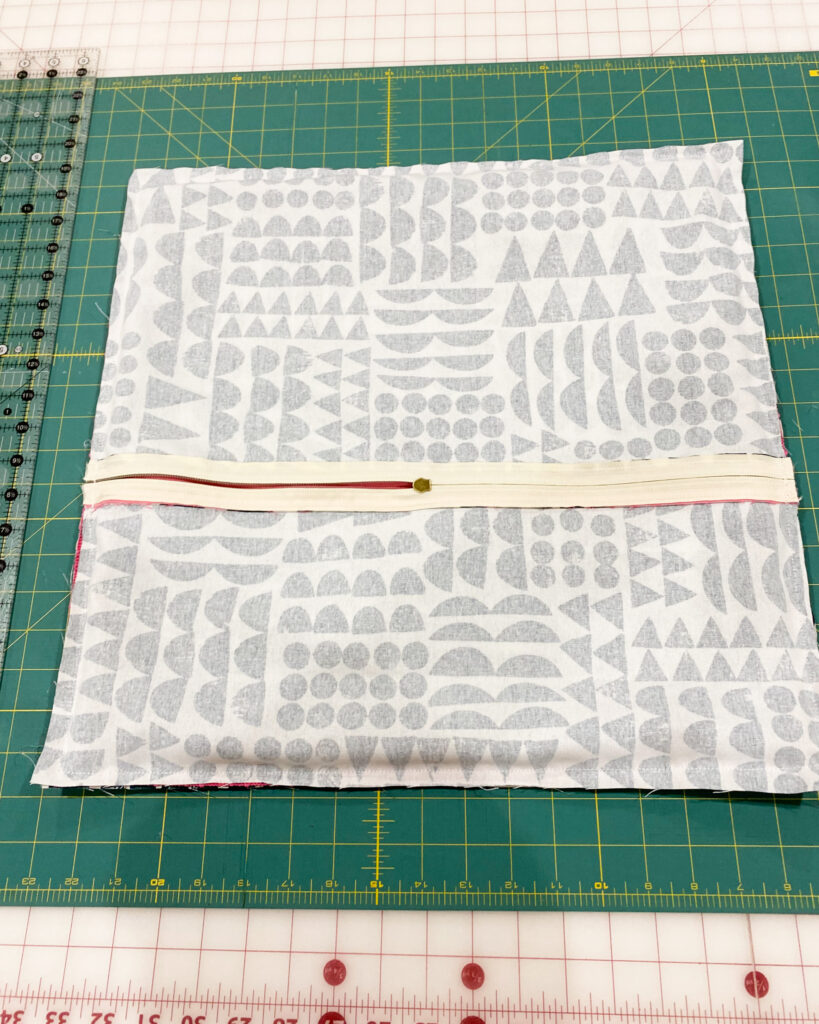
- Place your pillow insert inside, and your pillow is complete. Enjoy!
I hope you enjoy making your pillow!
