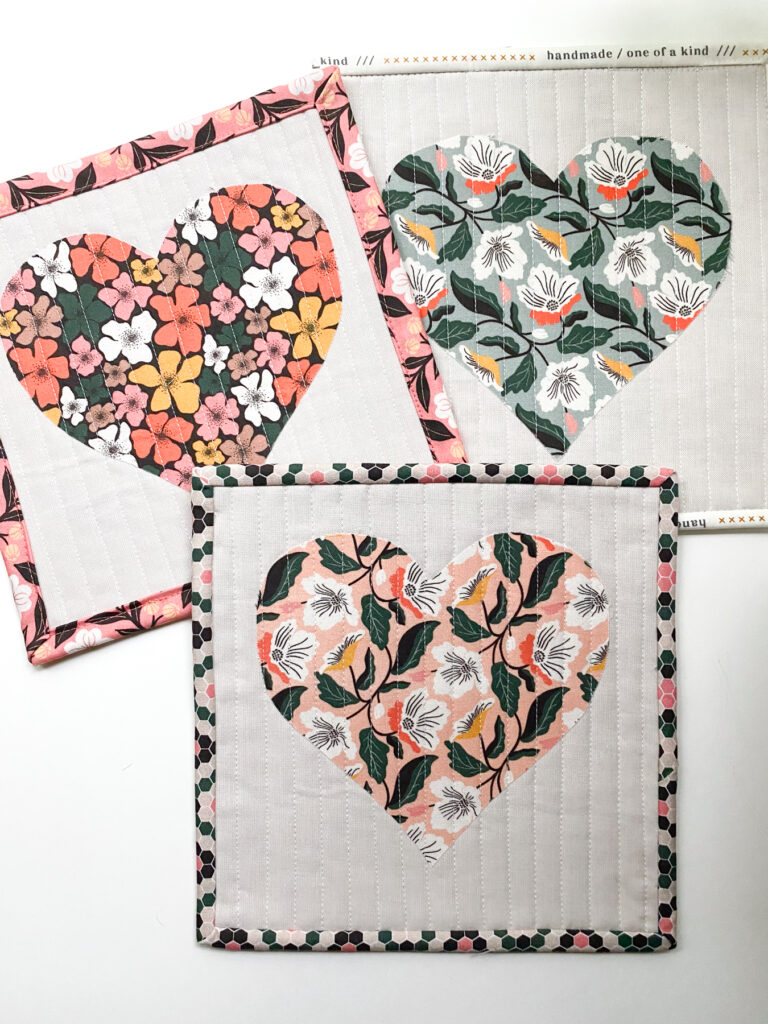
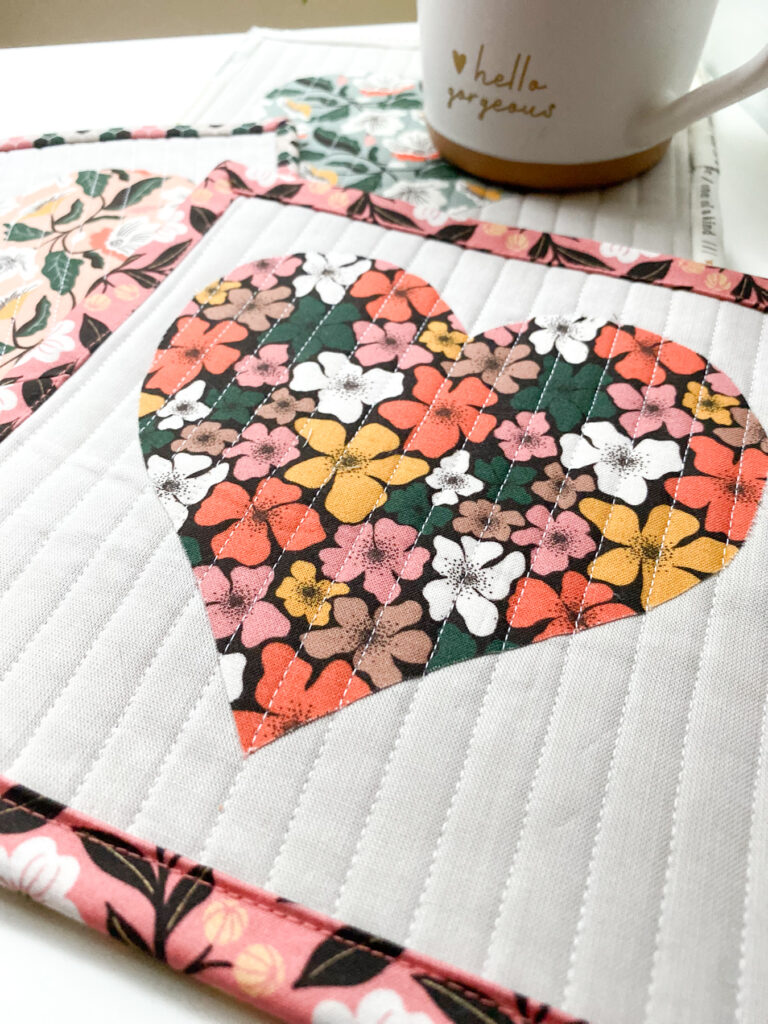
Heart Mug Rug Tutorial
It’s a mini quilt for your favorite warm beverage – a mug rug that is. These are really fun to make, and are the perfect gift for your valentines. I gifted these to my book club girls along with a mug and they’re favorite drink – spiced tea for Debbie, and hot chocolate for Cindy. I made another pile of them to give to my family who are anxiously awaiting a quilt from me, for now these little mug rugs should hold them off until i can get their quilts made. Anyways, let’s get into the project shall we!
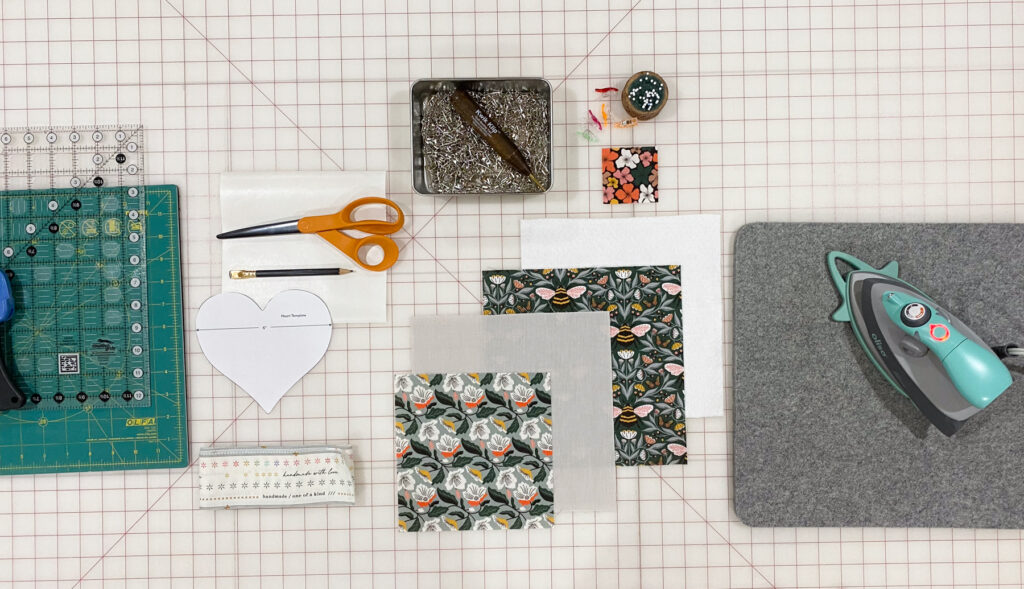
Materials
- Heart template (download below)
- 9″ x 9″ background fabric, Cloud9 Organic Solid in Ash
- 7″ x 7″ fabric for the heart, Honey Garden organic fabric by Cloud9
- 9″ x 9″ fabric for the backing
- 2 1/2″ x 42″ binding fabric
- 9″ x 9″ cotton batting
- 6 3/4″ x 6 3/4″ fusible webbing
- Sewing supplies: iron, basting pins, pencil, scissors, rotary cutter, large square ruler (optional), cutting mat, sewing machine with walking foot
Instructions
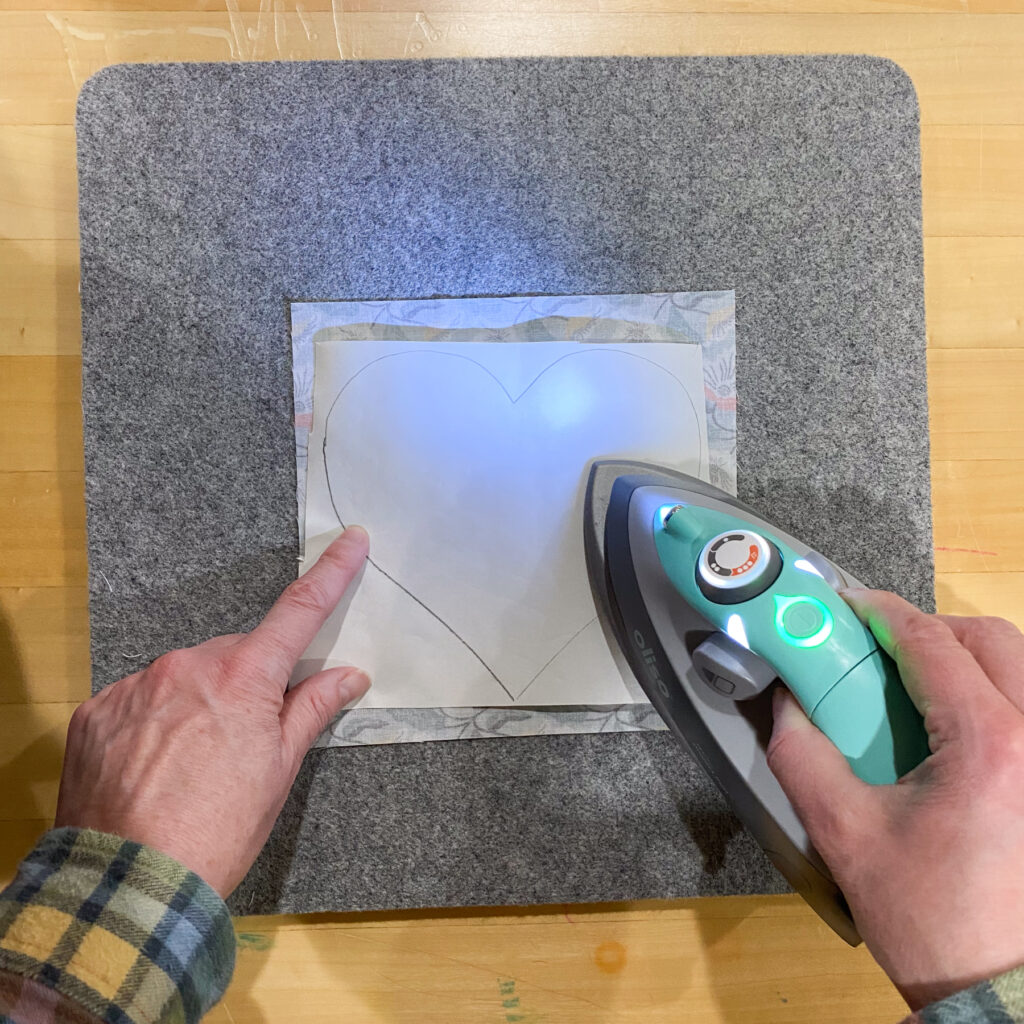
- Print the heart template. Cut out the template and trace it onto the paper side of the fusible webbing.
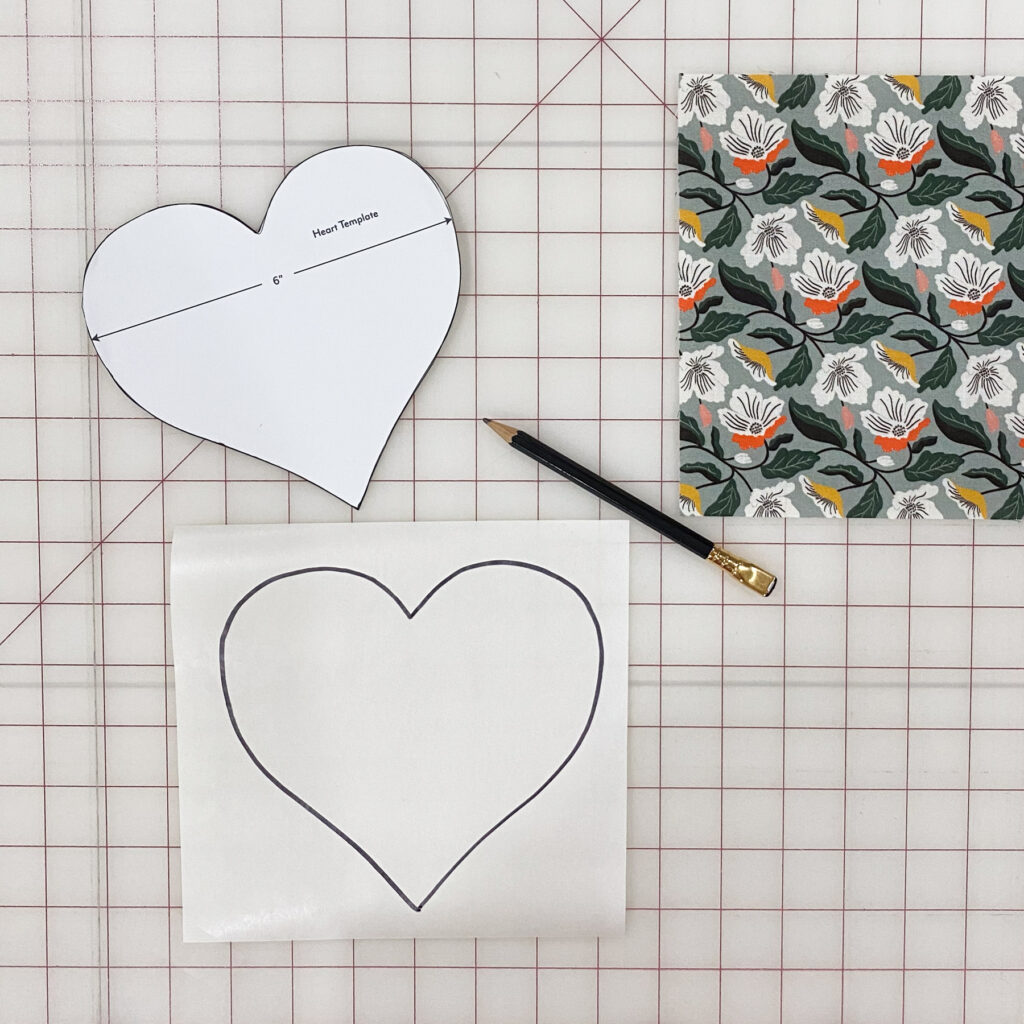
- Press the fusible webbing onto the wrong side of the heart fabric square.
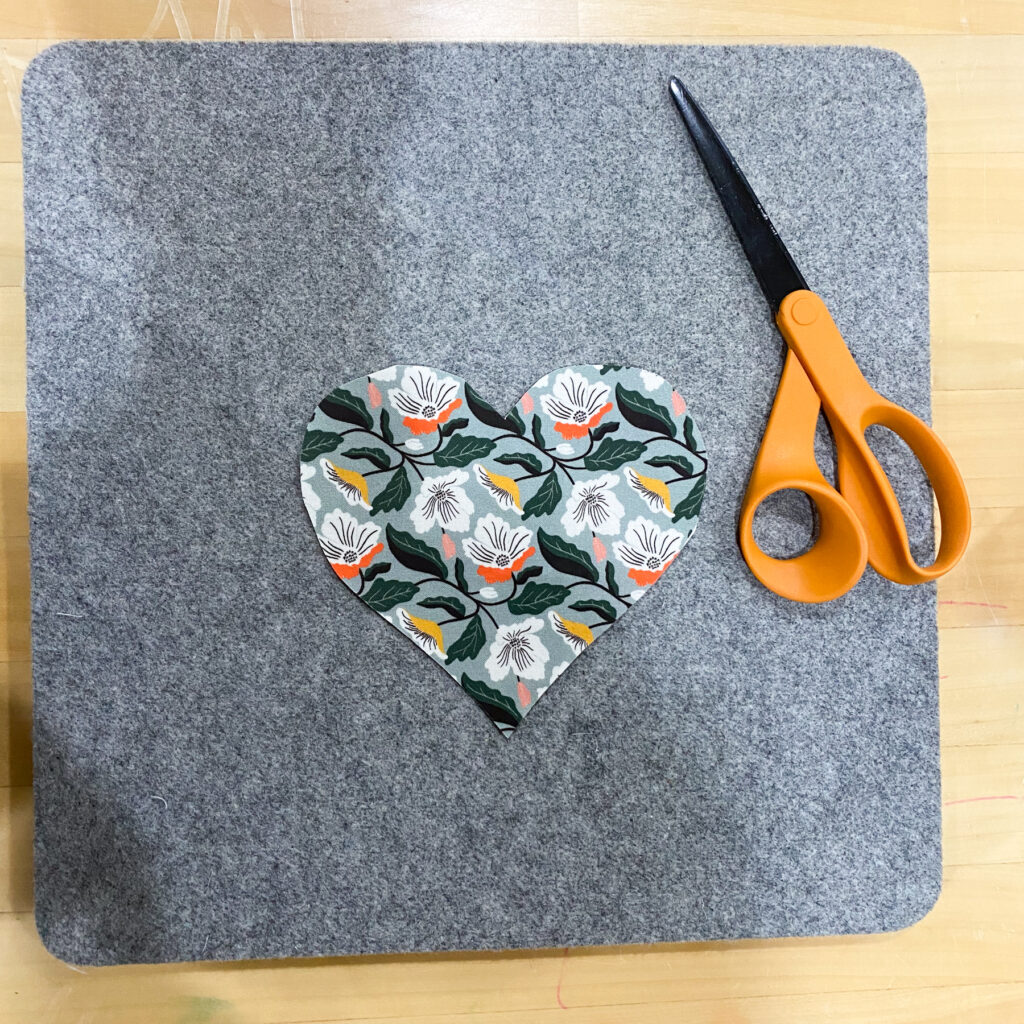
- Cut out the heart using the trace lines.
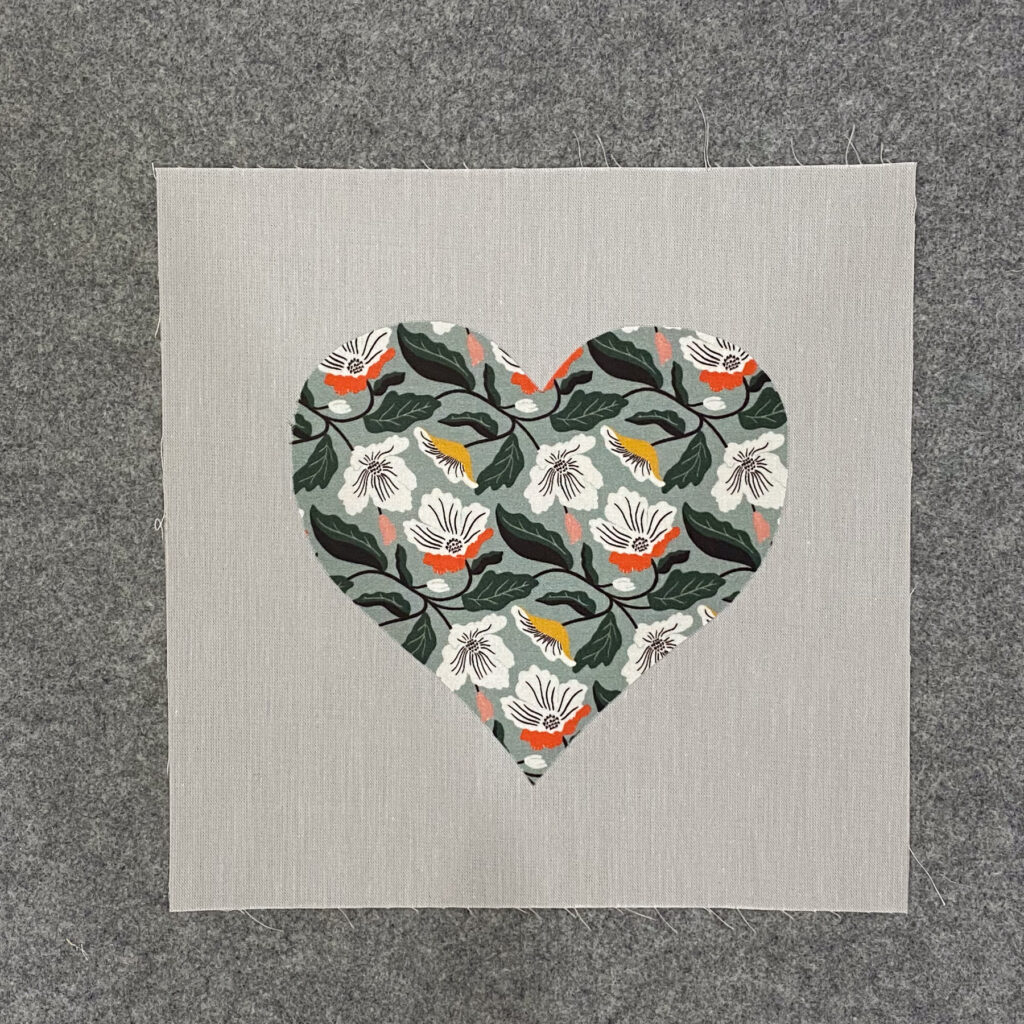
- Remove the paper backing, and center the heart onto the background square and press into place. Optional: Sew around the heart with a straight stitch, zigzag stitch, or satin stitch to secure.
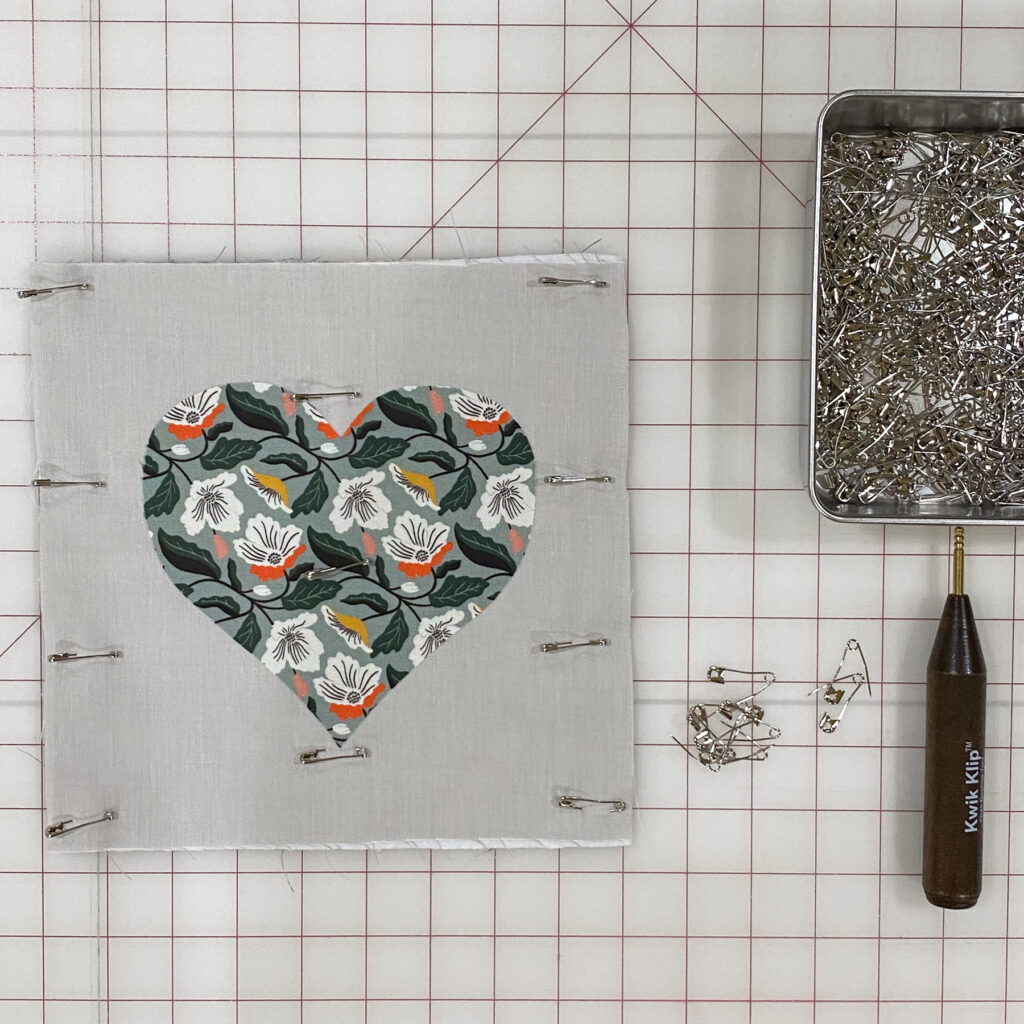
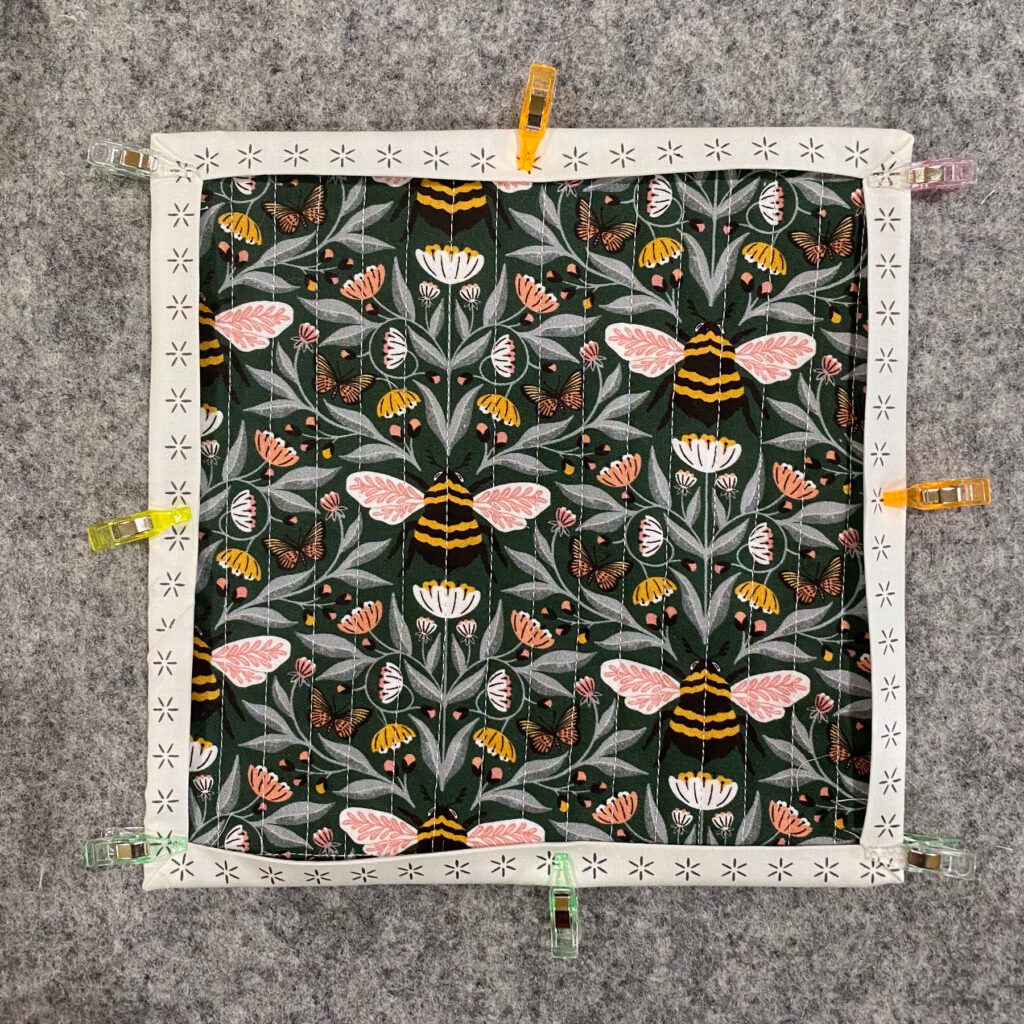
- Layer the backing wrong side up, followed by the batting, and then the heart square right side up. Baste the layers together and quilt as desired. I used the walking foot on my sewing machine to sew lines spaced 1/2” apart.
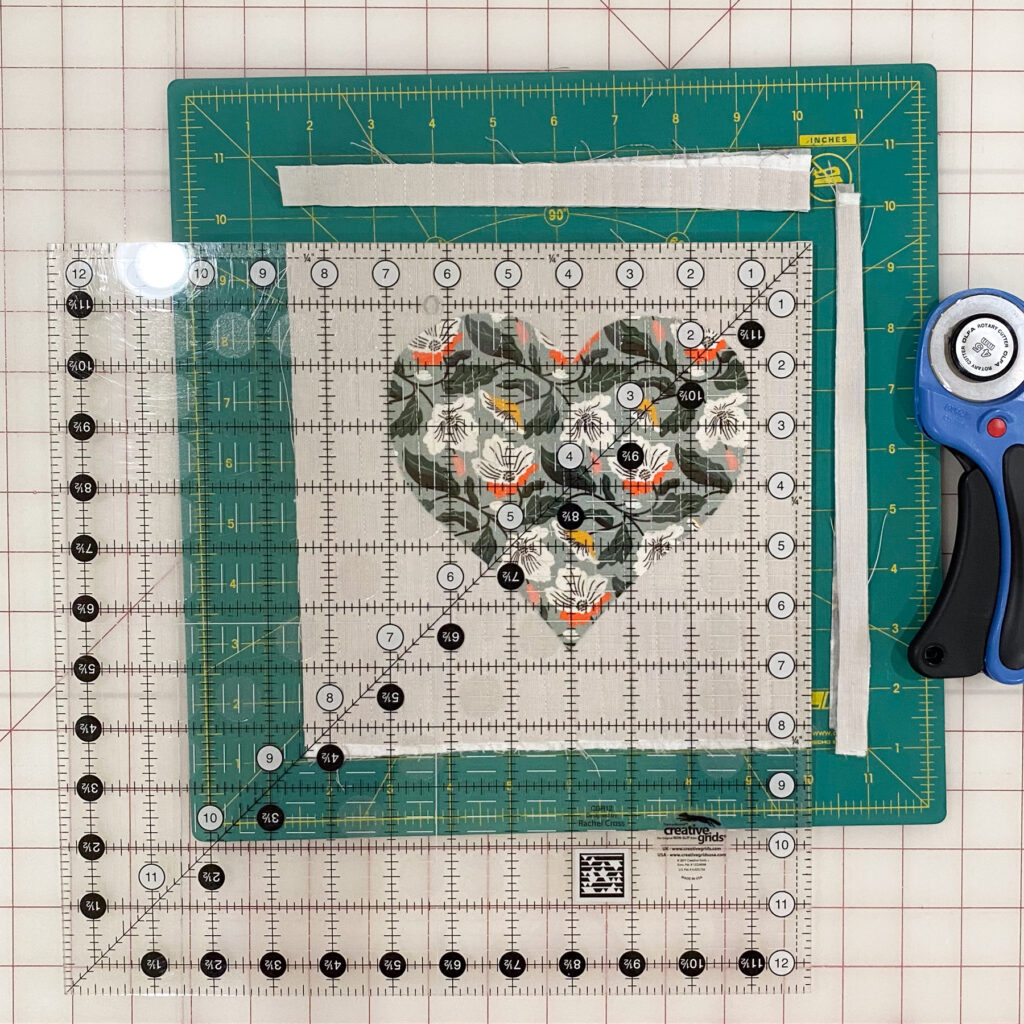
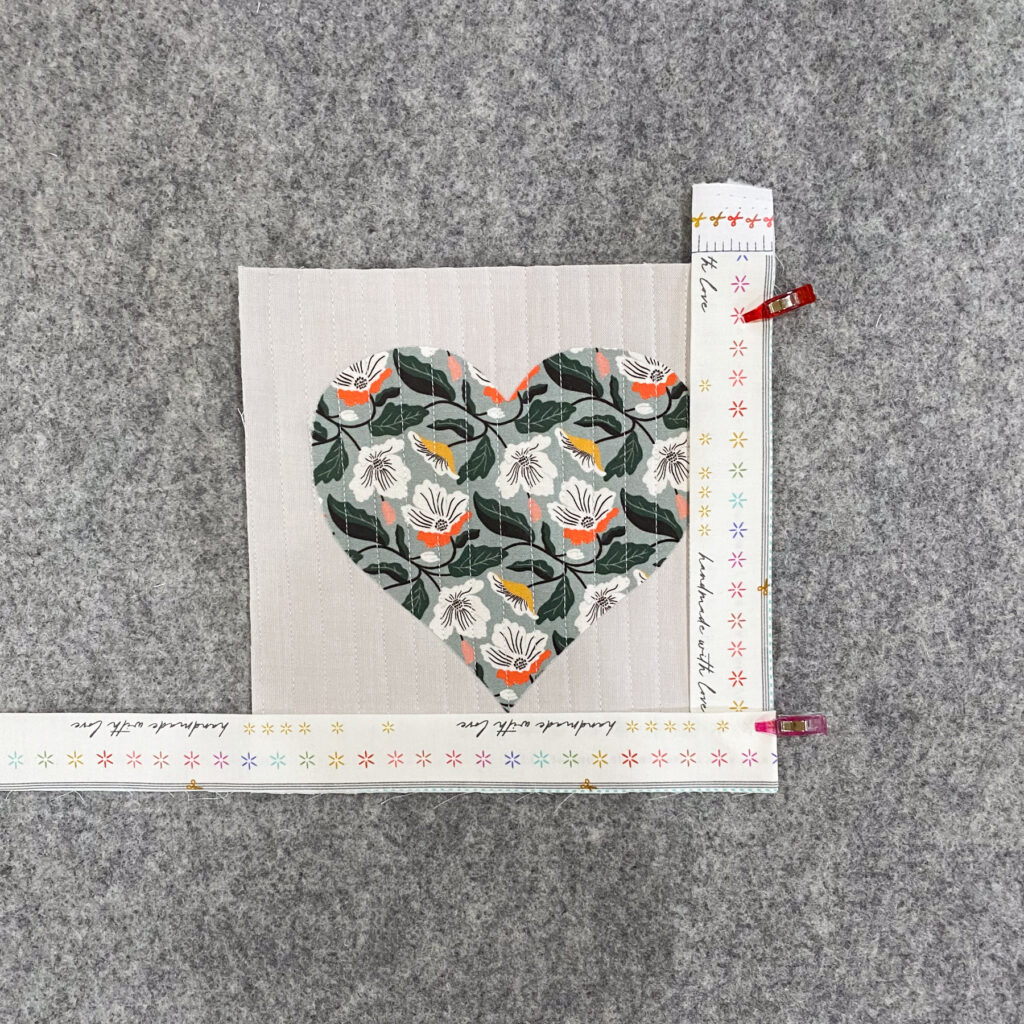
- Trim the quilted mug rug to 8” x 8” square. I use a 12 1/2” x 12 1/2” quilting ruler to trim, this helps me see the design is centered when trimming.
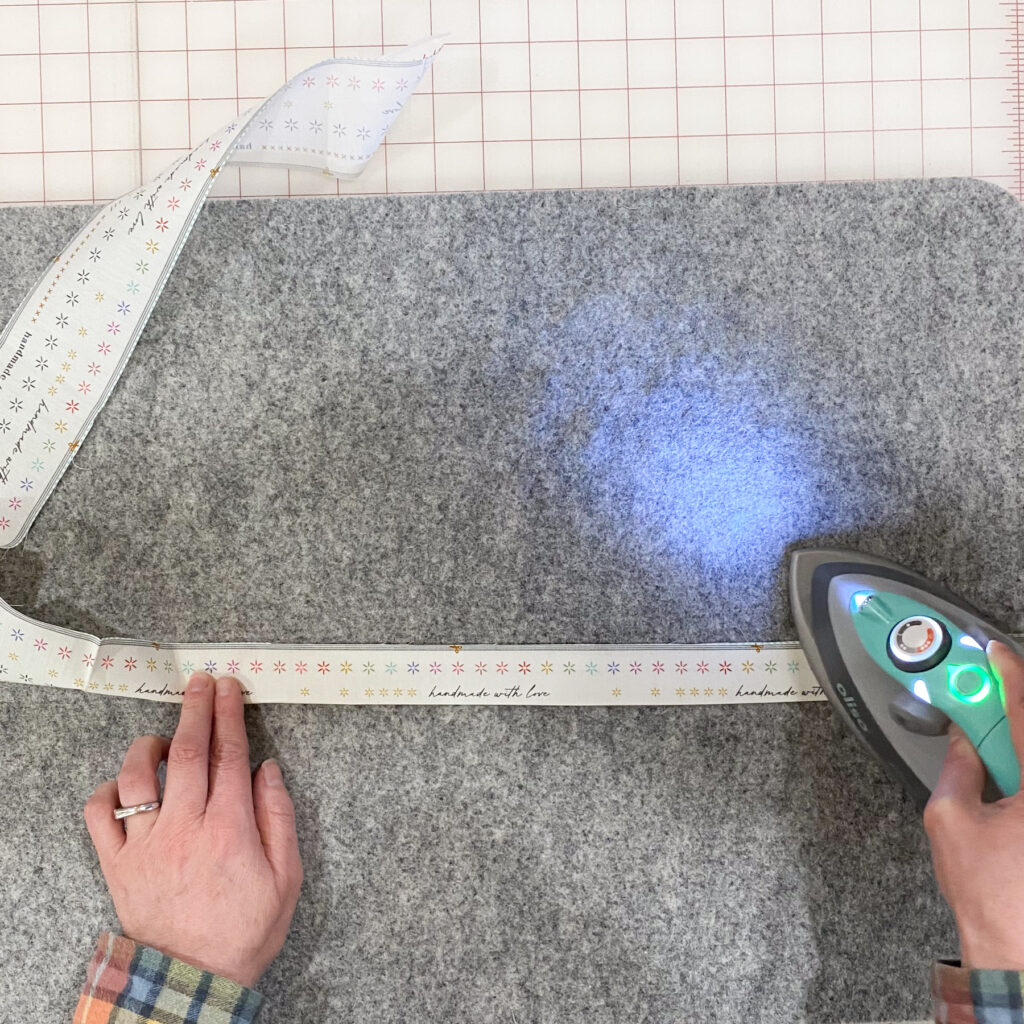
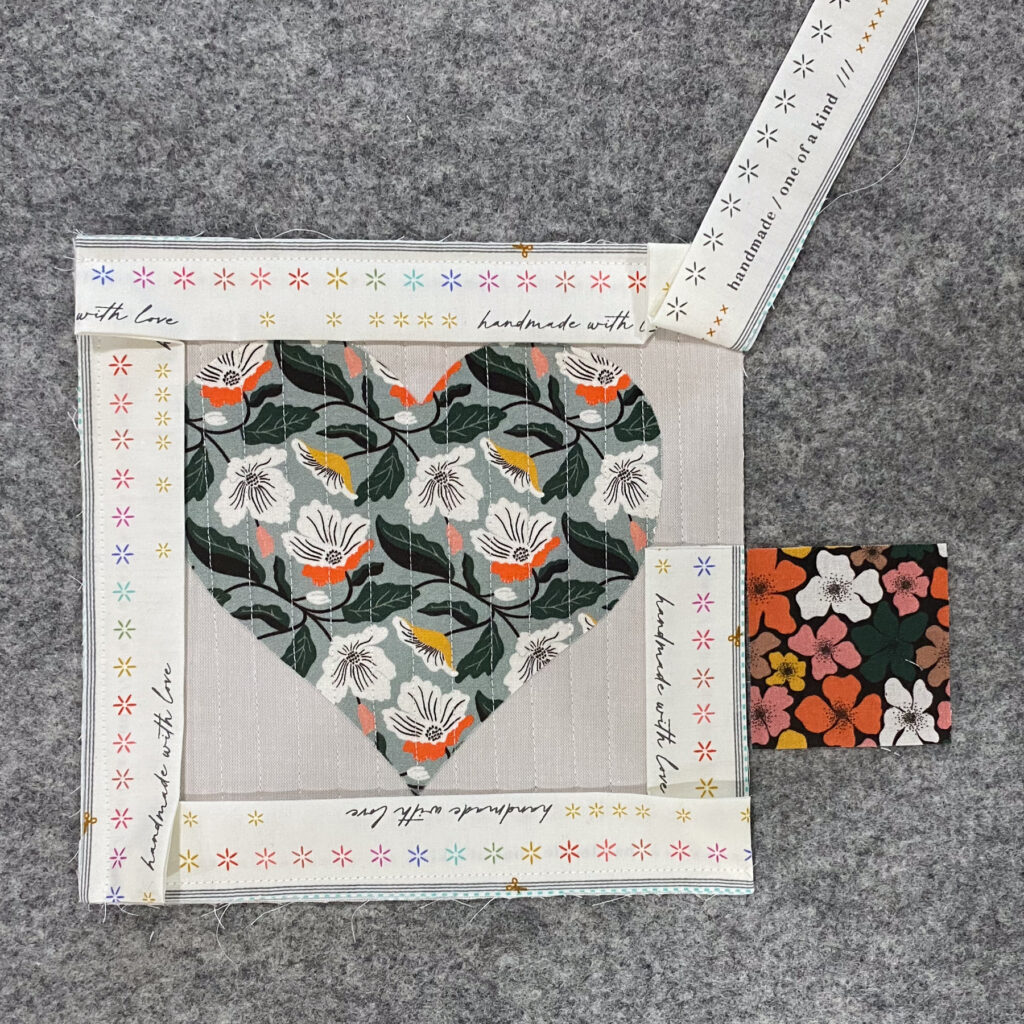
- Prepare the binding strip by folding the 2 1/2” x 42” strip in half lengthwise with wrong sides together and press.
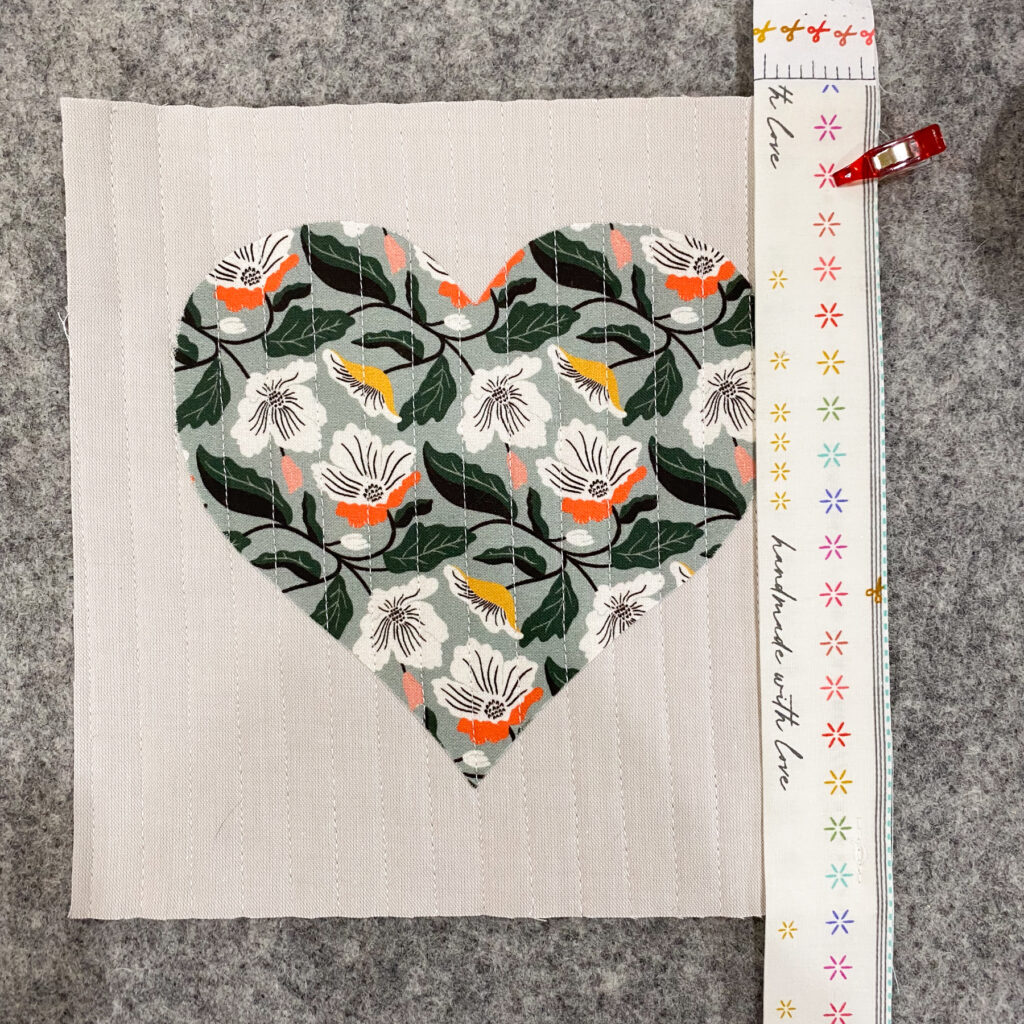
- Leaving 7” of the binding strip free, begin sewing the strip to the front of the mug rug 1” from the bottom edge as shown, stop sewing when you get 1/4” away from the end and backstitch.
- Remove the mug rug from the machine. Fold the strip at a 45° angle and then back down over itself, lining up the raw edges to make a mitered corner.
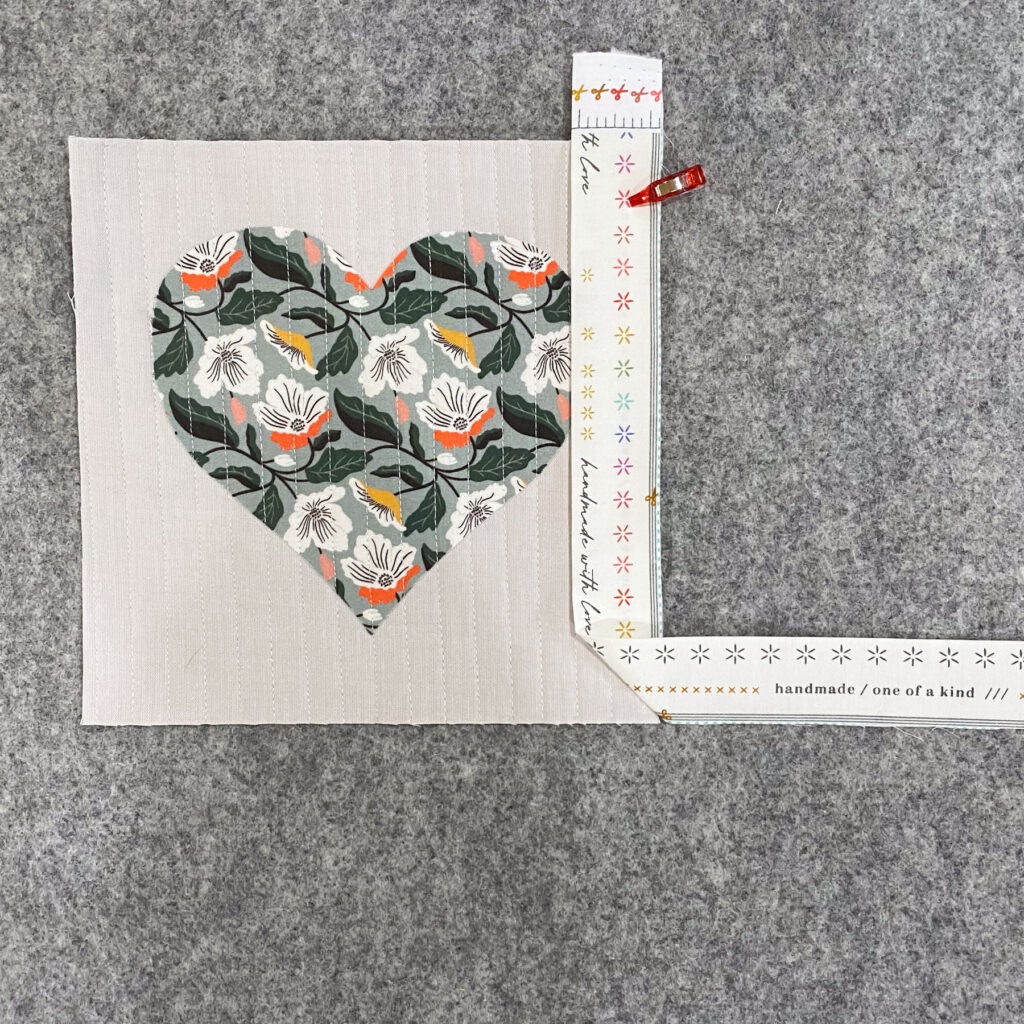
- Continue sewing, beginning at the top edge and sew down to the next corner, and repeat step 9 all the way around. When you reach the last corner, stop sewing and backstitch 1 inch after turning the corner to leave enough room to join the ends of the binding.
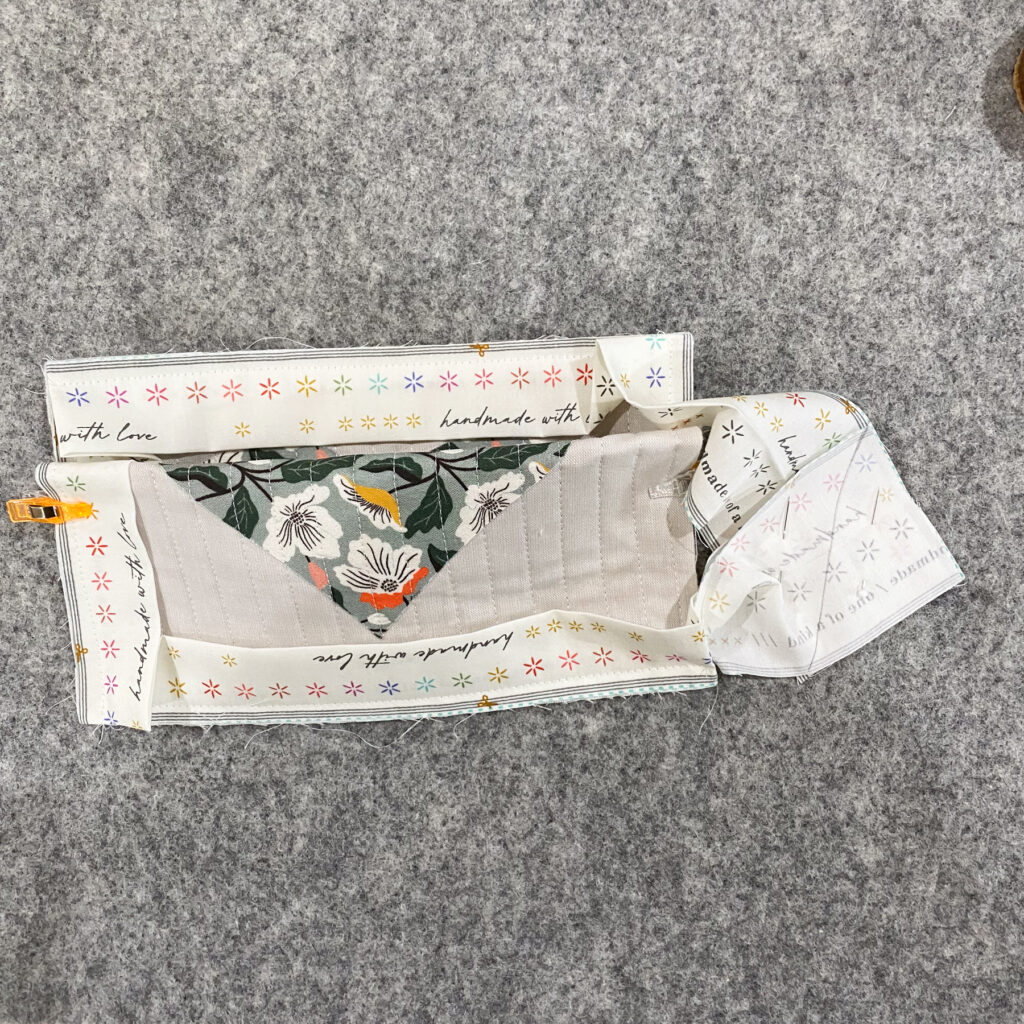
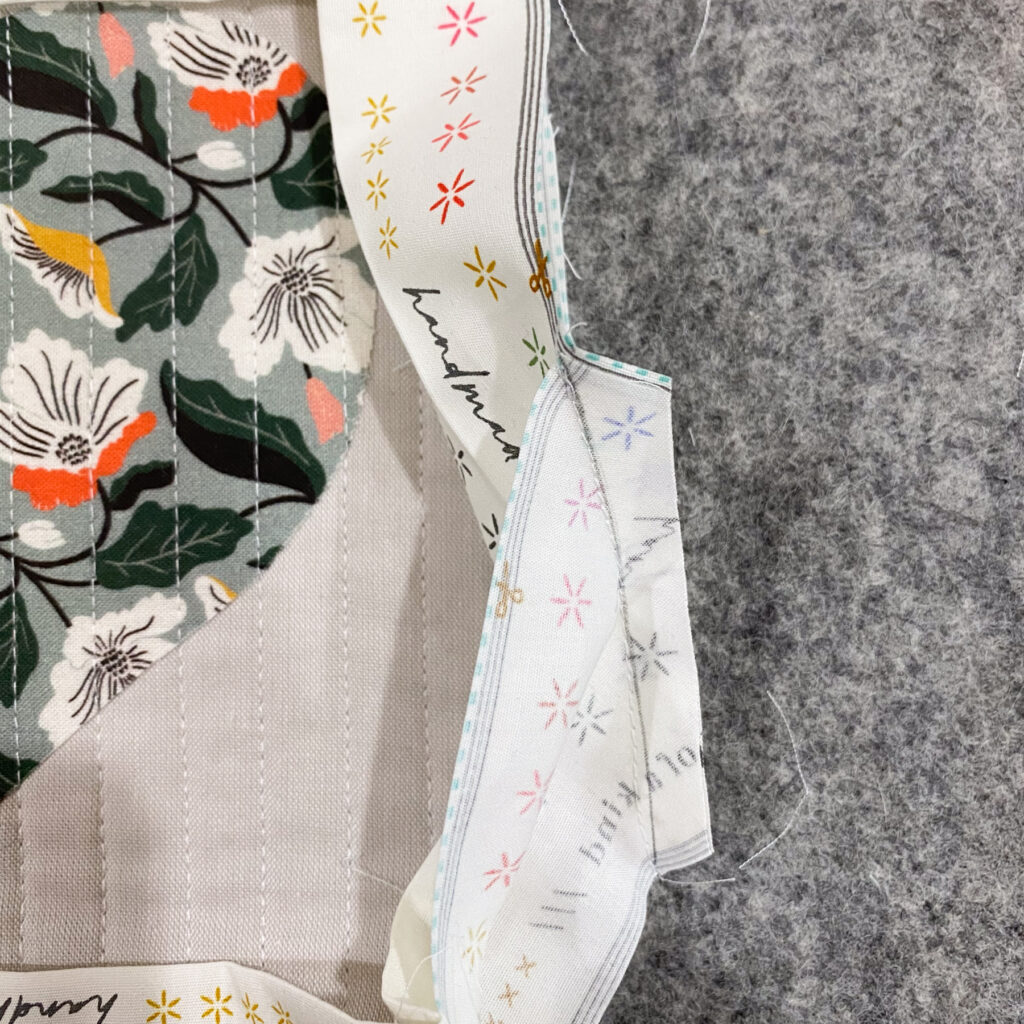
- Lay the mug rug on a flat surface. Cut the ends of the binding so that they overlap 2 1/2”. Tip use a 2 1/2” square as your guide as shown.

- Open the binding. Place the strips at right angles right sides together. Pin the ends together as shown. Draw a diagonal line from the corner of the intersections. Sew on the line. Tip: it helps to clip the mug rug in half as shown to give yourself more working room. Then trim seam allowance to 1/4” and press open. Finish sewing the binding to the mug rug.
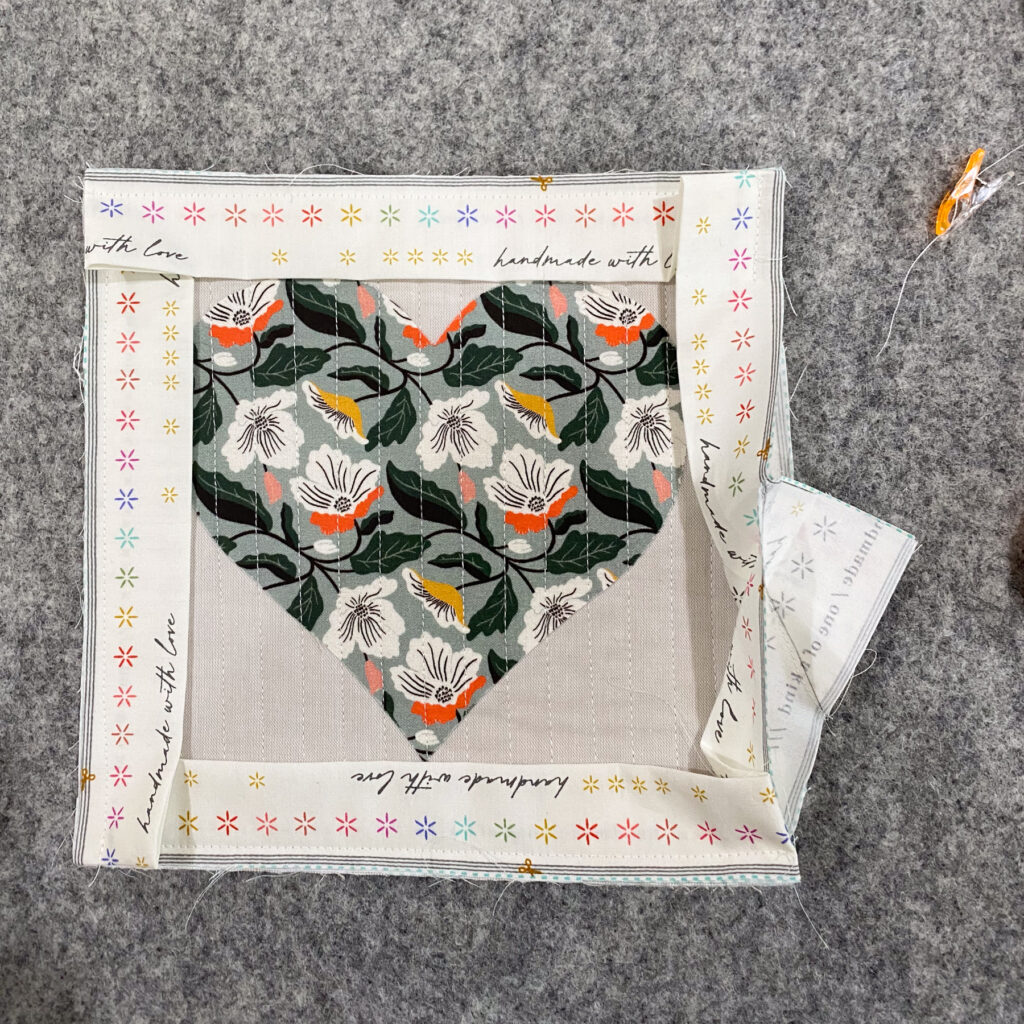
- Turn the binding to the back of the mug rug, and hand stitch or machine stitch to finish.
I hope you enjoyed making this mini quilt project.
Happy quilting!