Basket Tutorial
Hey there! Today, I’m excited to share a fabric basket sewing tutorial. This handy basket is not only great for keeping your sewing area organized, but it’s also useful to store small items around your home. It’s a quick sew project, and perfect for beginners. Sew a few to give as gifts for the holidays, housewarmings or baby showers. Gather your favorite fabrics, get your sewing machine ready, and let’s get sewing together!

This tutorial features fabric from the Comforts of Home collection by Tara Reed for Cloud 9 Fabrics, Canning for the outside, and Clementine Dream for the inside. The basket is reversible so you can change it out anytime. You can make 2 basket from 2 fat quarters.

The finished basket measures approximately 6 1/2″ wide, by 3 1/2″ deep, and 7″ tall (or 5″ tall if you fold down the top).

Material requirements
- 2 fat quarters
- lightweight to medium weight fusible stabilizer, such as Pellon 808 Craft-Fuse ®, or Pellon 809 Decor-Bond®, or fusible fleece.
Stabilizer is optional, i’ve made the baskets without stabilizer and they still stand up nicely, but they’re not as structured. I use one next to my sewing machine to catch all my threads.
Step 1: Cut & prepare fabric
- Cut exterior fabric 10″ wide x 18″ long
- cut interior fabric 10″ wide x 18″ long
- from stabilizer cut 2 – 10″ wide x 18″ long (cut slightly smaller than your fabric)
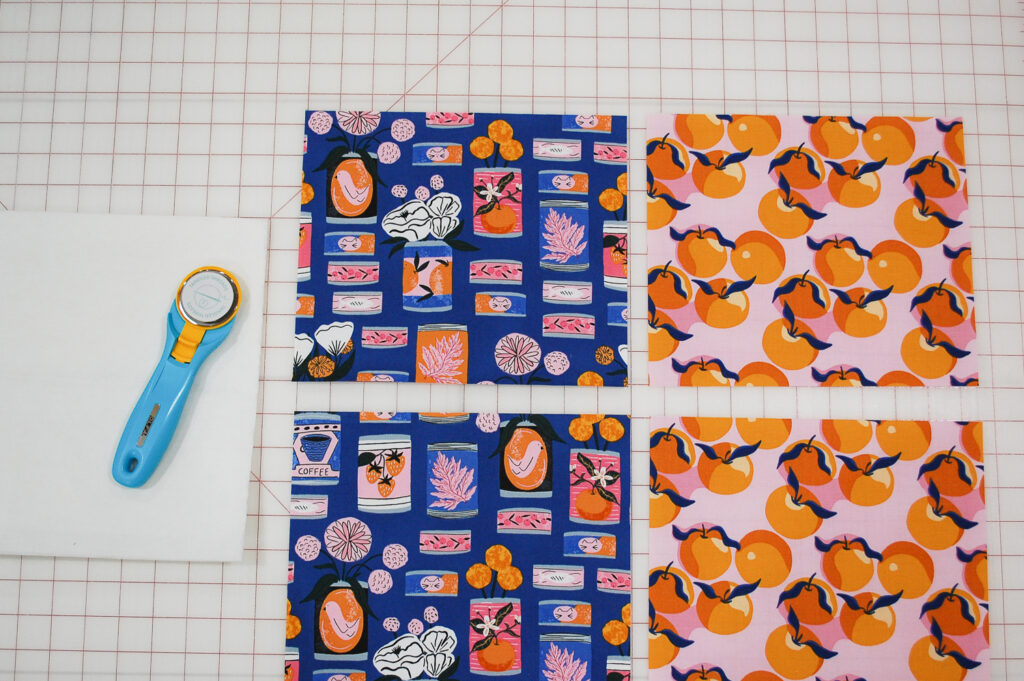
For one-directional fabric (all the pattern is running in only one direction), like the Canning and Clementines, I cut the exterior and interior fabric in half to measure 10″x 9″ and rotated one of the halves 180 degrees, then sewed them back together using 1/4″ seam allowance (as shown below). I wanted the fabric pattern on my basket to run right side up on the front and back -skip this step if that doesn’t bother you. With this method your finished interior and exterior will now measure 10″ x 17 1/2″ so cut your stabilizer 10″ x 17 1/2″ as well.


Fuse stabilizer to wrong sides of the exterior and interior fabric.

Step 2: Sew fabric basket liner
Fold liner in half with right sides together and pin in place. Sew along the sides with 1/4″ seam, leaving the top open). Snip into the corner seam as shown below.


Box corners by laying the side seam against the bottom of the basket Measure 1 1/2″ from the top of the snipped seam using a ruler as shown. Mark a line perpendicular to the seam and pin. Sew along this line, be sure to backstitch. Note that a triangle is formed when boxing the corner in this way. Repeat with remaining corner. Trim the triangle off after sewing. Set aside.


Step 3: Sew fabric basket exterior
Sew exterior of basket in the same manner as you did the interior.

Step 4: Assemble the fabric basket
Turn the liner right side out. Place the liner inside the exterior of the basket so that the right sides of the fabrics are facing each other. Line up the side seams and pin in place. Pin around the top of the basket.

Sew around the the basket with 1/2″ seam allowance, leaving a 3-4″ opening for turning, be sure to backstitch so the stitches won’t unravel during turning.
Step 5: Turn the fabric basket
Carefully turn the basket right side out through the opening, pushing all the corners out. Push the lining into the exterior of the basket.

Step 6: Finish the fabric basket
Press around the top of the basket for a nice edge, pressing fabric under 1/2″ at the opening. Pin the opening closed. Edgestitch with 1/8″ seam along the top of the basket. Fold over a bit of the interior fabric so it shows nicely on the outside.


You’re finished! I hope you had fun making this basket. You might also like this snack bag tutorial check it out here.
