How to sew a zipper into a pillow
Learn how to easily sew a zipper into the back of your pillow with this step-by-step photo tutorial. These instructions are for an 18 inch pillow.
Materials you’ll need
Directions are for one 18″ pillow. Width of fabric (WOF) is assumed to be 42″. All seam allowances are 1/4″ unless indicated.
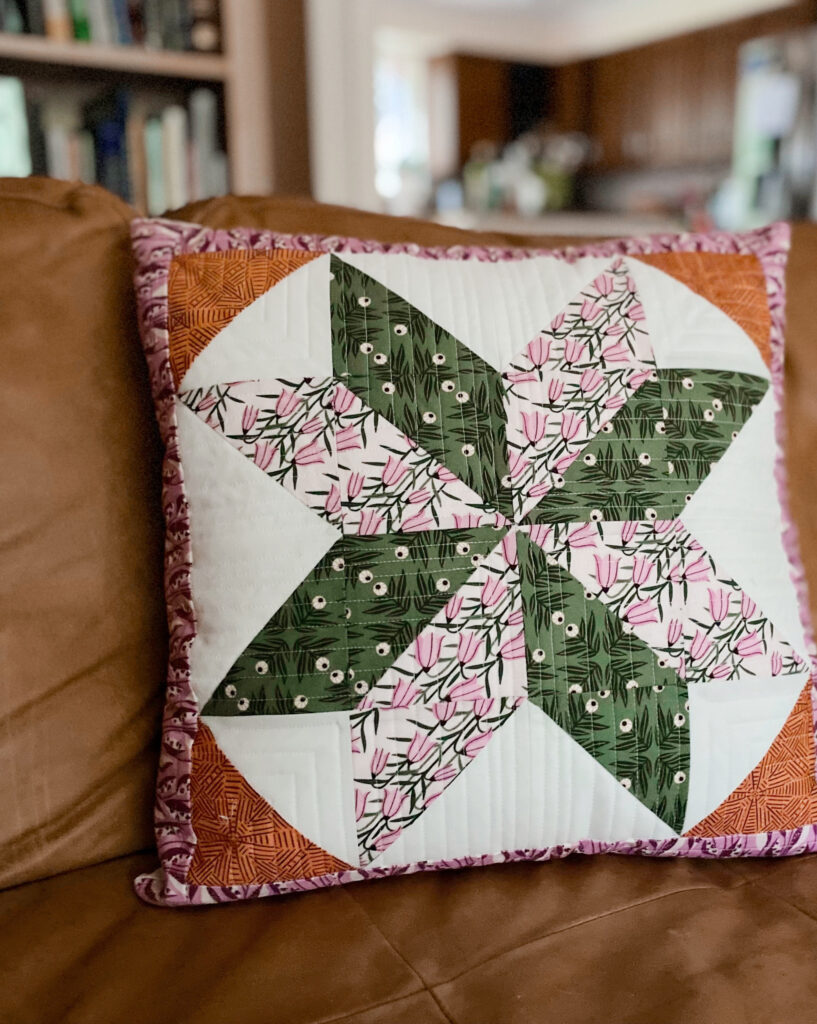
- 18 1/2″ pillow front – Stars A Glow pillow pattern
- 1/2 yard pillow back fabric, I used solid white quilting cotton
- 1/2 yard fusible interfacing, I used Pellon SF101
- 2 1/2″ x 18 1/2″ strip of accent fabric for the zipper cover, I used Bountiful from Wild Haven
- 18″ pillow form, I use these pillows – Set of 4 18×18″
- 20″ nylon zipper, I use nylon zipper by the yard
*As an Amazon Associate, I earn from qualifying purchases.
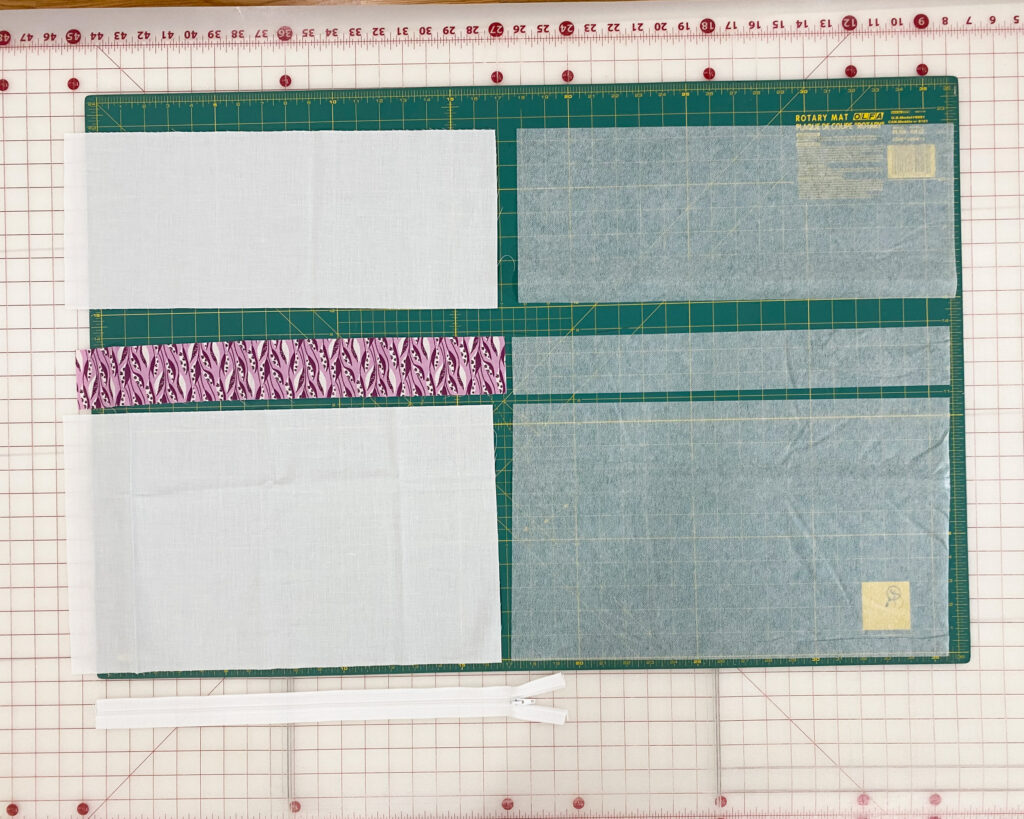
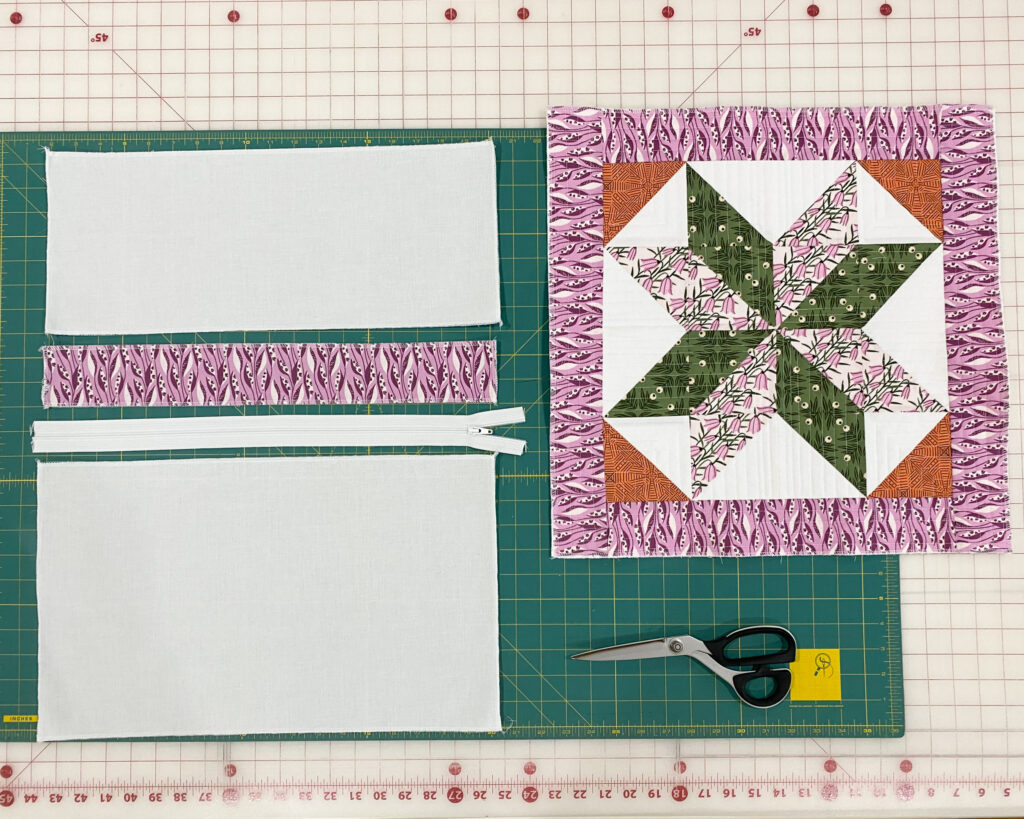
Step 1 – Cut the fabric for the pillow back
- From pillow back fabric, cut 1 – 11″ x width of fabric, then sub-cut:
- 1 – 18 1/2″ x 11″ (pillow back bottom panel)
- 1 – 18 1/2″ x 7 1/2″ (pillow back top panel)
2. From the accent fabric for zipper cover, cut:
- 1 – 2 1/2″ x 18 1/2″ accent fabric for zipper cover
3. From fusible interfacing, cut:
- 1 – 2 1/2″ x 18 1/2″ fusible interfacing
- 1 – 18 1/2″ x 11″ fusible interfacing
- 1 – 18 1/2″ x 7 1/2″ fusible interfacing
Step 2 – Prepare fabric with fusible interfacing
- Cut and iron interfacing to the wrong side of the two pillow back pieces and the zipper accent piece.
- If you’re using Pellon SF101, place the interfacing with the rough shiny side on the wrong side of the fabric. Cover with a thin, damp press cloth. With iron at Wool/Steam setting, press firmly for 10 to 15 seconds. Repeat, lifting and slightly overlapping iron until all interfacing is fused. Steam press on right side. Let fabric cool, then check the bond.
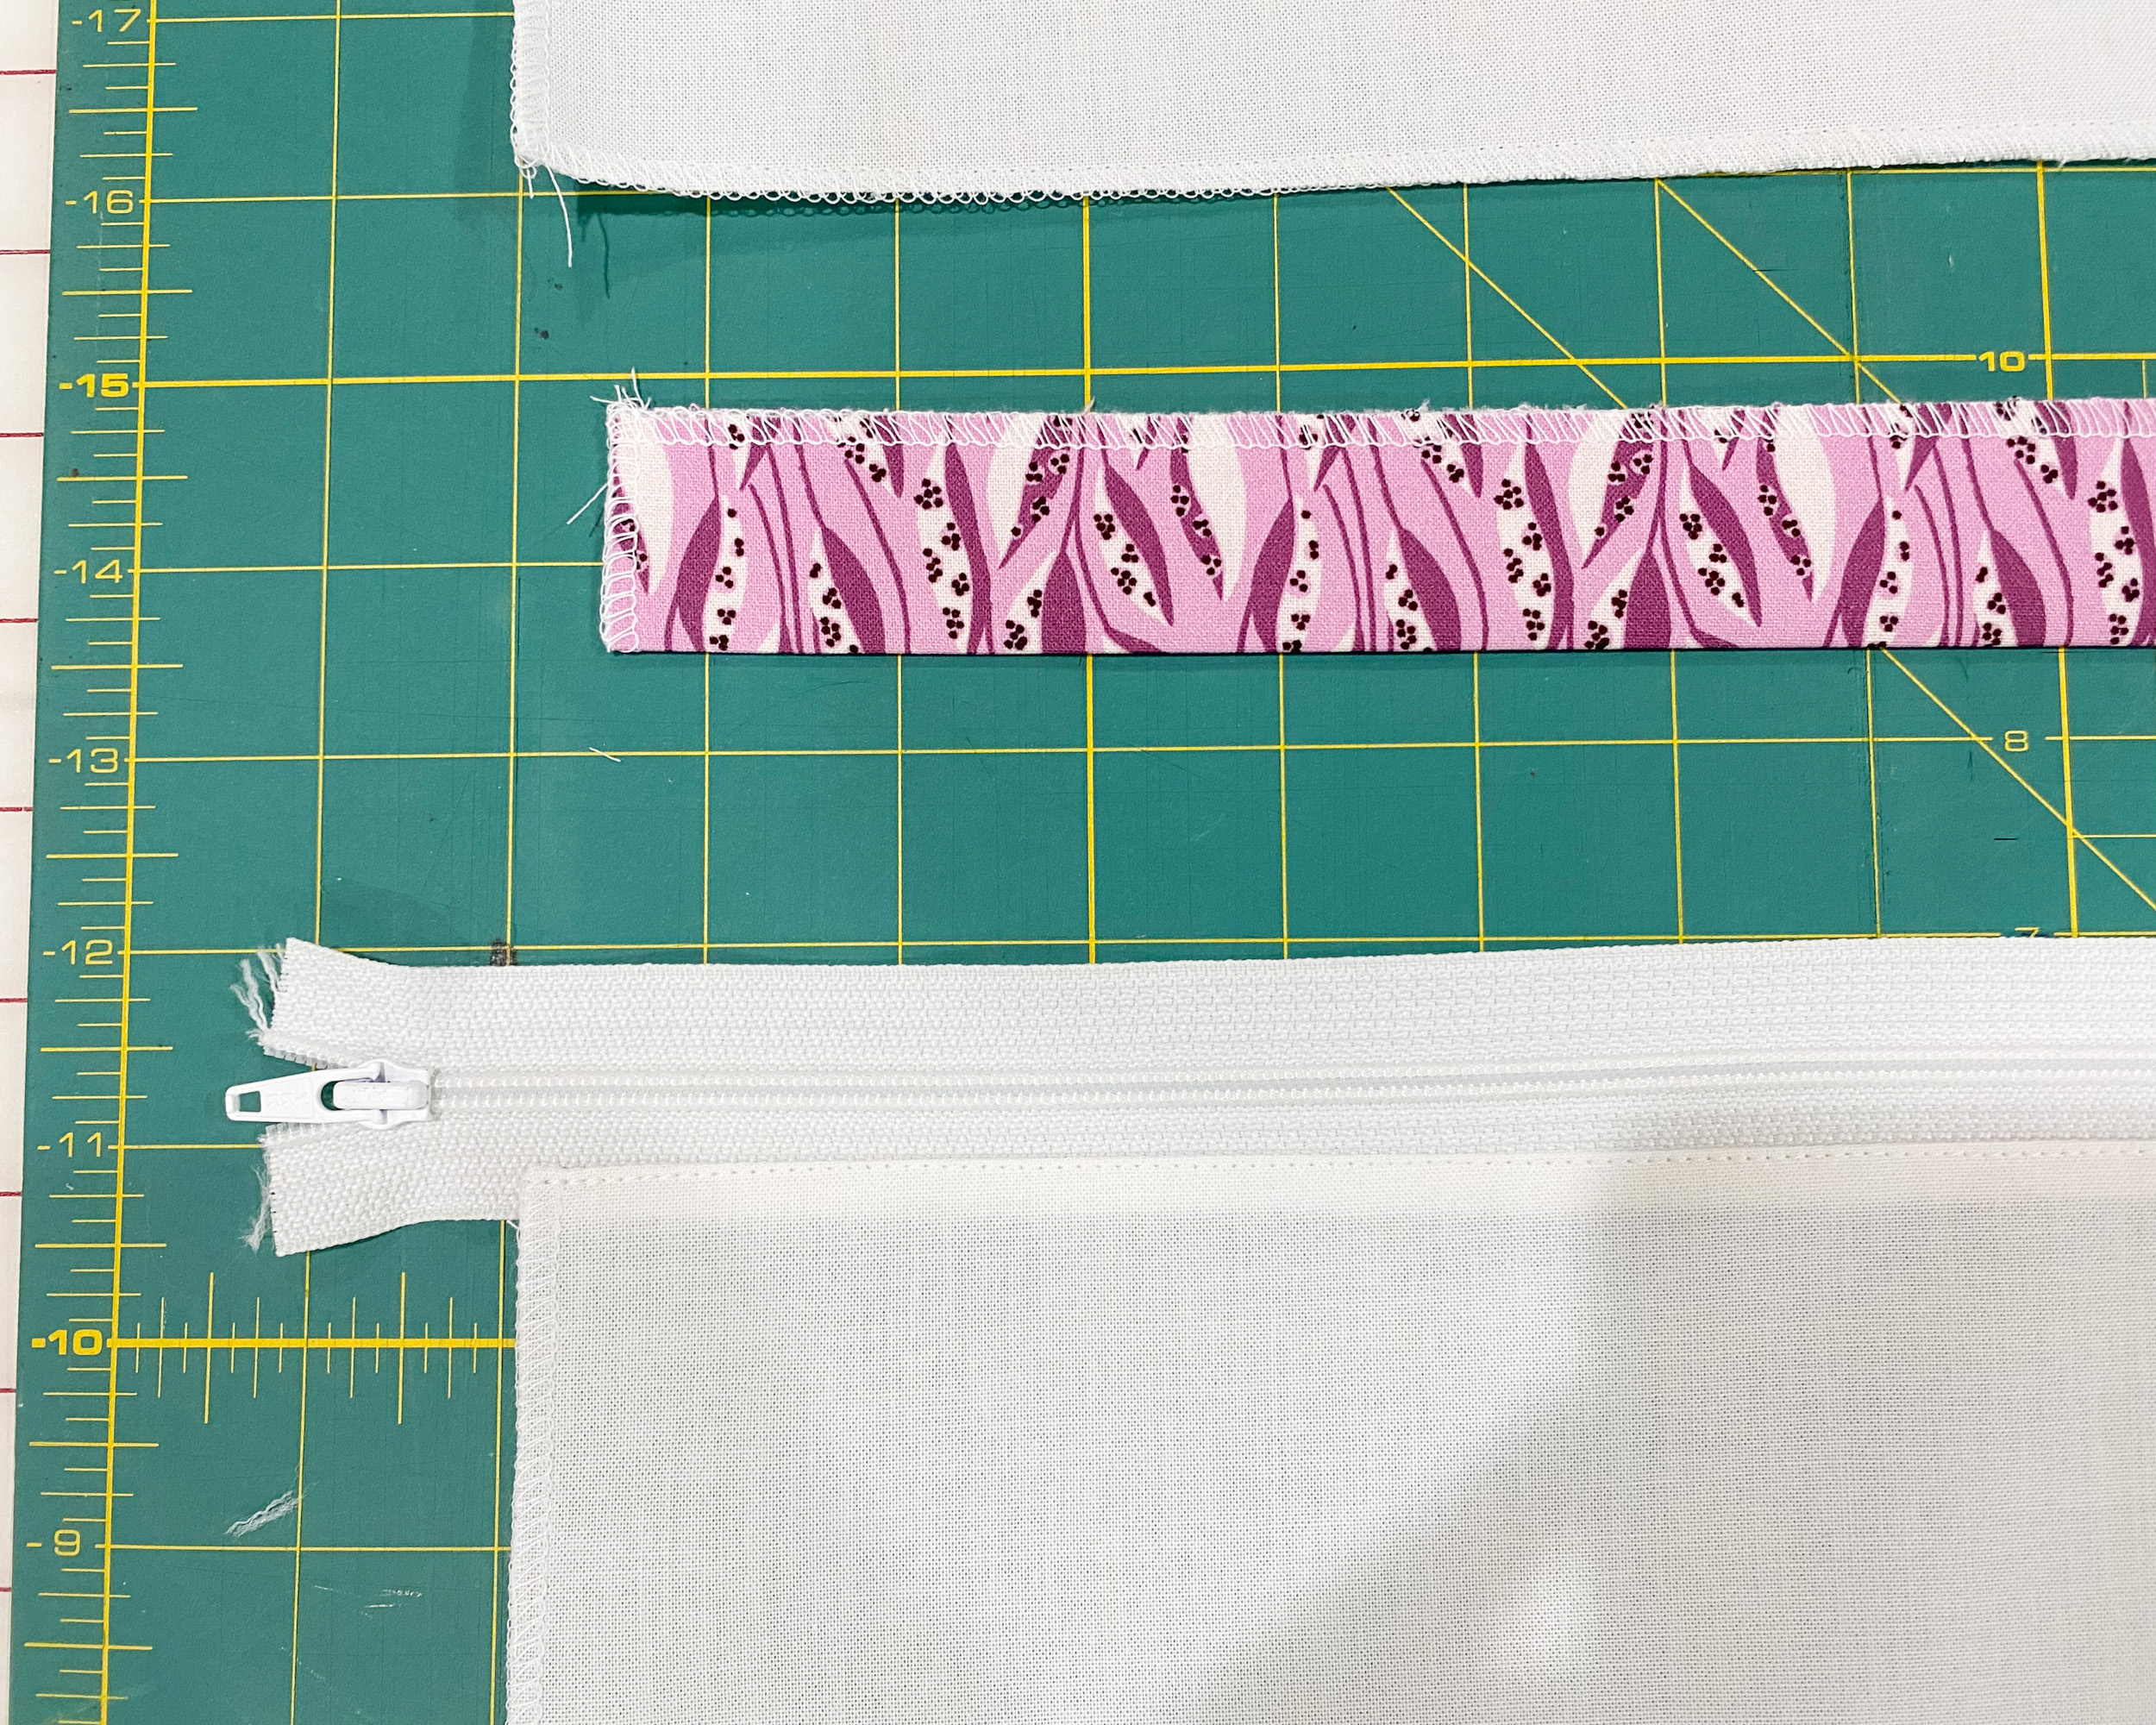
Step 3 – Finish the pillow edges
- Use a serger or zigzag stitch on your sewing machine to finish the edges of your pillow pieces. At the least finish the edges around the zipper to avoid frayed fabric getting caught in the zipper.
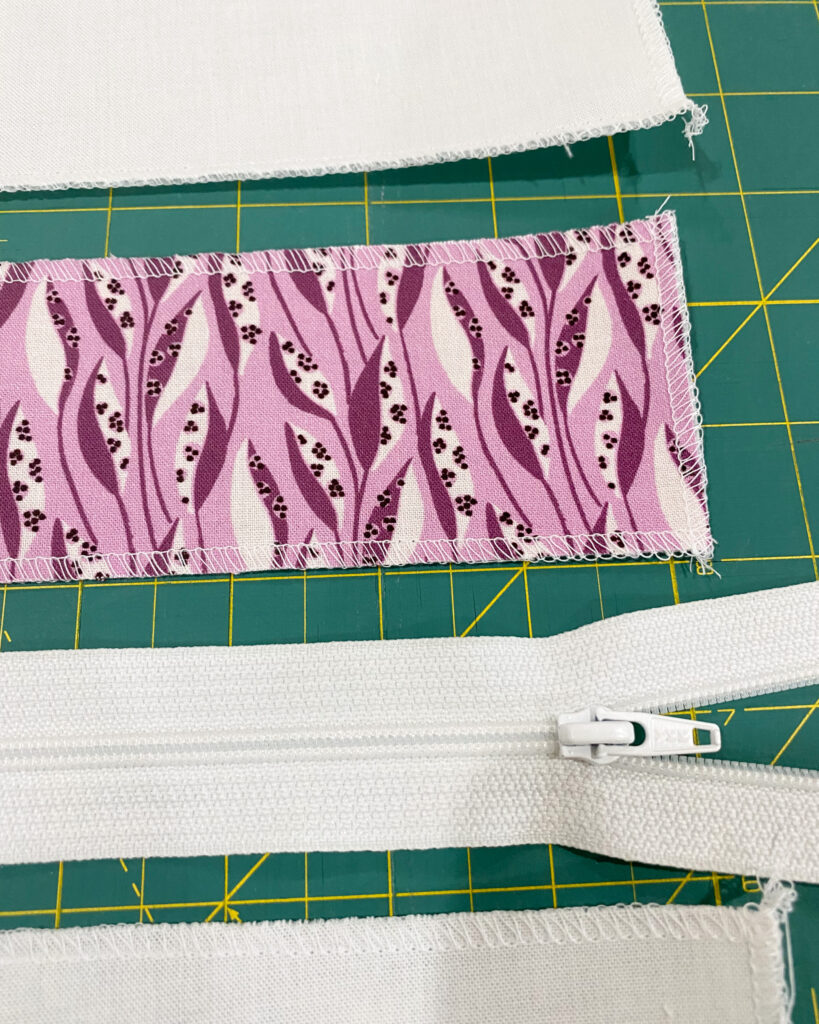
Step 4 – Attach the zipper
- Fold the 2 1/2″ x 18 1/2″ accent fabric in half lengthwise, and press. Set aside.
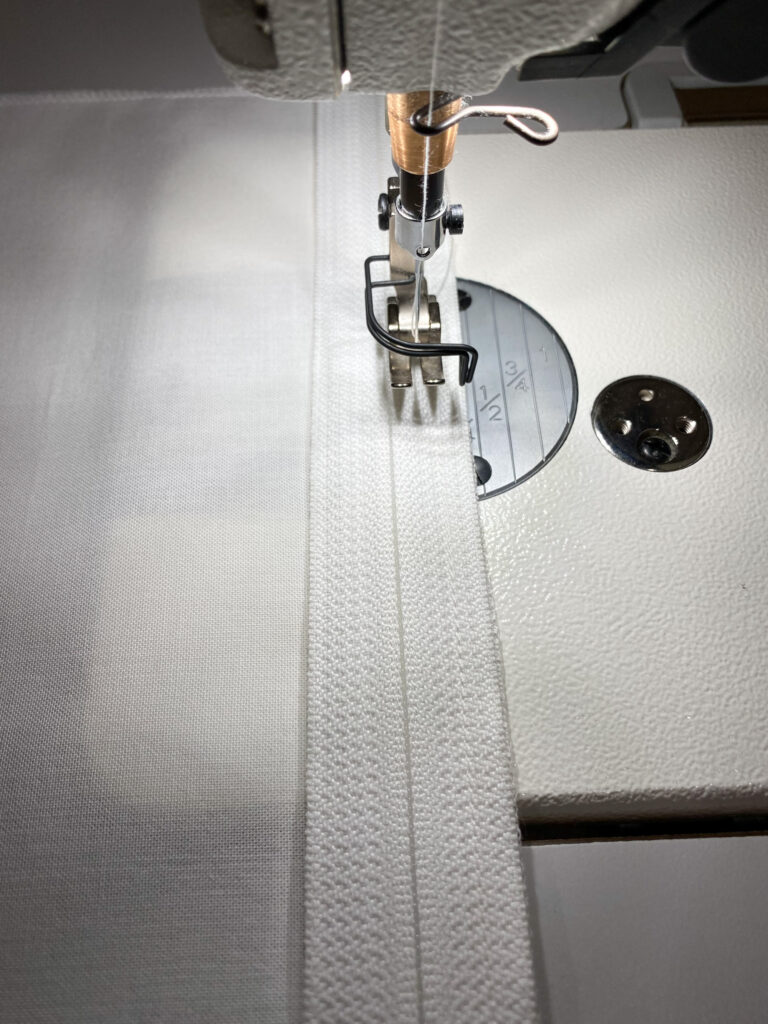
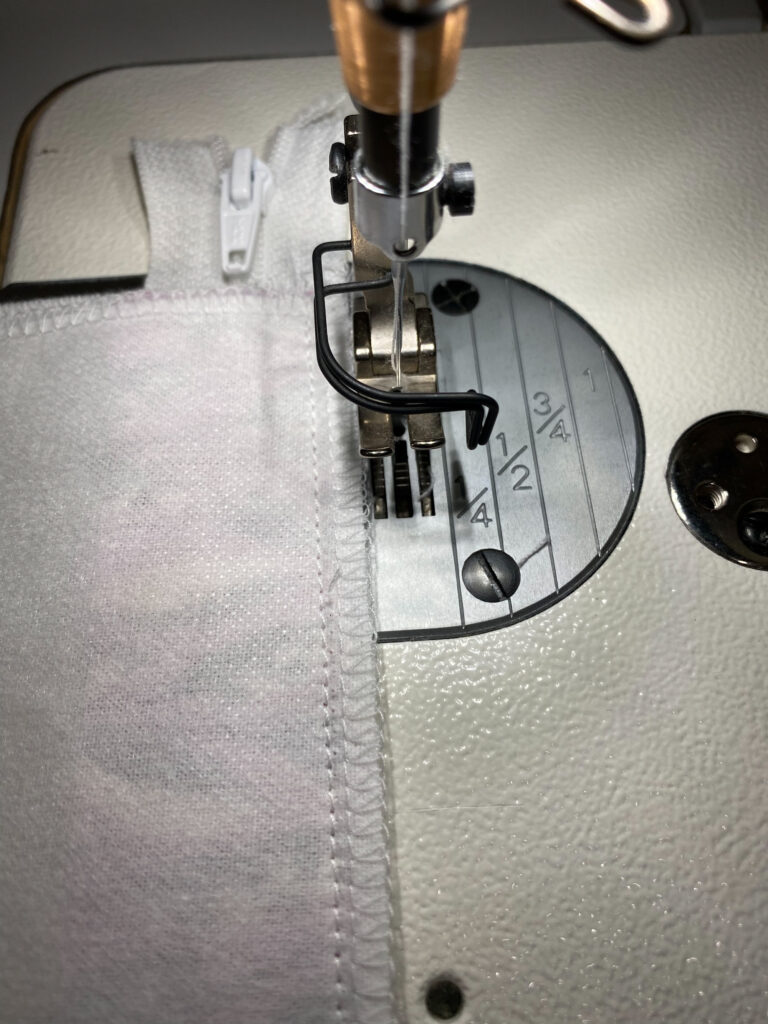
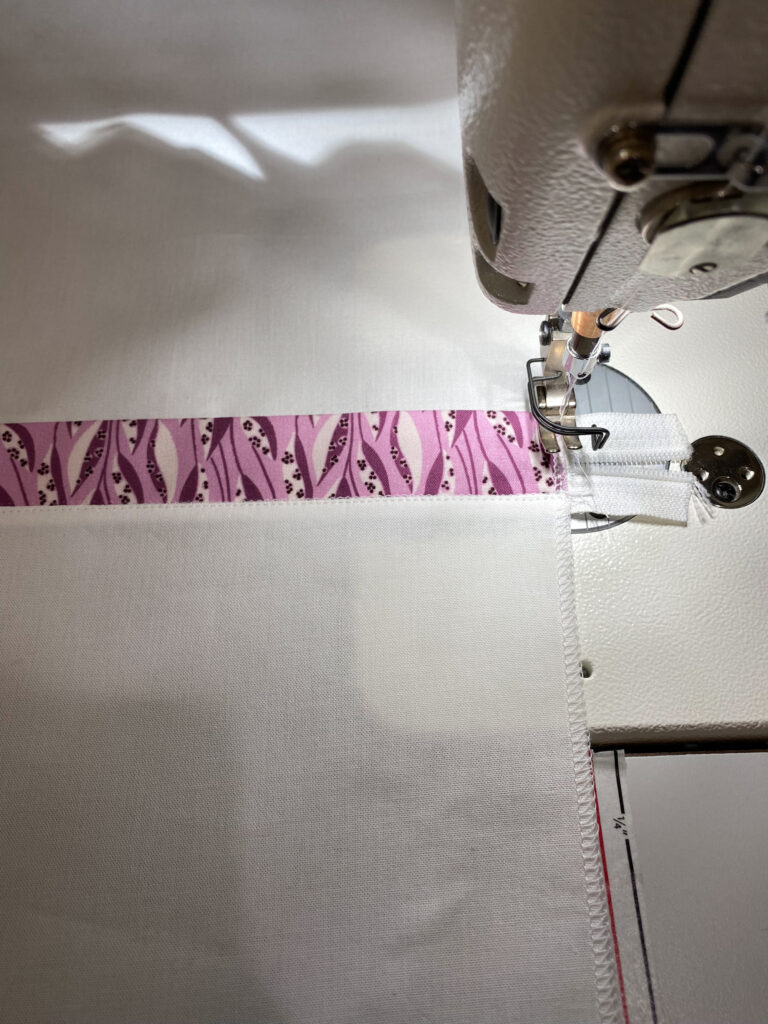
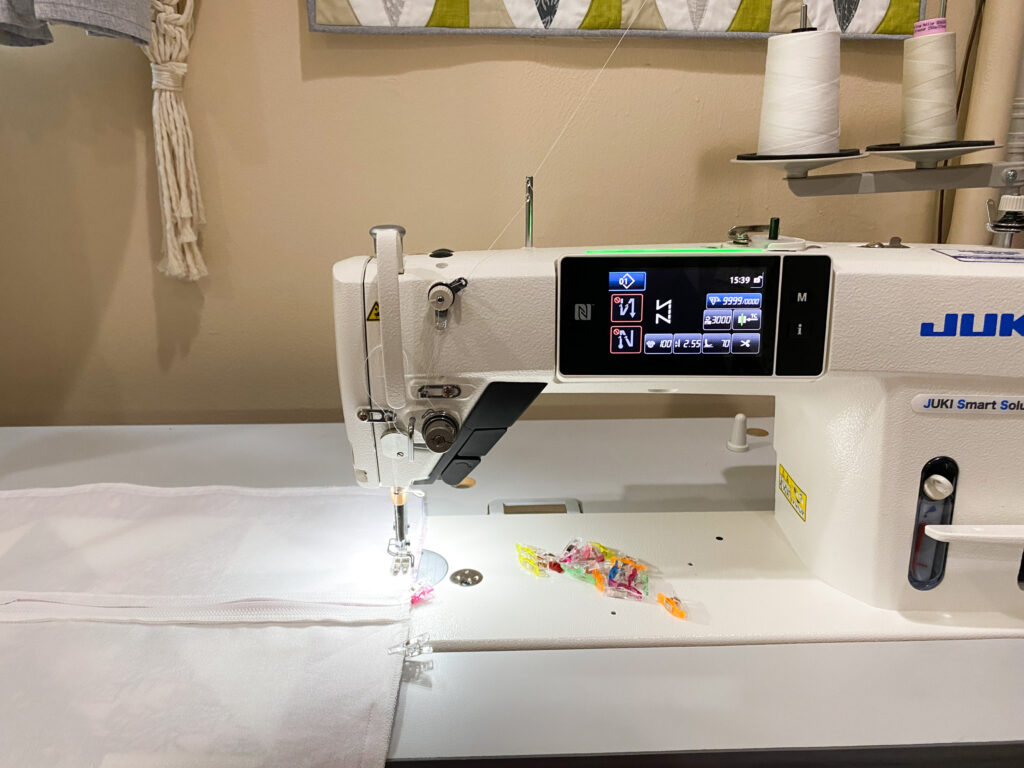
- Place the zipper on top of the pillow back bottom panel. Make sure the right side of the zipper is facing down. Pin it in place. Sew with a narrow 1/4″ seam using the zipper foot on your sewing machine.

- Press the bottom panel away from the zipper, and top stitch with 1/8″ seam.
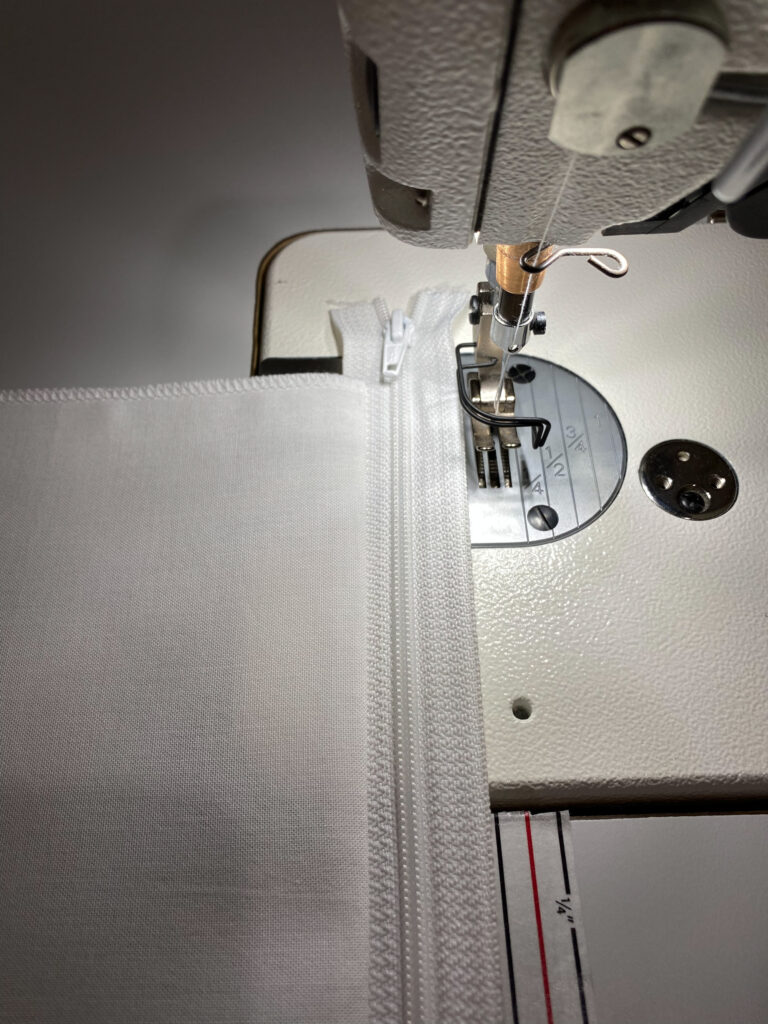
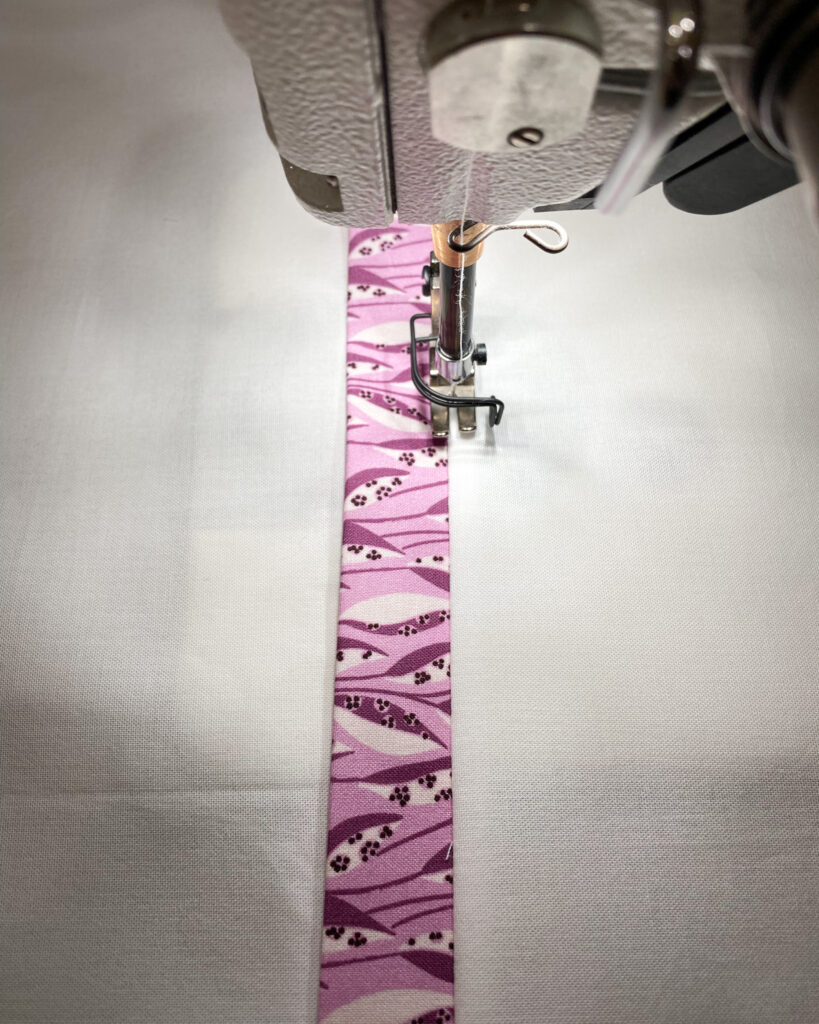
- Put the zipper accent fabric on top of the bottom panel. Align the edge of the zipper with the raw folded edge of the accent fabric.

- Then place the pillow back top panel right side facing down on top of the two layers. Pin in place. Sew with a narrow 1/4″ seam using the zipper foot on your sewing machine.

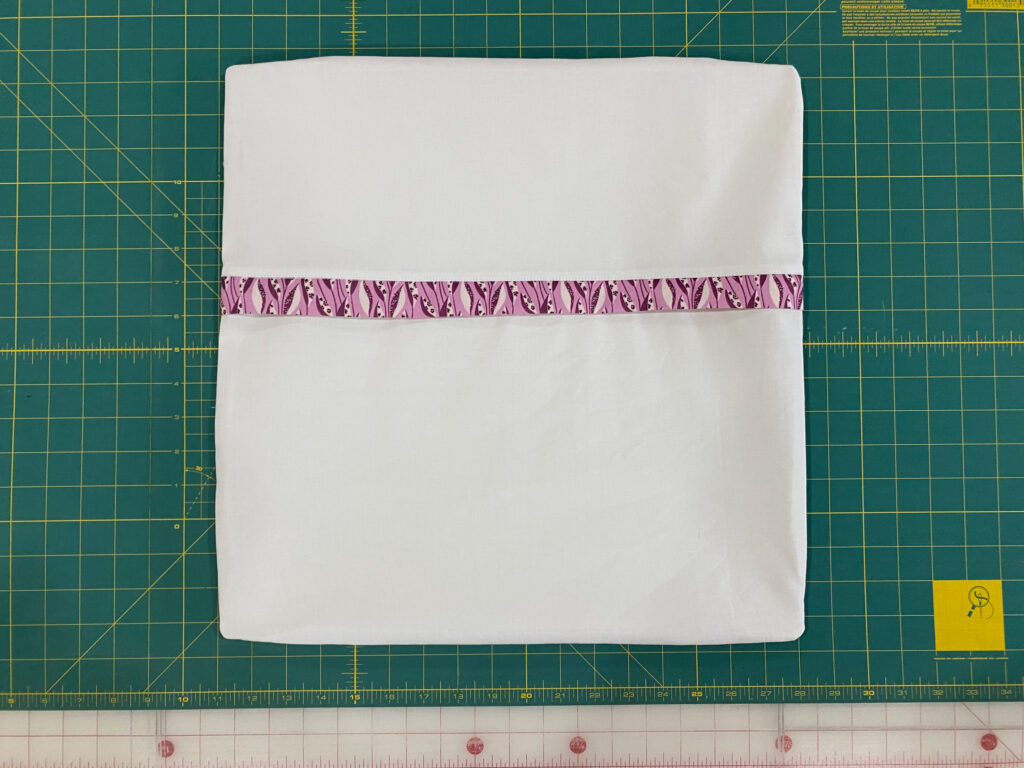
- Press the top panel away from the zipper, and top stitch with 1/8″ seam.
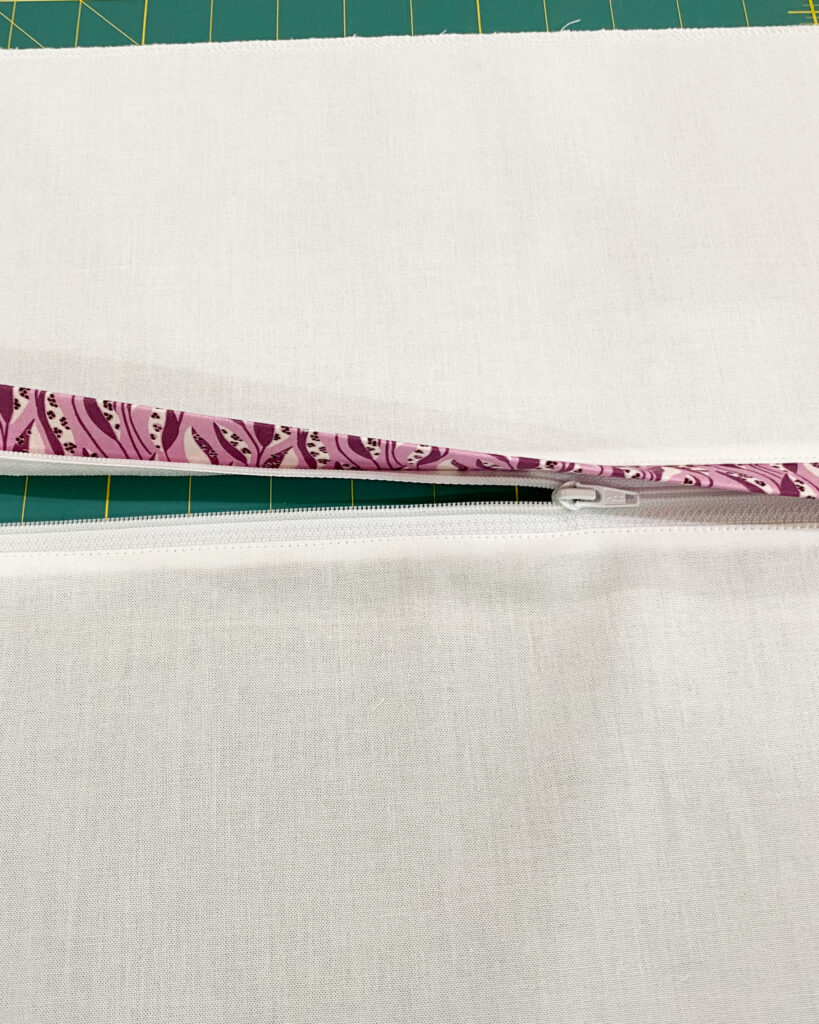
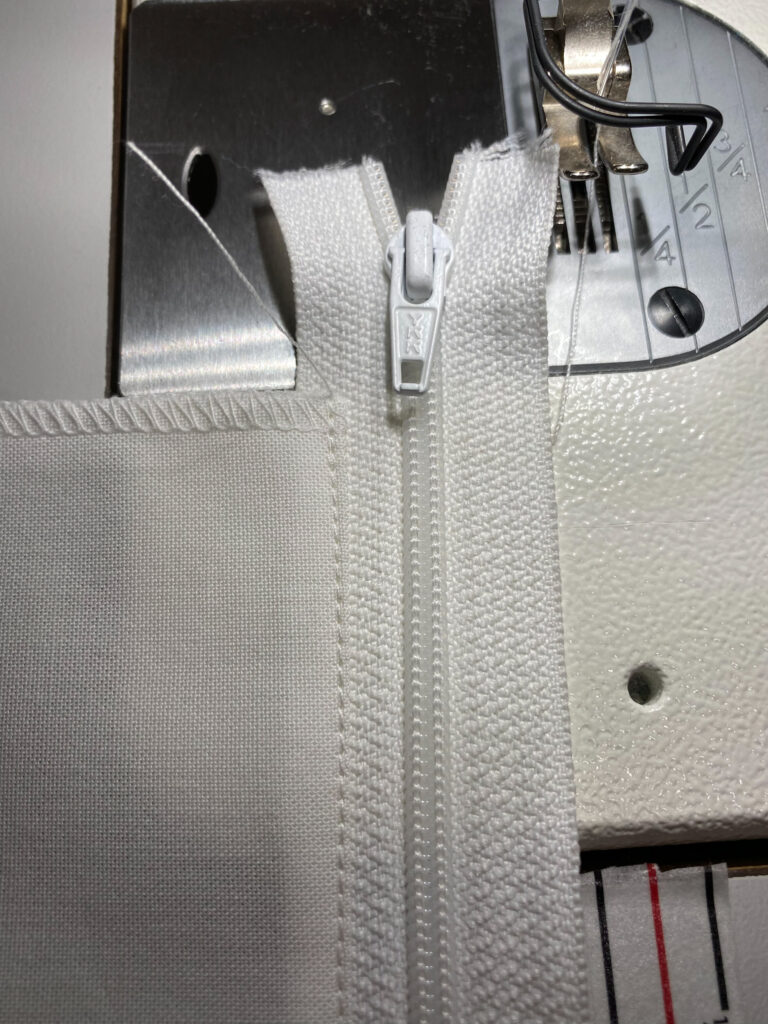
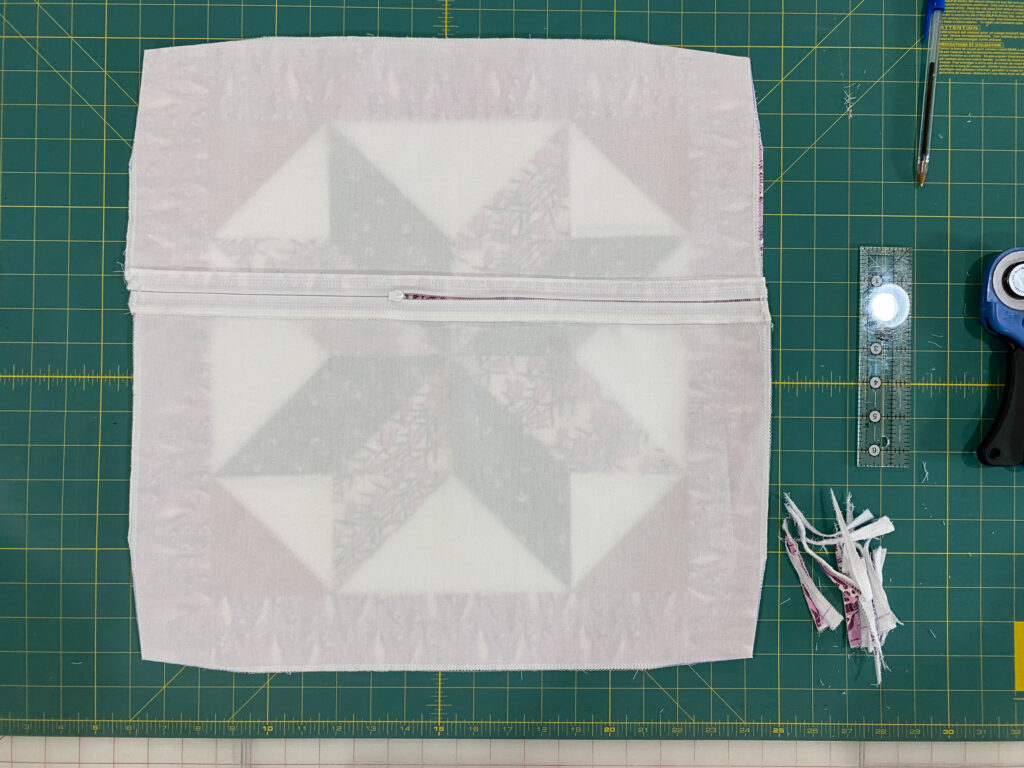
- Sew over the zipper ends 2 to 3 times. Go back and forth over the zipper. Sew 1/4″ away from the pillow edge. This secures the zipper in place. Cut off any excess overhanging zipper.
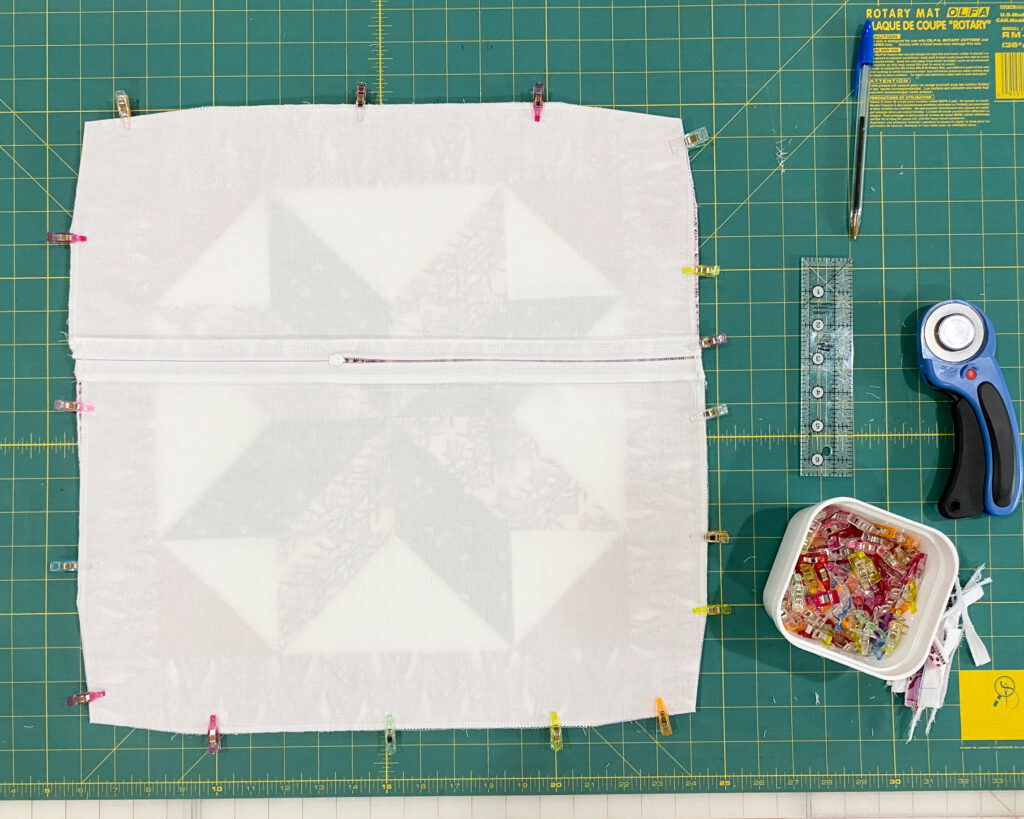
- Place the pillow top and back right sides together.
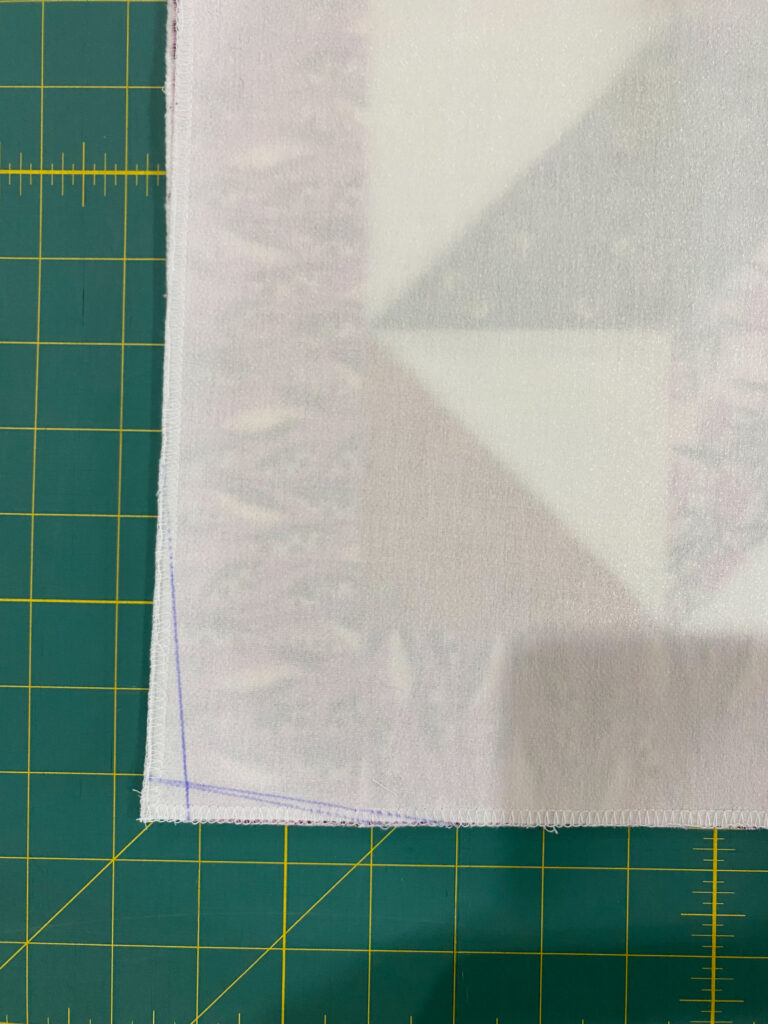
- Tip: To avoid “dog ear” pillow corners, I trim away a tapered 1/2″ over 4 inches on each pillow corner. I draw a tapered line from the corner at 1/2″. Then, I place the ruler at an angle going off the edge of the pillow at the 4″ mark. Do this on all 4 corners. Trim on the lines.
- Open the zipper halfway, pin and sew around the pillow with 1/2″ seam. Clip off the corners, turn your pillow right side out, and push out the corners.
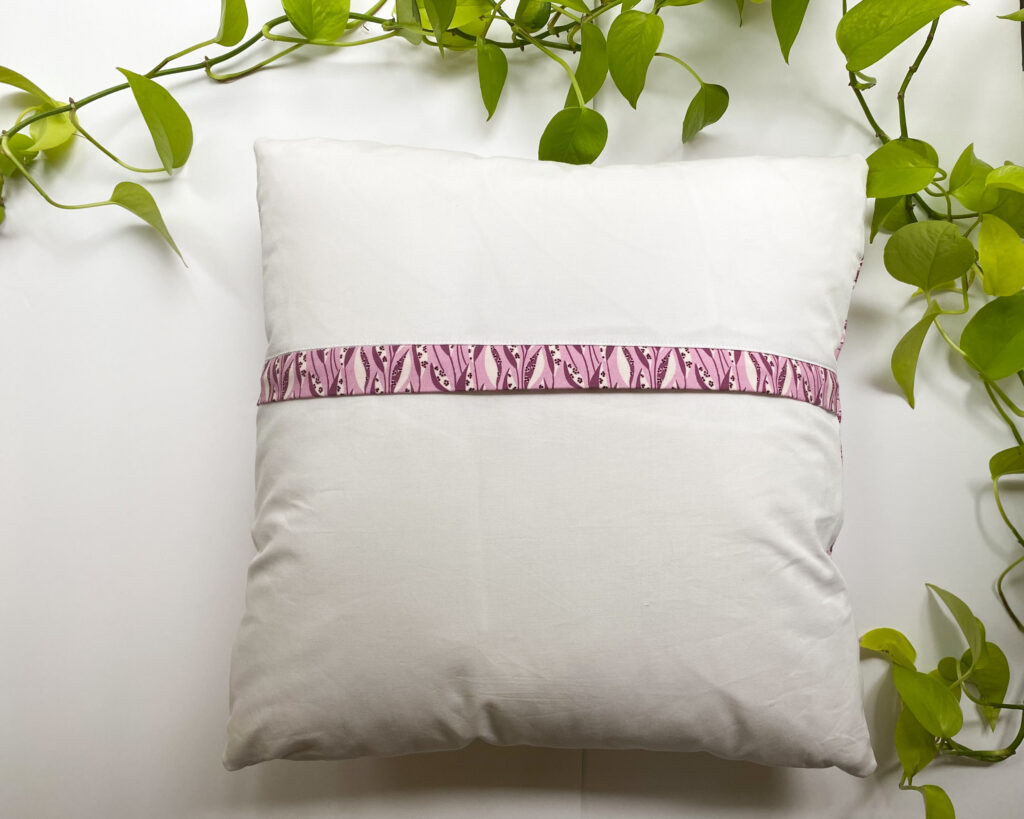
- Place your pillow insert inside, and your pillow is finished! Celebrate, and give your pillow a big hug! 🙂
Interested in hearing more from me? I would love to have you join me email newsletter. Sign up below.
Happy sewing!