Half Rectangle Triangle Tutorial
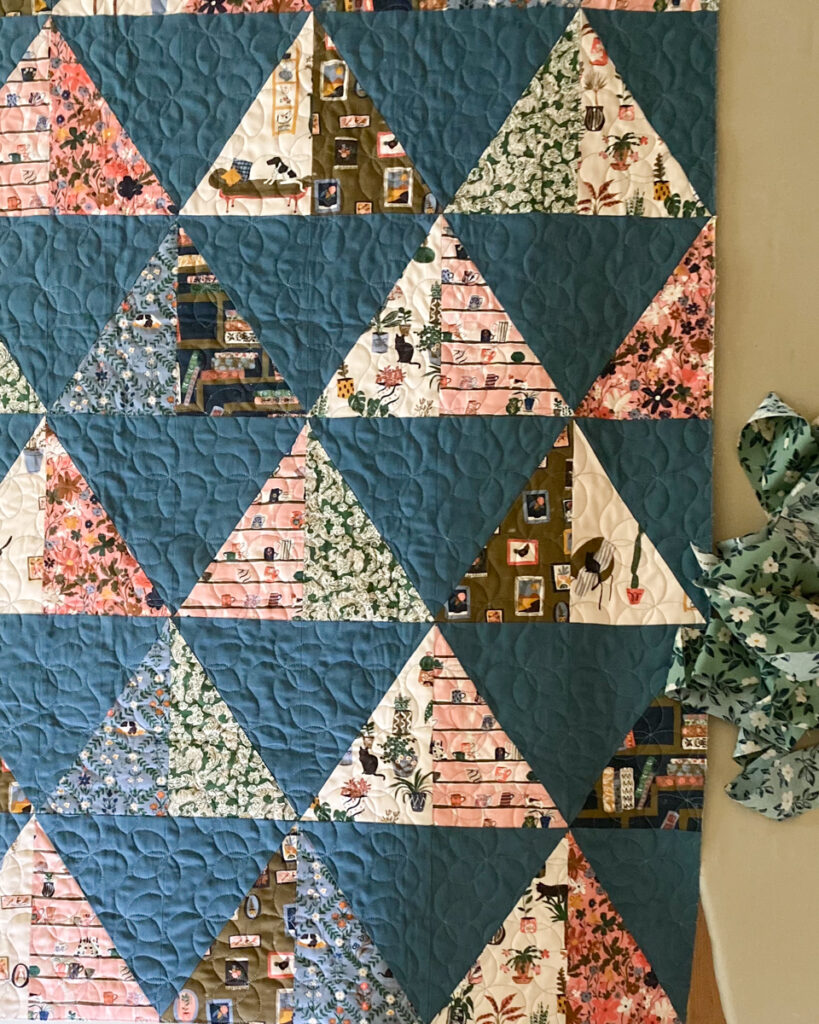
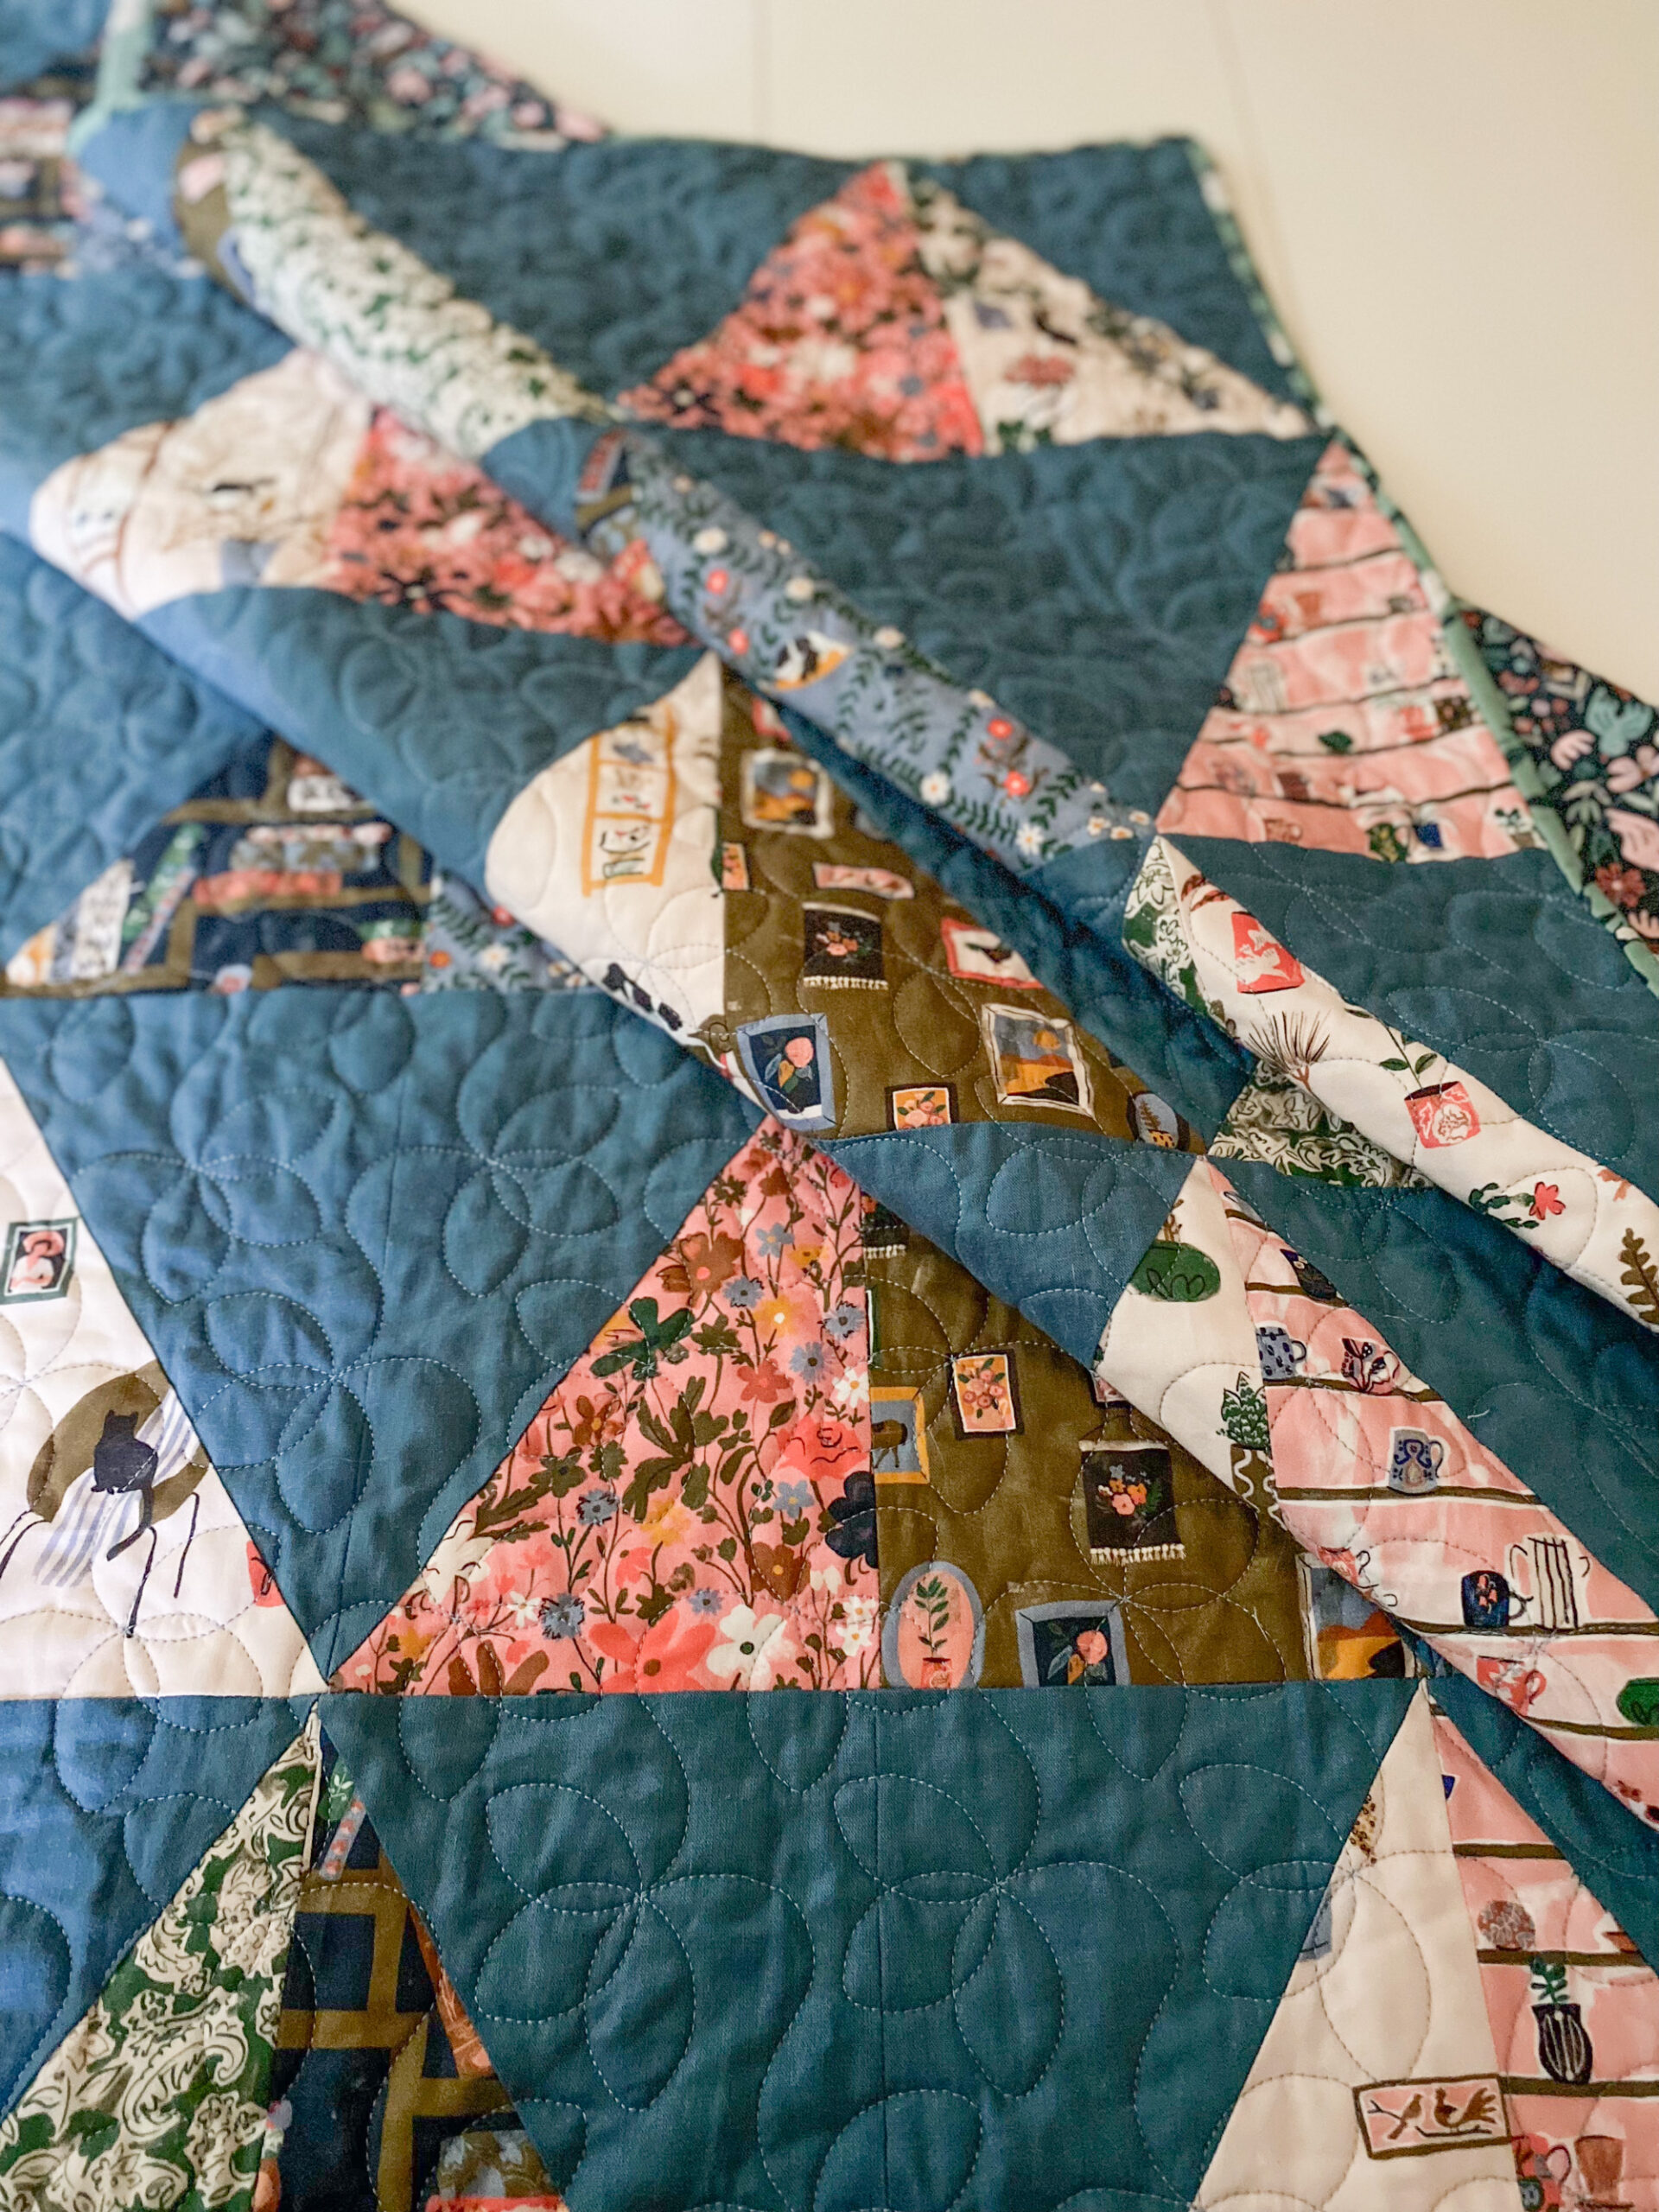
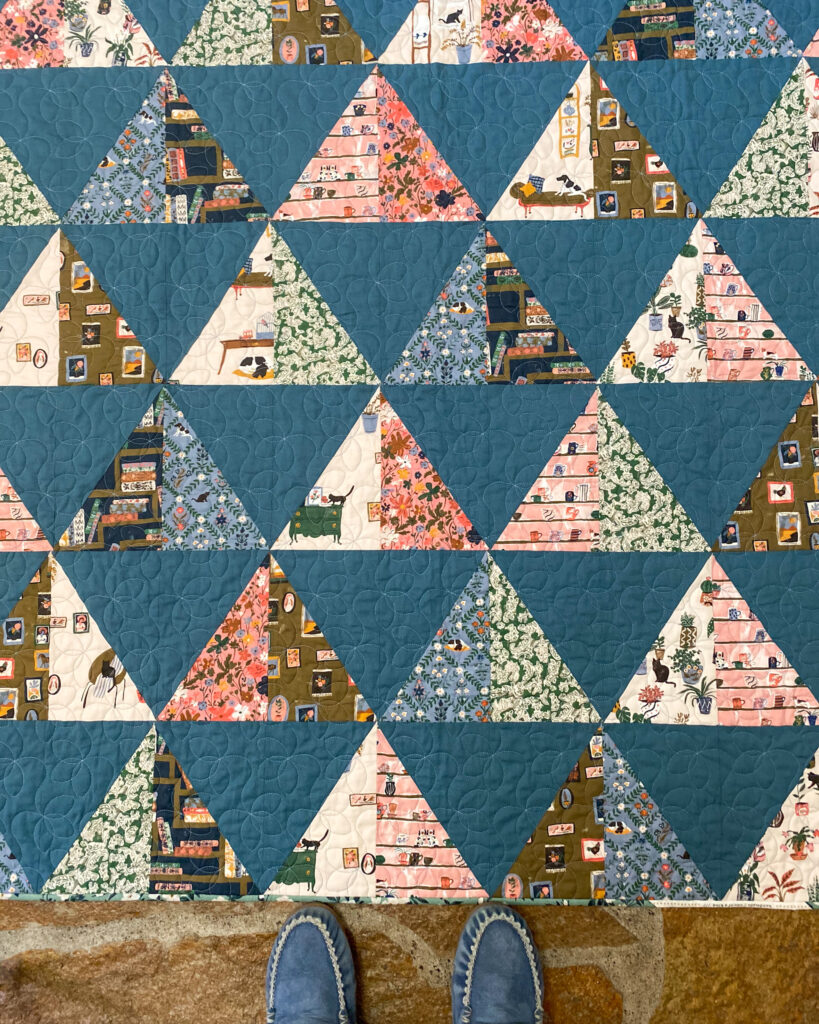
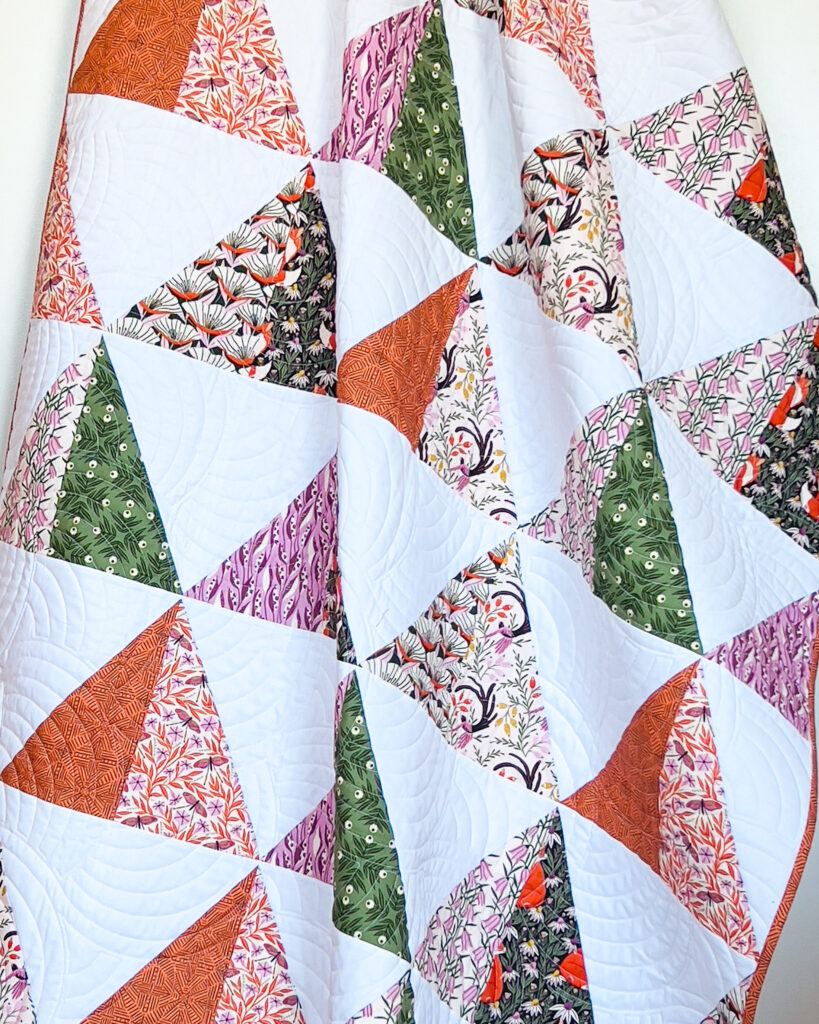
Today, I’m sharing my tips on sewing the half rectangle triangle block from the free “To The Point Quilt” pattern by Cloud9. You can download the pattern here: To The Point Quilt Project.
For this quilt, you’ll need:
- 2/3 yard of 8 different printed fabrics
- 1 3/4 yards of background fabric
- 1/2 yard for the binding
- 3 7/8 yards for the backing
Sew a Test Block
Before starting a new quilt project, I like to make a test block (if it’s a block-based design). I read through the pattern directions and construction steps to identify any potential challenges before cutting into the fabric intended for the quilt.
1. Cut (1) 6 3/4″ x 9 3/4″ rectangle of background fabric on the diagonal from the upper right to the lower left corner.
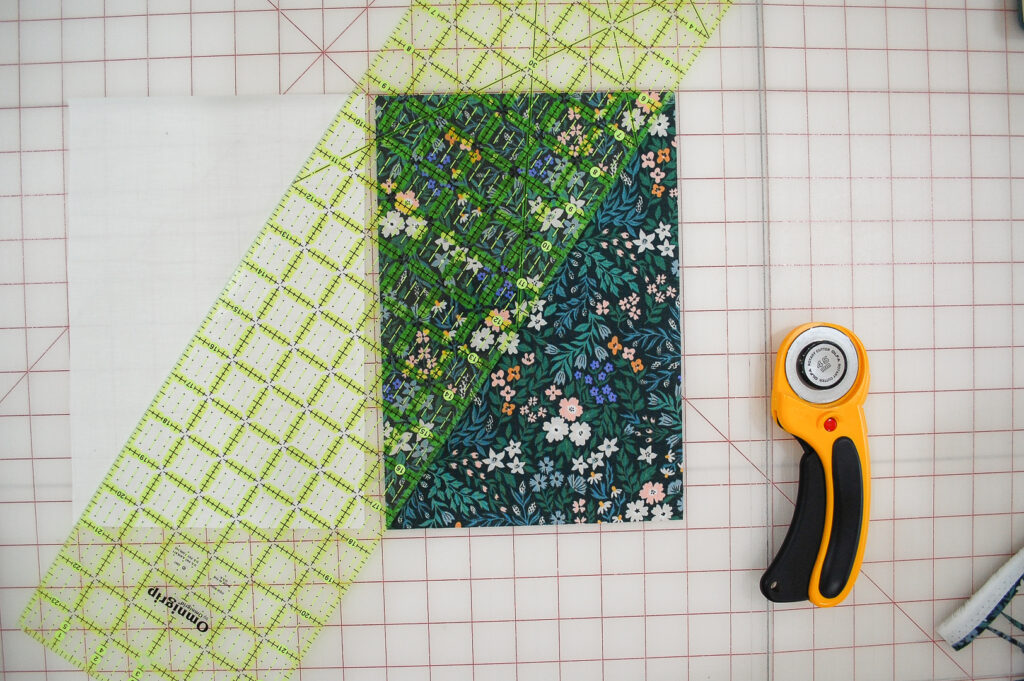
2. Repeat for (1) 6 3/4″ x 9 3/4″ rectangle of printed fabric
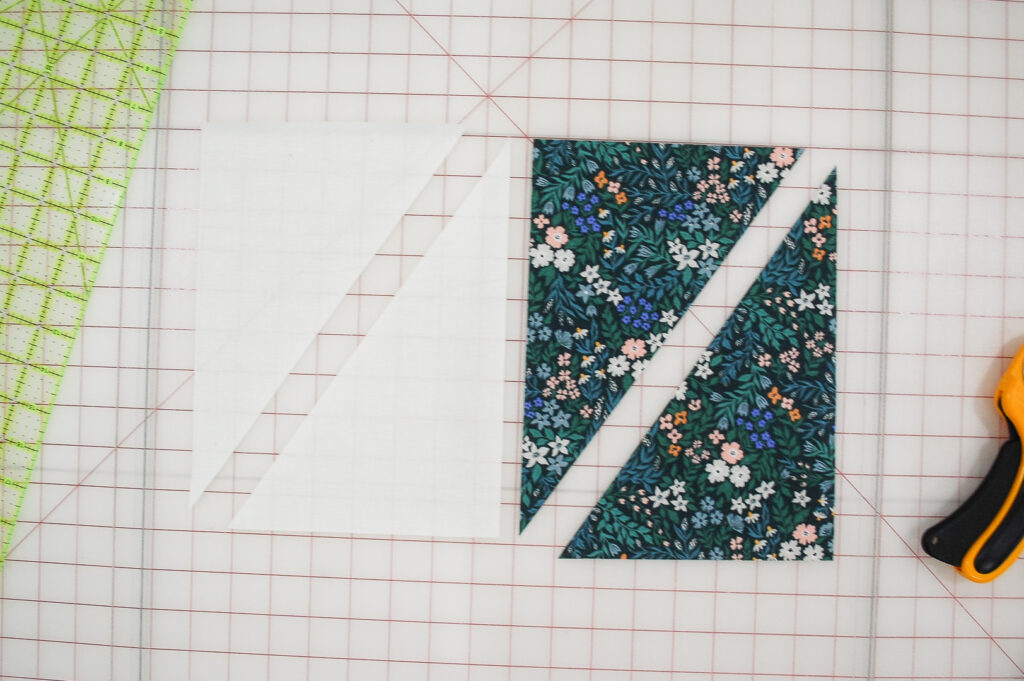
3. Layout your two triangles with the white background square on the left and the print fabric on the right to form a rectangle.
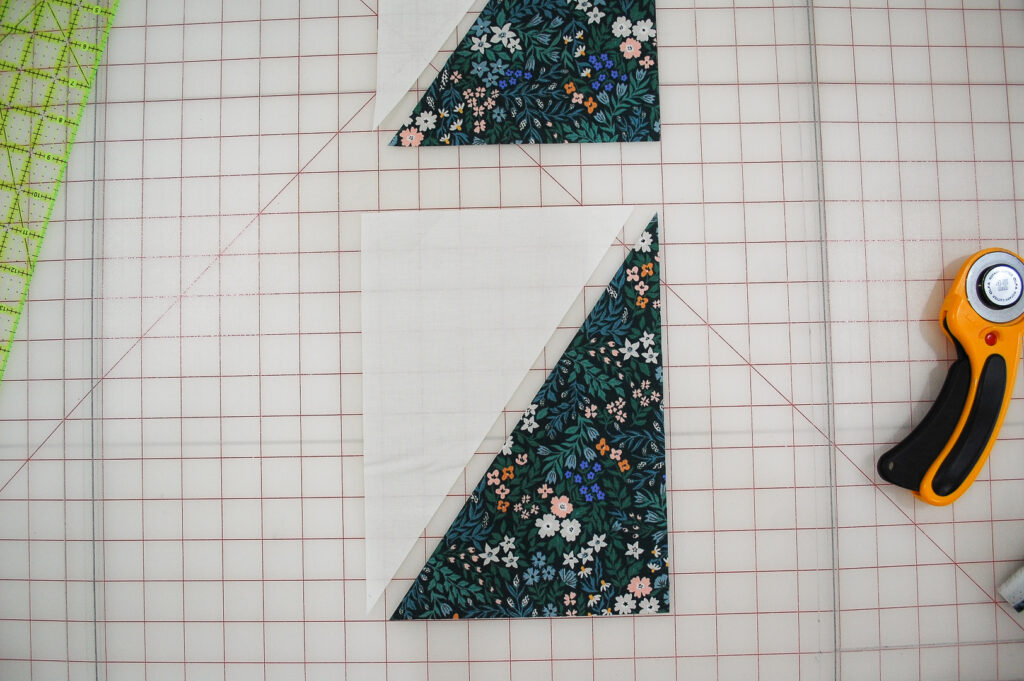
4. Lay the background fabric on top of the print fabric, aligning corners and matching edges. Sew carefully, avoiding stretching or pulling the fabric as you sew since this involves the stretchy bias edge of the fabric. Press.
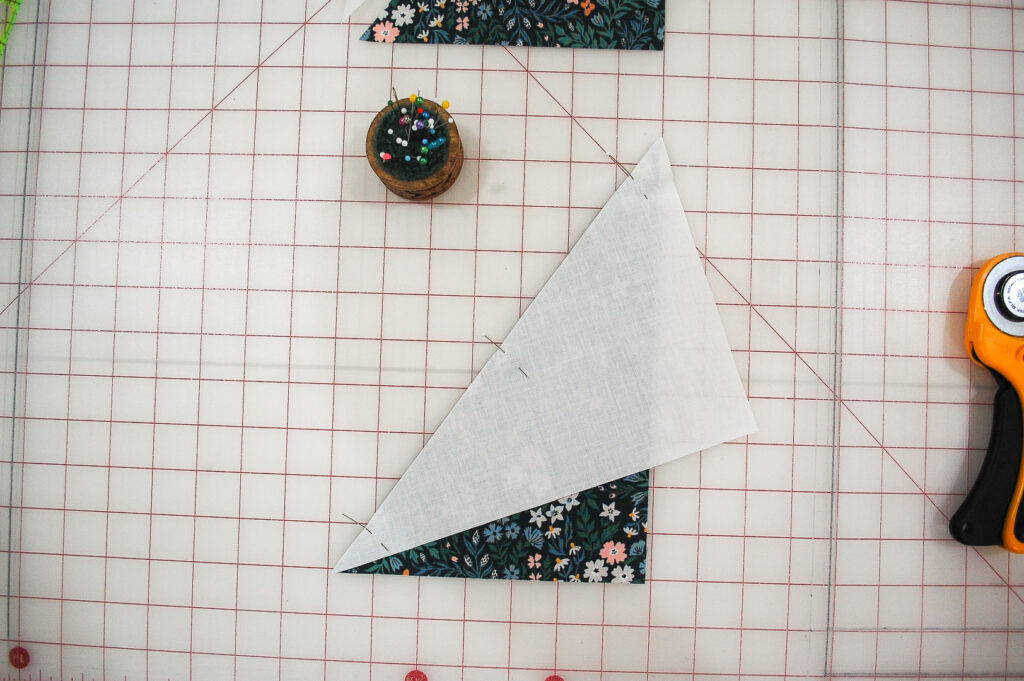
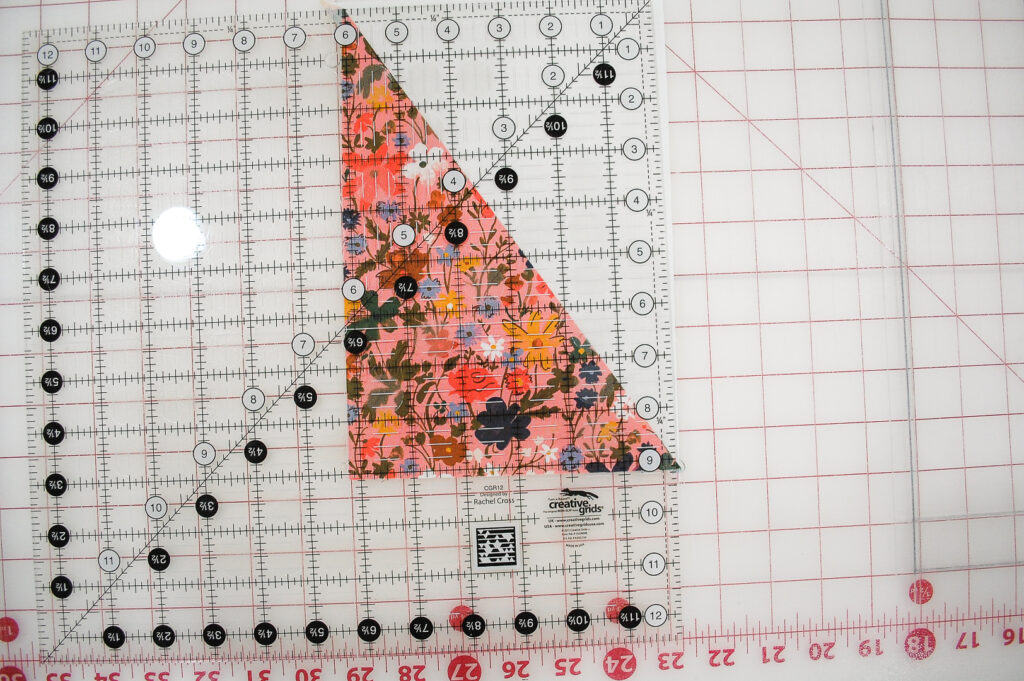
5. Square up the rectangle using a 6-inch wide ruler or larger. To square up, ensure that the diagonal line meets exactly in the top and bottom corners, as shown.
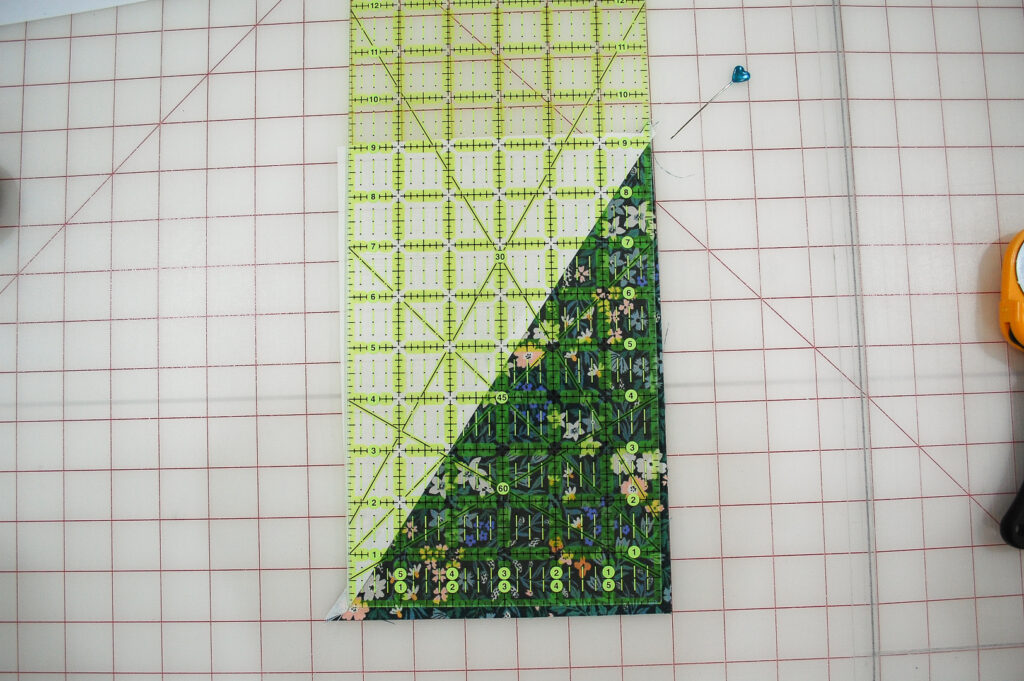
6. Trim the sides and bottom to the finished size, following the pattern instructions (this block calls for 6”x9″).
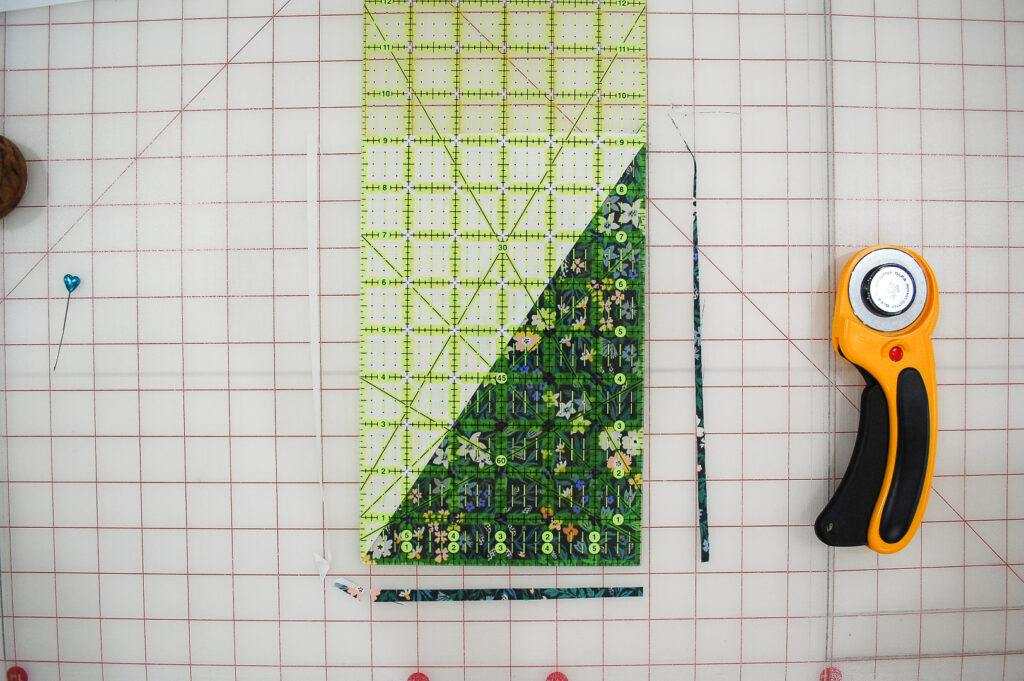
7. Shift your ruler down and cut away the excess fabric from the top of the block.
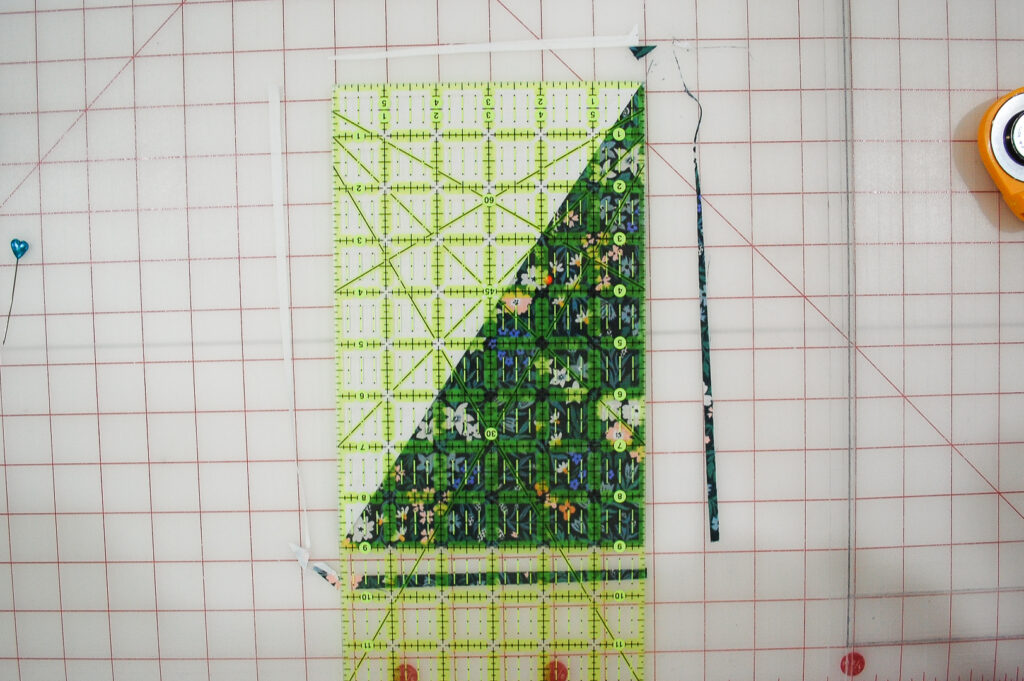
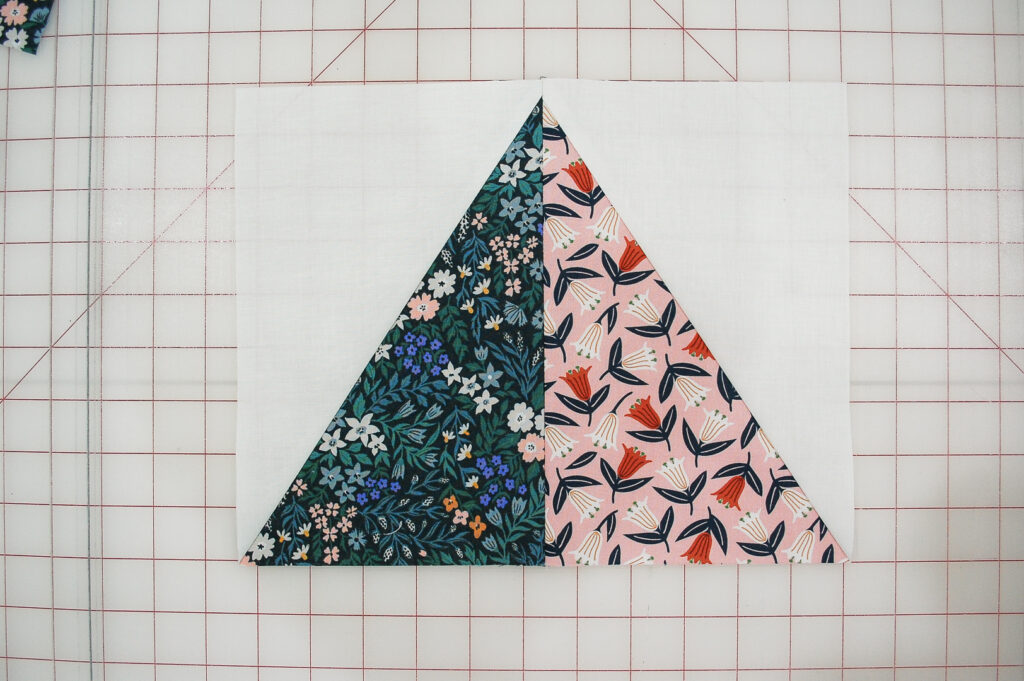
8. Sew two rectangles together to complete your block.
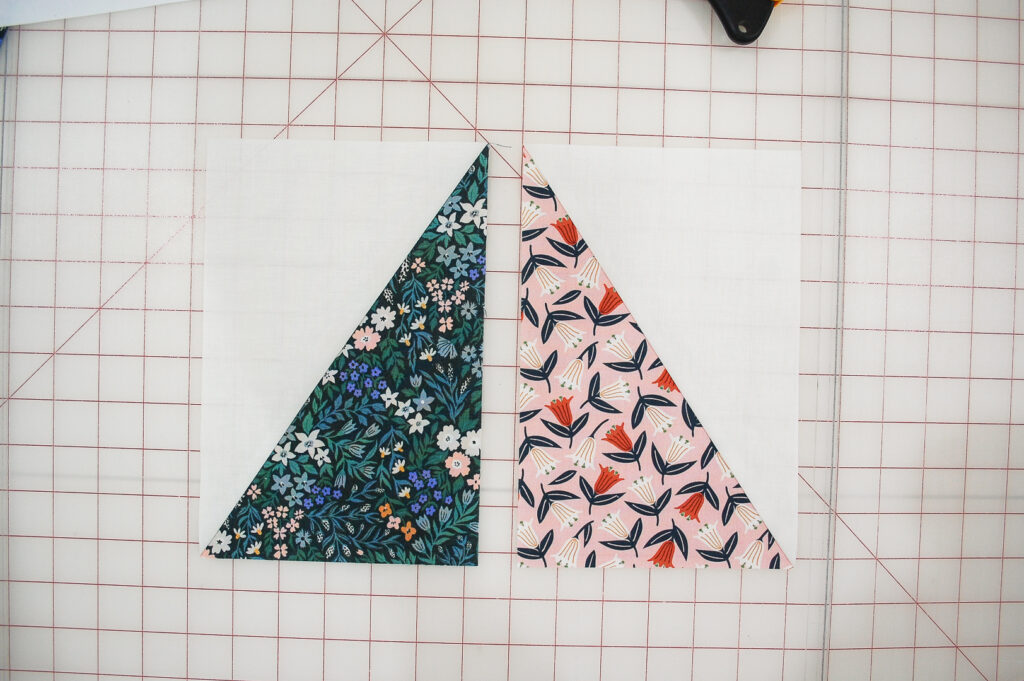
9. Check that the top points match up perfectly. Also, ensure there is a 1/4″ gap from the top of the point where the triangles meet to the unfinished edge of the block. This helps maintain the point when you sew the blocks together.
Once you’re happy with the results, dive into making your quilt! Good luck, and have fun!
