How to Sew a Snowball Quilt Block
Hey there! Today, I’m excited to guide you through my favorite beginner-friendly quilt block. To start, let’s delve into the history of this block and take a look at an historic example featuring the snowball block.
Next, we’ll dive straight into step-by-step instructions to create a sample block. After you’ve given it a try, you’ll likely be eager to craft more and maybe even transform them into a comfy lap-size quilt. Ready to jump in? Let’s get started!
History of the snowball block
The snowball pattern is a classic quilting design with its roots in Amish quilting traditions. This timeless pattern can be traced back to numerous historic American quilts crafted during the mid-1800s. Take, for instance, this meticulously hand-pieced and quilted snowball quilt dating back to 1840.
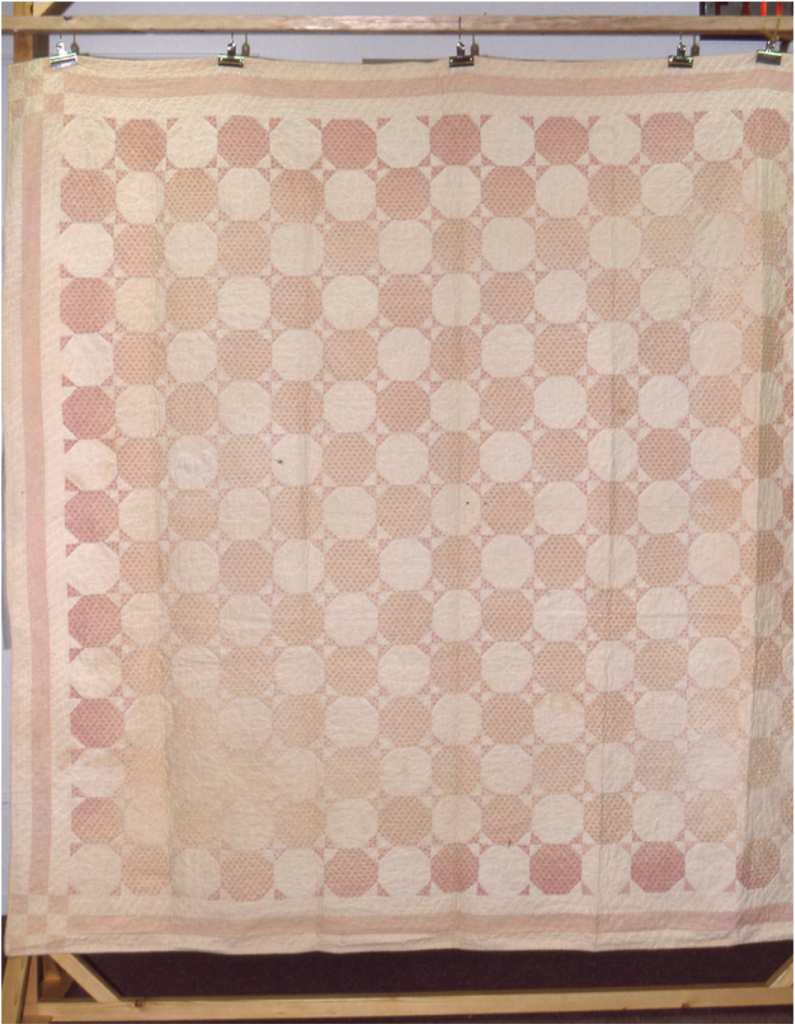
The design, while seemingly simple, relies on just three fabrics: a red print, a solid red, and a solid white. When viewed from afar, the snowballs may resemble circles, but in reality, they take the form of octagons. To add visual balance and a point of reprieve for the eye, the quilt features a striped border adorned with traditional 9-patch block corners.
Fabric Requirements
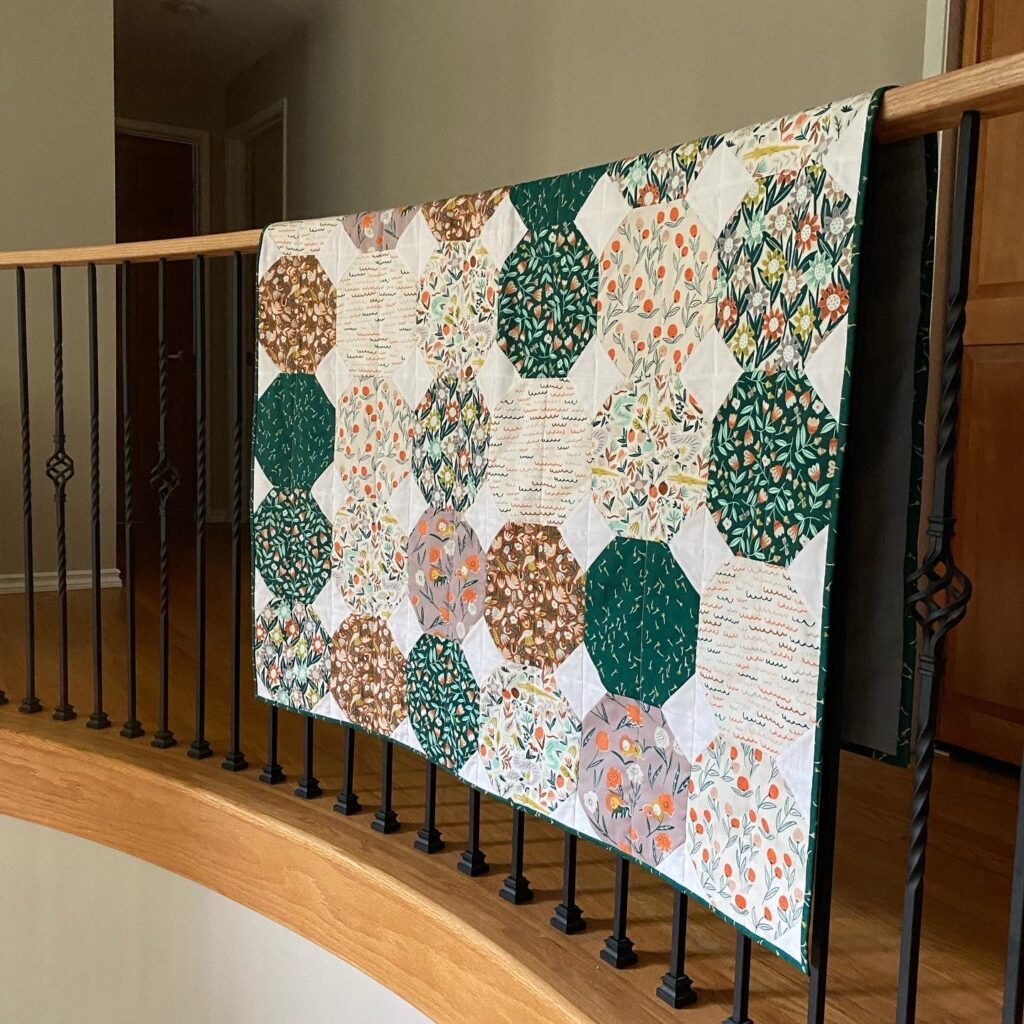
Below are the fabric requirements to make one sample snowball block. To make a lap size quilt, you will need 48 blocks. Download the free pattern from Cloud 9 Fabrics here.
- 8″ x 8″ print fabric per block
- 4 – 2 1/2″ x 2 1/2″ solid white fabric per block
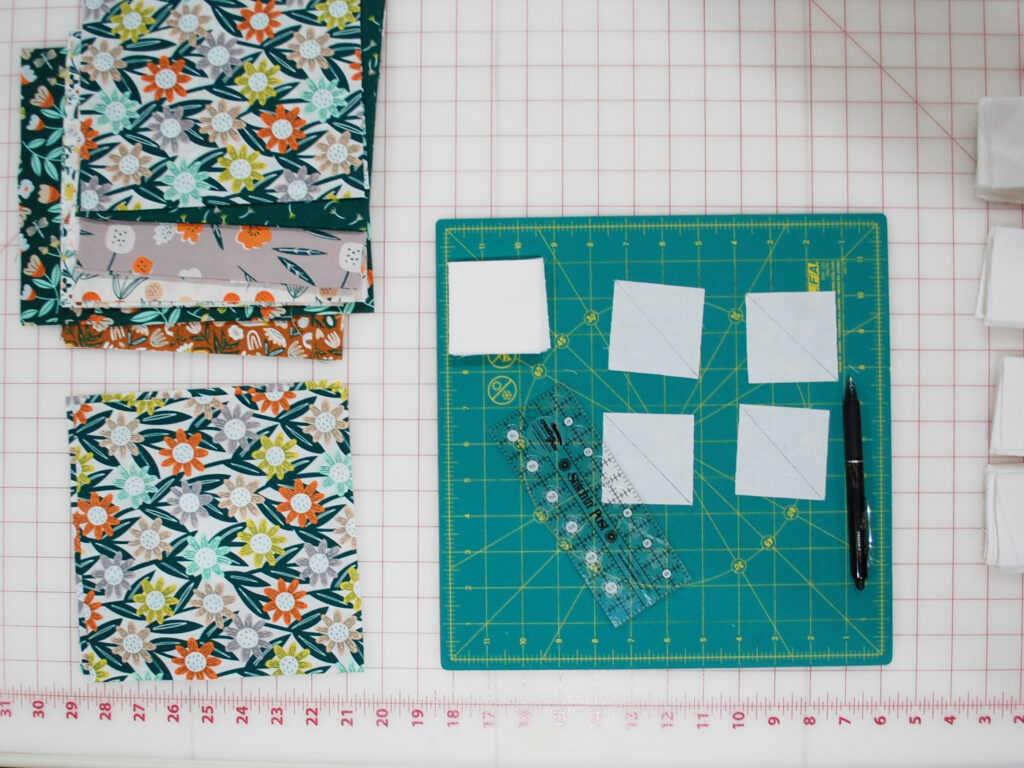
Step 1: Draw diagonal lines on the back side of your small squares.
Draw a diagonal line corner to corner on each of your 4 white squares.
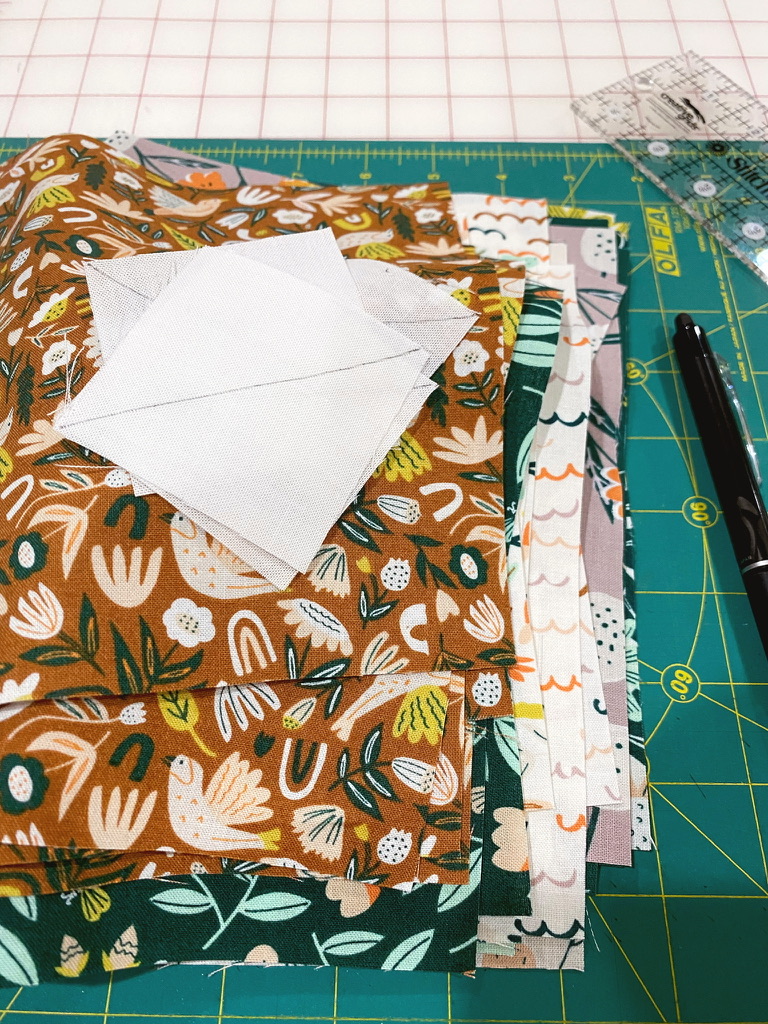
Step 2: Place one small square in the corner of your large square, aligning the edges.
Place a 2 1/2″ solid white square in the corner of your 8″ x 8″ print square. Be sure you position the marked lines across the corners and not pointing in toward the center of the block.
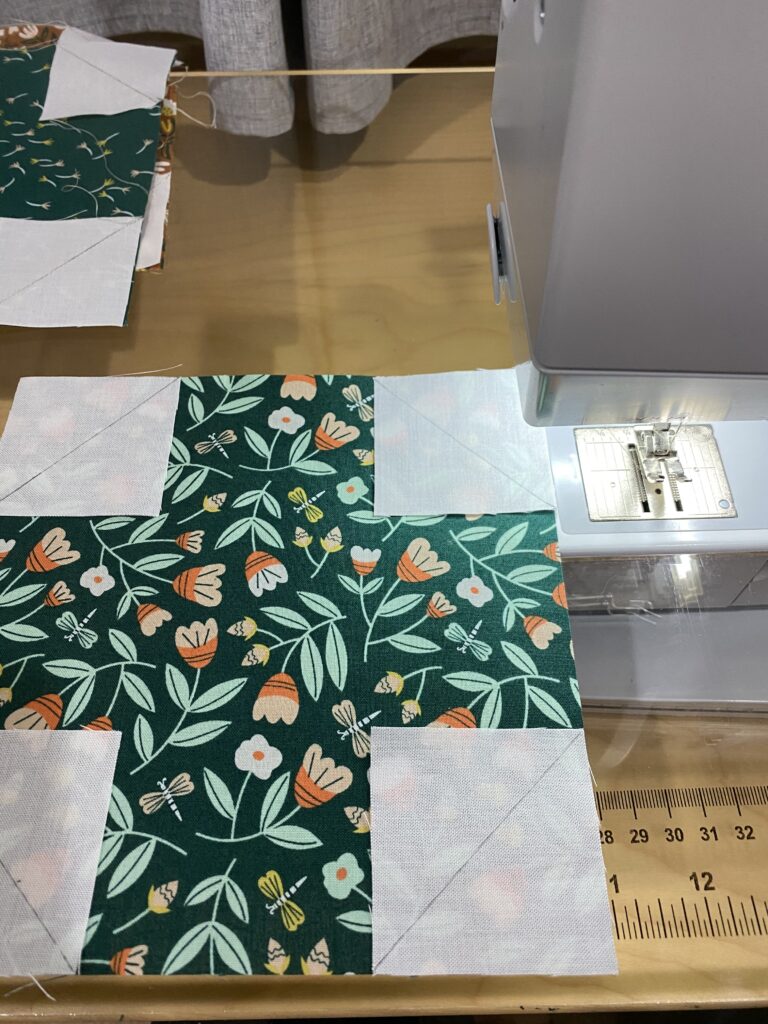
Step 3: Sew corner squares to printed square
With your drawn line as your guide, sew the two squares together following this line from corner to corner of each white square. Tip: It helps to sew right next to the line not right on it. The line is where you press the fabric. Sewing just to the right will help with your accuracy. Repeat on the three remaining corners.
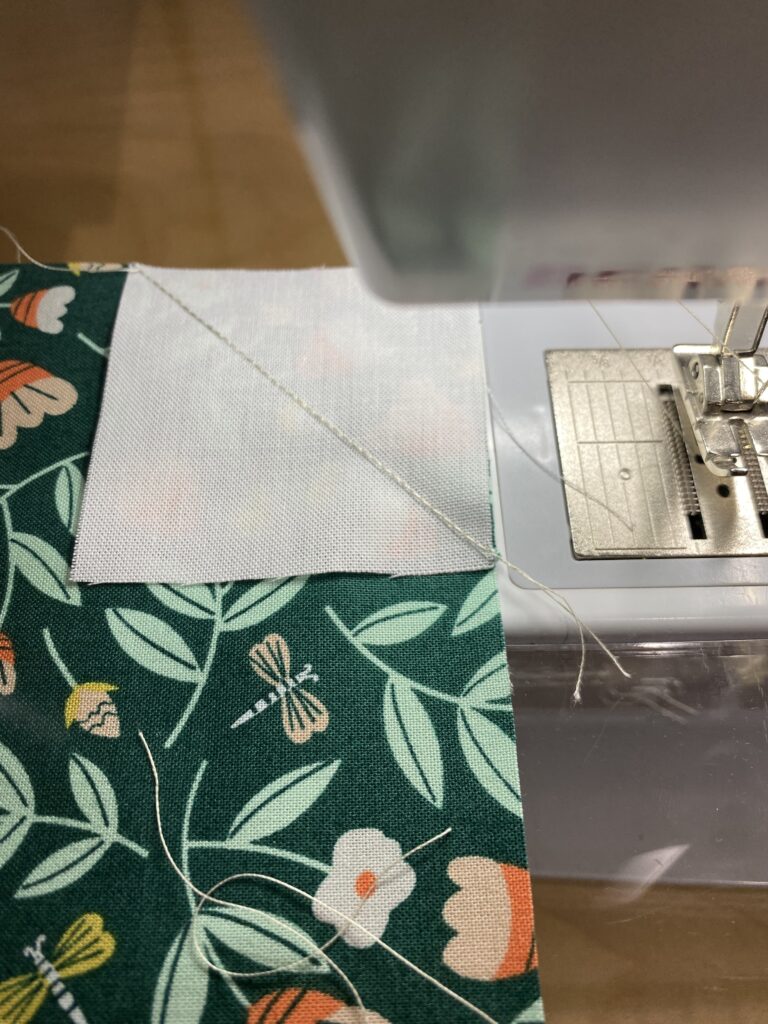
Step 4: Press your snowball corners out.
Press your corners out and check if it came out accurately, if not you can rip out the seam and try again. When you’re corners look good, then trim them away as shown in the next step.
Step 5: Cut away all four corners, leaving a ¼” seam allowance.
Cut away all four corners of the white fabric, leaving a 1/4″ seam allowance. I like to line up my small ruler 1/4″ away from my sewn line, and cut with my rotary cutter.
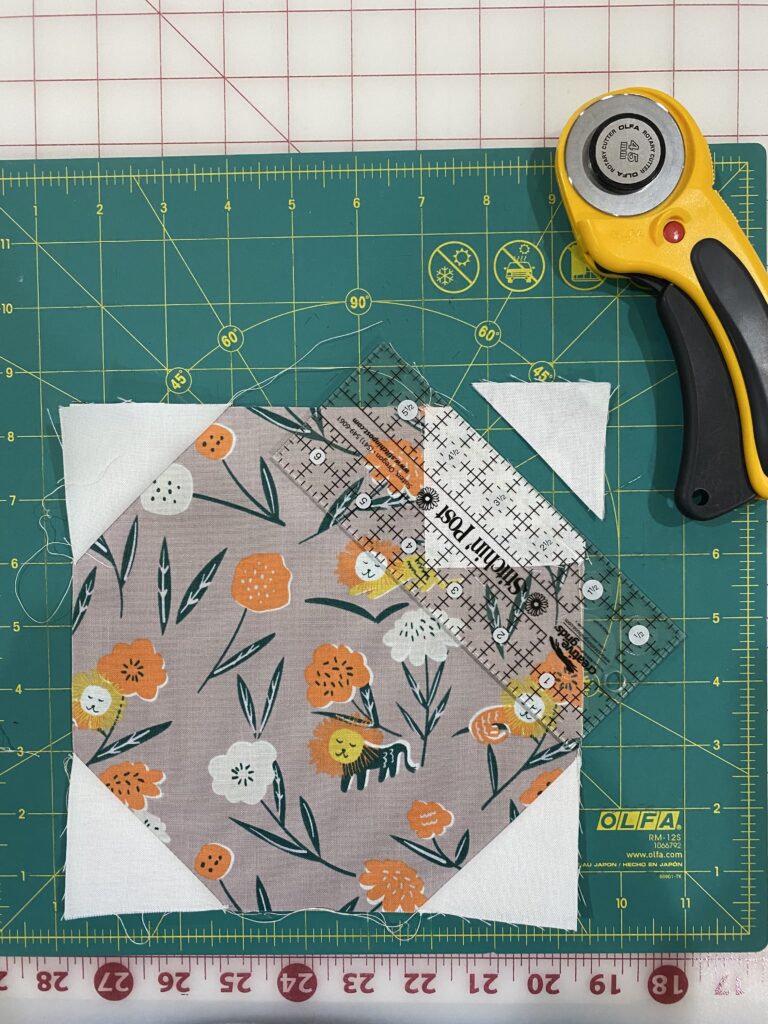
Repeat with remaining 3 corners.
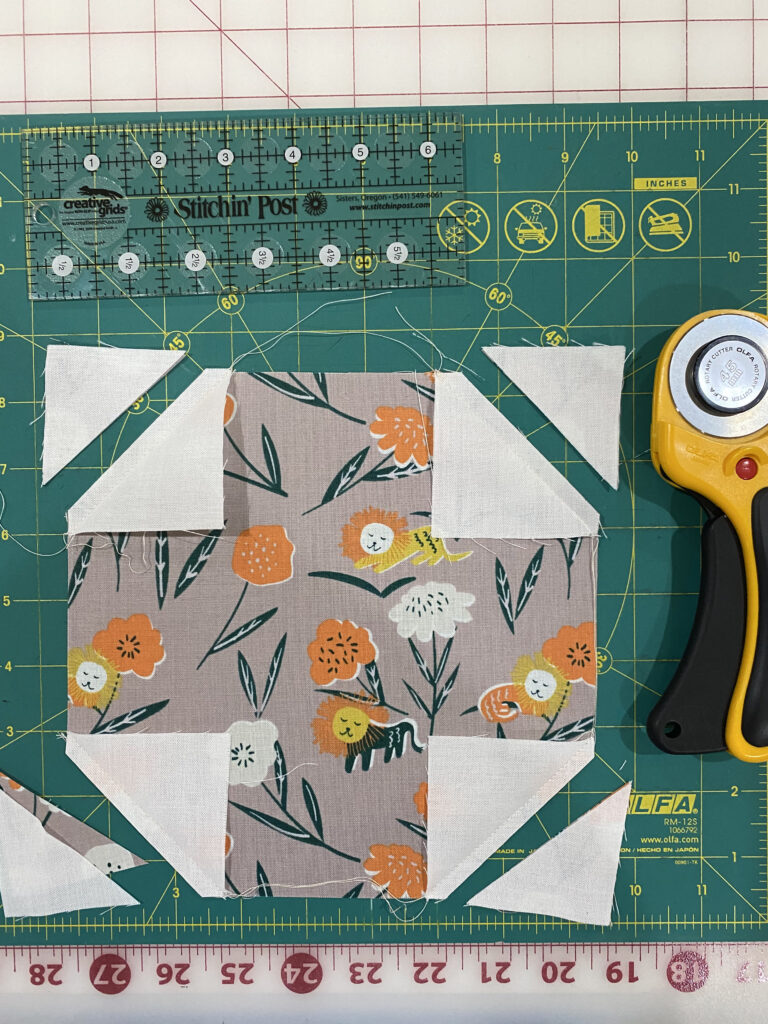
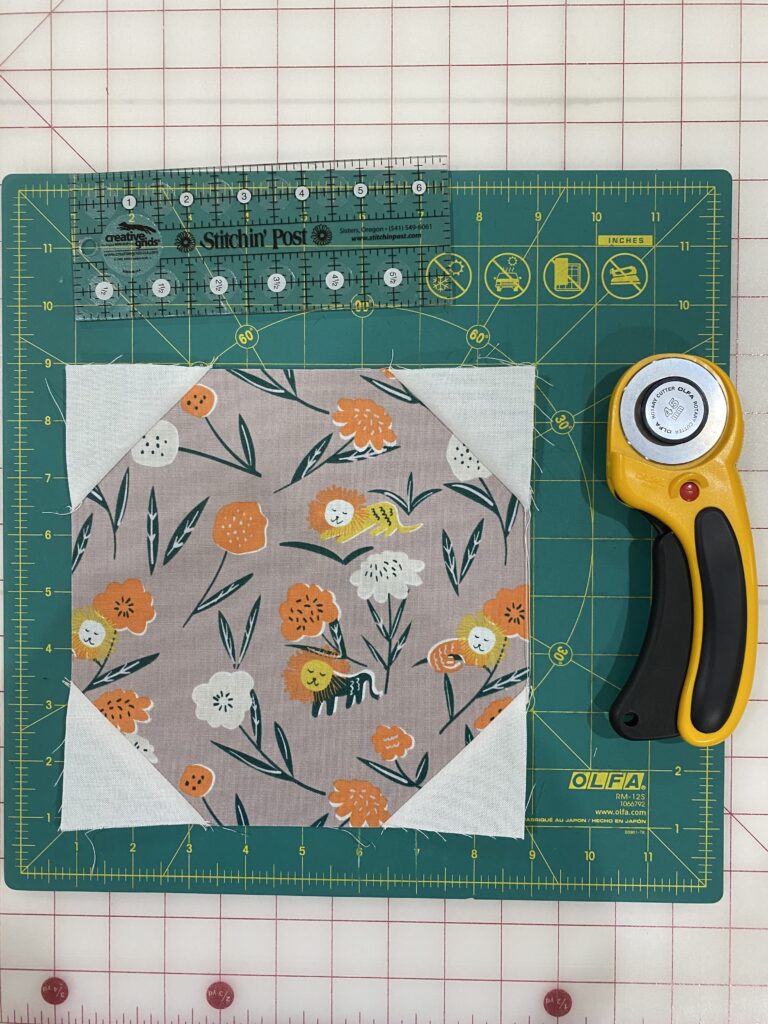
Your snowball block is finished!
Congratulations you’ve made a snowball block! Make a total of 48 and you’ll have a lap size quilt!
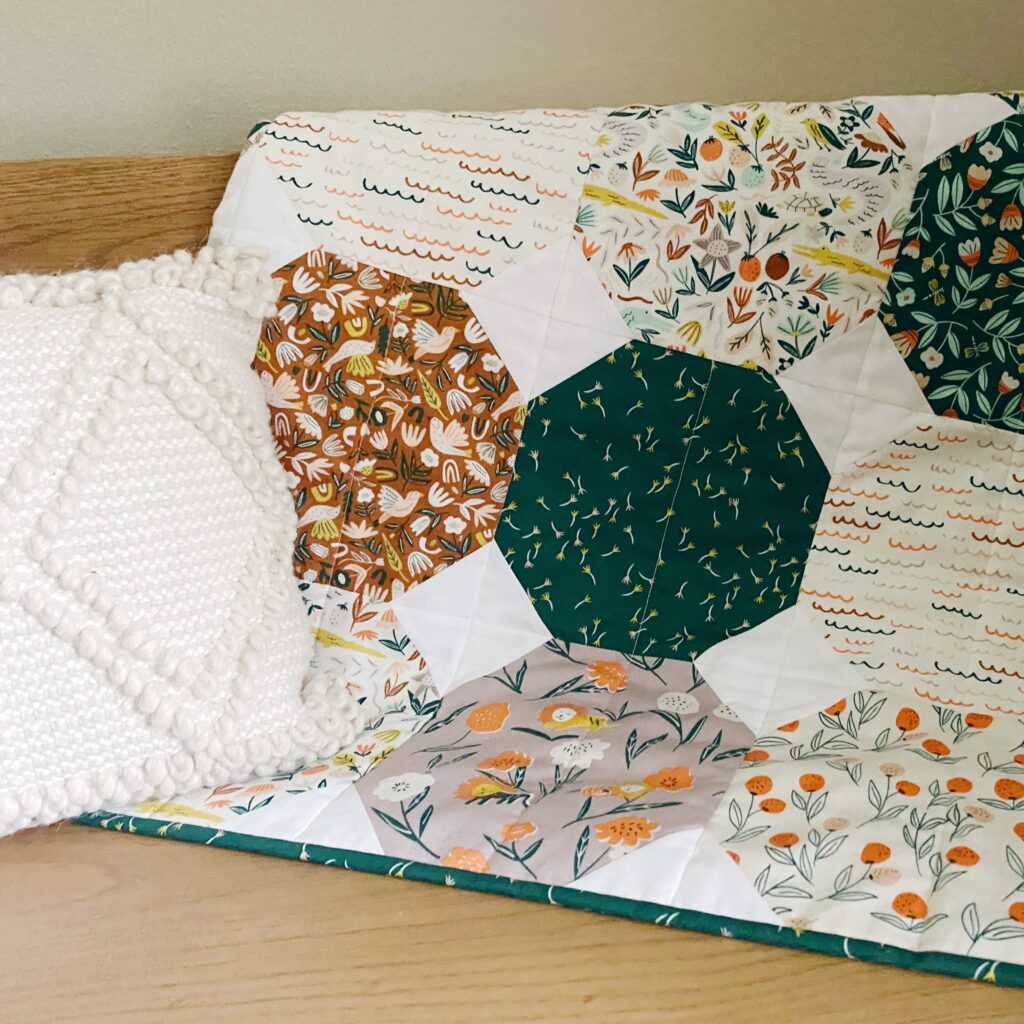
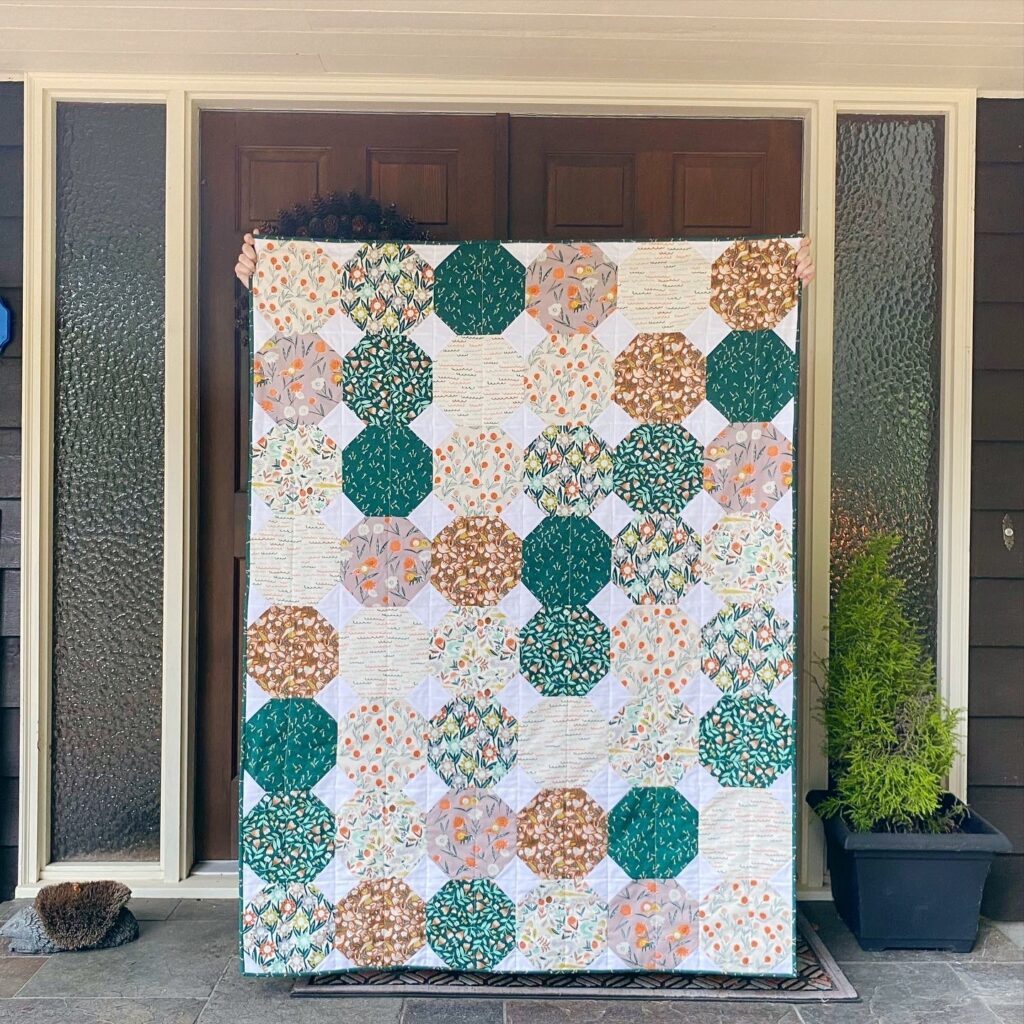
Try out more quilt blocks using this snowball corner method such as the Economy Block, Square-In-A-Square, and Flying Geese. Note other names for this technique are stitch and flip (SNF), and flippy corners, pattern writers call them by all sorts of names.
Shop Quilt Kits
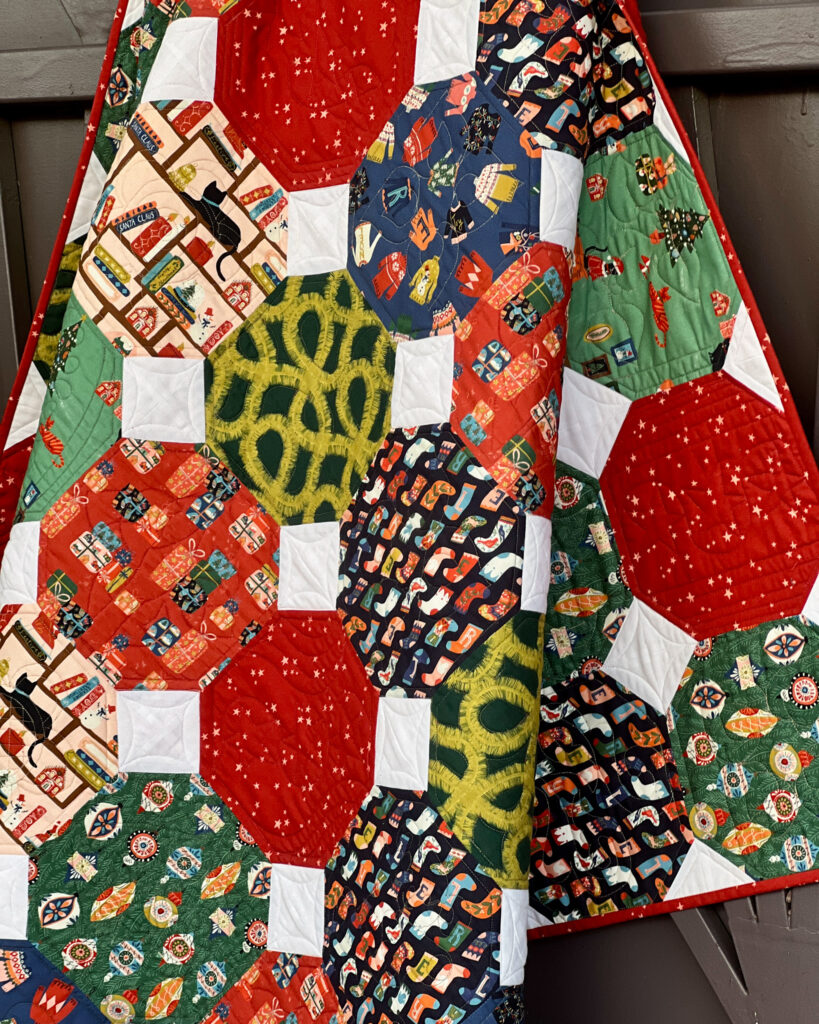
Christmas Quilt in Tinsel Time fabric collection. This one is on my to do list!
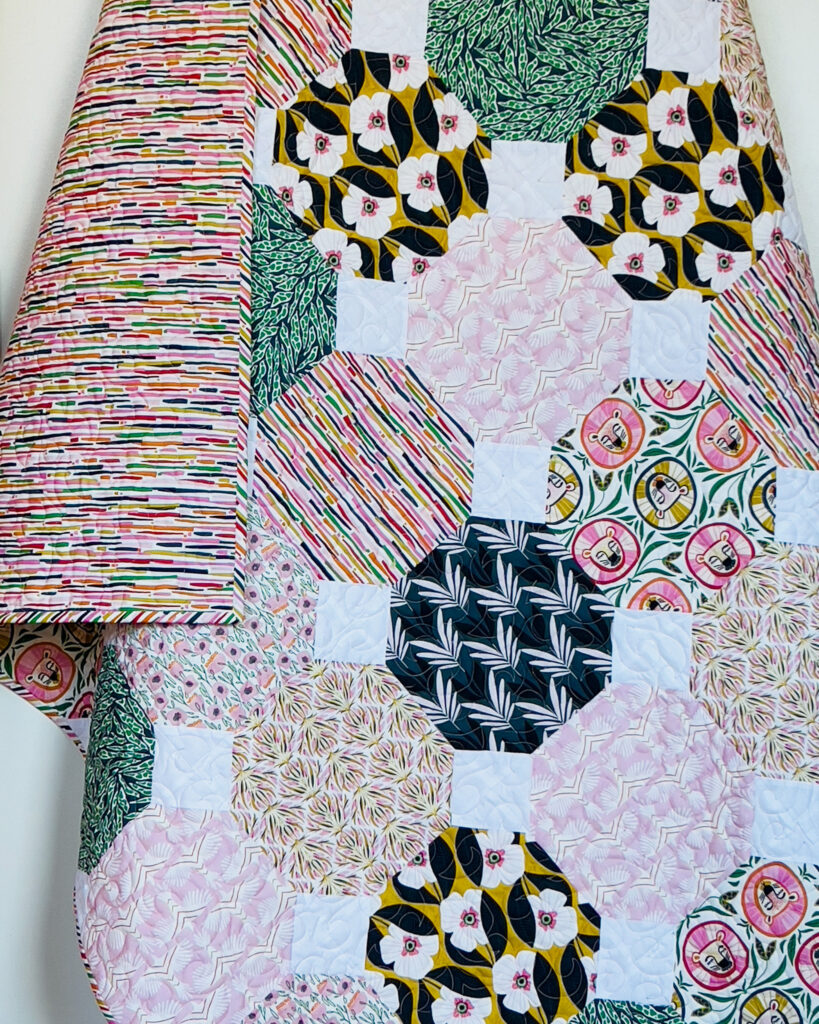
Savanna Dreams collection – this one would make a beautiful quilt for a little girls room.
